


The whole chicken is a timeless dish that offers endless versatility and flavor.
Roasting a whole chicken fills the kitchen with an aroma that’s both comforting and inviting.
This method of cooking transforms simple ingredients into a feast fit for any occasion.
I first encountered this classic recipe during a family gathering, where it became an instant favorite.
With a few straightforward steps, you can achieve a juicy, flavorful chicken that will impress your guests.
Whether you’re a seasoned cook or a beginner, this recipe is a perfect addition to your culinary repertoire.
The History and Cultural Significance
• Whole Chicken Recipes traces its origins to ancient China, where it was originally created as a way to preserve meat.
• The dish evolved over decades as cooking techniques and spices developed, eventually becoming the beloved version we know today.
• In French culture, this dish traditionally appears at Sunday family dinners, symbolizing warmth and togetherness.
• While many variations exist across different regions, the authentic version maintains a crispy skin that sets it apart from imitations.
Recommended Products
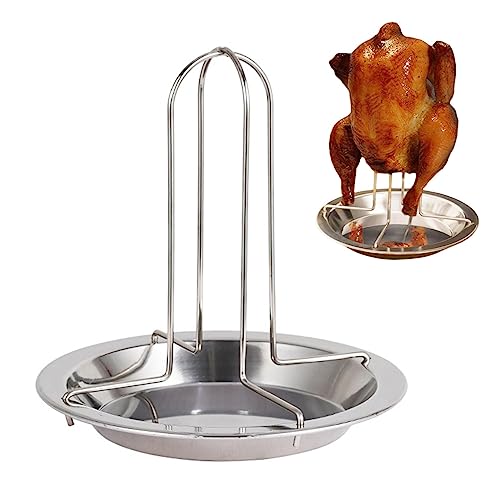
【Durable Material】Chicken holder and drip pan made of food-grade stainless steel, safe and hygienic, easy to clean, durable, high temperature resistant and can be used in ovens and ovens.
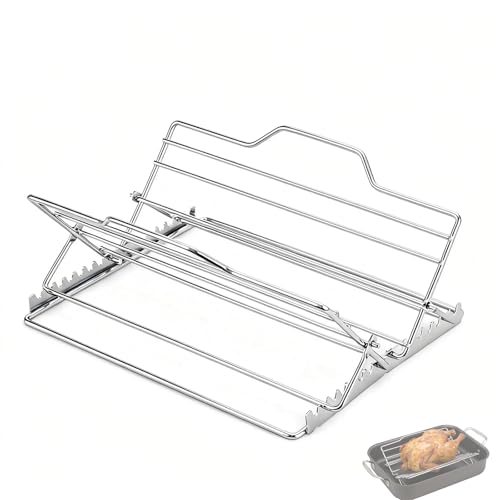
Premium Stainless Steel Construction - This stainless steel roasting rack for 9x13 pan is built to last, providing a durable and rust-resistant turkey roasting rack for your roasting pan, ensuring even cooking every time

Healthy Material - The Tifanso heavy-duty turkey roasting pan with rack is made of high-quality, non-toxic stainless steel and contains no chemical coatings, ensuring that no harmful substances leach into your food. This turkey roasting pan can withstand temperatures up to 450℉ and is corrosion-resistant, promising a long service life without easy deformation. The oven pan heats quickly and distributes heat evenly, allowing you to make delicious gravies directly on an induction stove.
Recipe Overview
Recommended Products

【8X Faster + 4X More Precise】: Upgraded with an industrial-leading professional thermocouple sensor, Themomonster meat thermometer digital with NIST certified ±0.5℉ precision provides you the accurate temperature of your food in just 0.5 Seconds.

Instant Read Food Thermometer | Our instant read thermometer features a temperature probe and advanced, highly accurate technology with 1-2 seconds response time; Instructions, meat temperature chart, comes pre-calibrated for your convenience, and recalibrating feature if needed.

【Easy to Use】Easily release the meat probe at the push of a button, and control the backlight or power with another button. With TempPro, cooking becomes a seamless, stress-free experience
Nutritional Information (per serving)
Recommended Products

【NEW ARRIVAL】100% Cotton Butcher Twine String, 2mm 700 Feet (213 Metre approx). More in quantity and more cost effective. Biodegradable and will not pollute the environment.

100% COTTON TWINE: This kitchen cooking twine is made with 100% food grade cotton, safe and harmless for all your culinary needs

100% Natural Cotton & Safety, our twine for cooking is made from 100% natural grade cotton fiber, strong, safety, eco-friendly & high-temperature resistant. Don’t fall for bleached white cotton, it's NOT real 100% Cotton
Essential Equipment Guide
Roasting Pan: A good roasting pan is crucial for even cooking and achieving a crispy skin. Look for a pan with a rack to allow air circulation. Alternatives like a cast iron skillet can also work.
Meat Thermometer: Ensures the chicken is cooked to the perfect internal temperature without guesswork. Digital thermometers provide quick, accurate readings.
Kitchen Twine: Important for trussing the chicken, which helps it cook evenly. Cotton twine is ideal, but silicone bands can be a reusable alternative.
Ingredients
For the Chicken
|
| Amount | Ingredient | Notes |
|---|---|---|
| 1 whole | chicken | approximately 4-5 lbs, cleaned |
| 2 tablespoons | olive oil | for coating |
Seasonings
| Amount | Ingredient | Notes |
|---|---|---|
| 1 tablespoon | salt | to enhance flavor |
| 1 teaspoon | black pepper | freshly ground, for seasoning |
| 1 tablespoon | paprika | for color and flavor |
Vegetables
| Amount | Ingredient | Notes |
|---|---|---|
| 1 large | onion | quartered, adds sweetness |
| 2 medium | carrots | cut into chunks, for flavor |
| 2 stalks | celery | cut into chunks, adds aroma |
Preparation Methods
Trussing: Trussing involves tying the legs and wings of the chicken close to the body. This helps the chicken cook evenly and prevents the extremities from drying out. Use kitchen twine and ensure the knot is tight but not overly constricting.
Dry Brining: This technique involves rubbing the chicken with salt and letting it sit uncovered in the refrigerator. It enhances flavor and ensures a crispy skin. Pat the chicken dry before brining.
Basting: Basting is the process of spooning the juices from the pan over the chicken while it roasts. It keeps the meat moist and infuses it with flavor. Use a bulb baster or a large spoon every 20-30 minutes.
Step 1: Prepare Ingredients
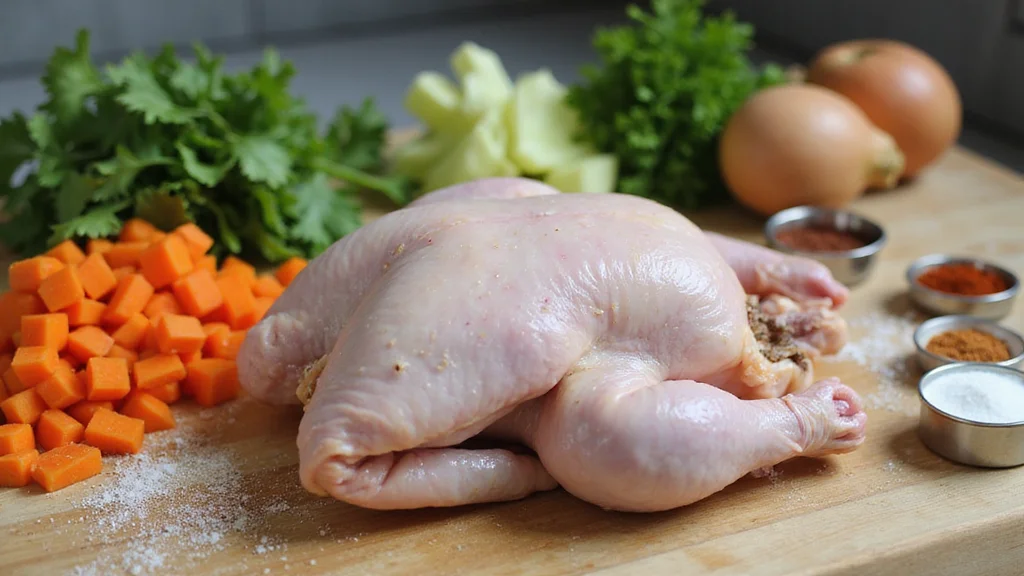
Gather all your ingredients and tools.
Ensure the chicken is completely thawed and cleaned.
Cut the vegetables into chunks and set aside.
Measure out your seasonings for easy access.
Step 2: Truss the Chicken
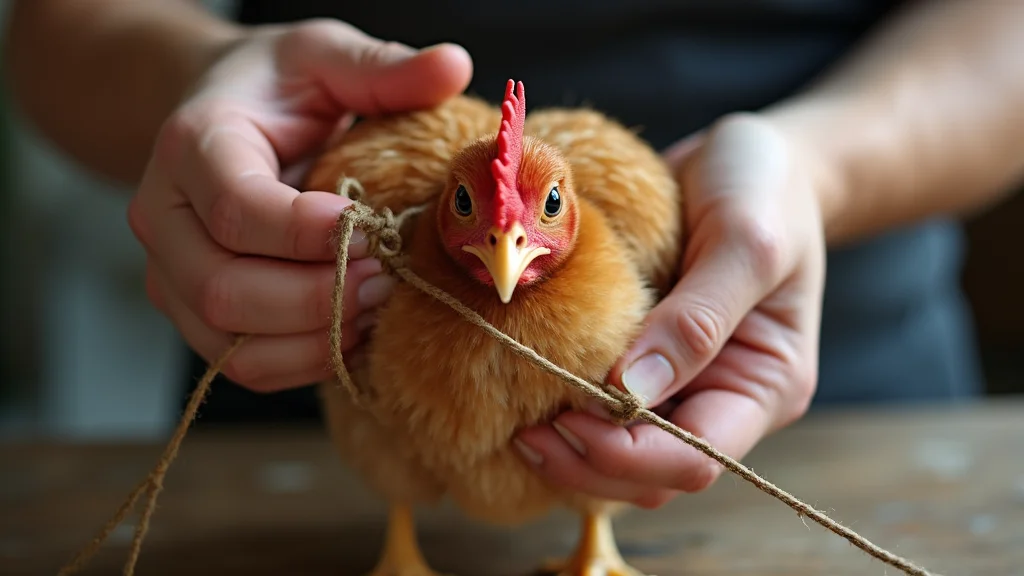
Place the chicken breast-side up on a clean surface.
Use kitchen twine to tie the legs together securely.
Tuck the wings under the body of the chicken.
Ensure the chicken is compact and evenly shaped.
Step 3: Apply Seasonings
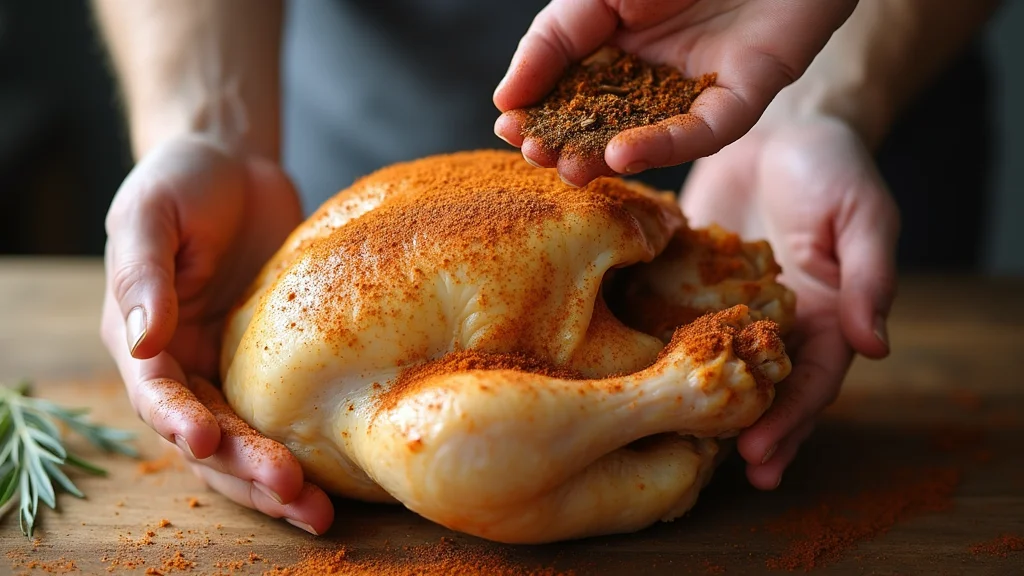
Drizzle olive oil over the entire surface of the chicken.
Rub the salt, pepper, and paprika into the skin evenly.
Ensure all areas, including under the wings, are well-seasoned.
Let the chicken sit for a few minutes to absorb flavors.
Step 4: Arrange Vegetables
Place the chopped onions, carrots, and celery in the bottom of the roasting pan.
Arrange them in a single layer for even cooking.
Position the chicken breast-side up on top of the vegetables.
Ensure the chicken is stable and centered.
Step 5: Preheat Oven
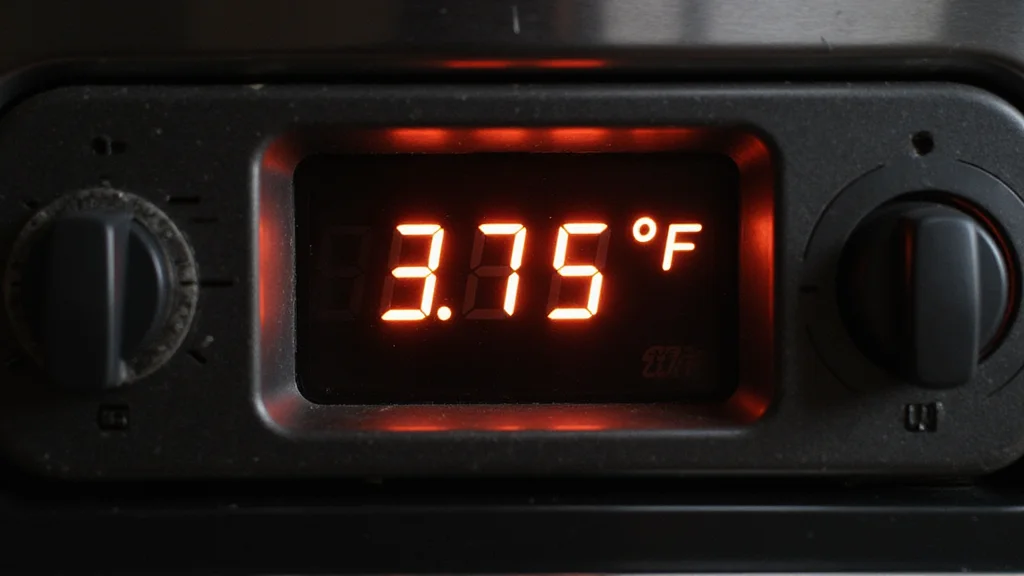
Set your oven to 375°F (190°C) and allow it to preheat.
Ensure the oven rack is positioned in the center.
This temperature helps achieve a balance between crispy skin and juicy meat.
Avoid opening the oven frequently to maintain temperature.
Step 6: Roast the Chicken
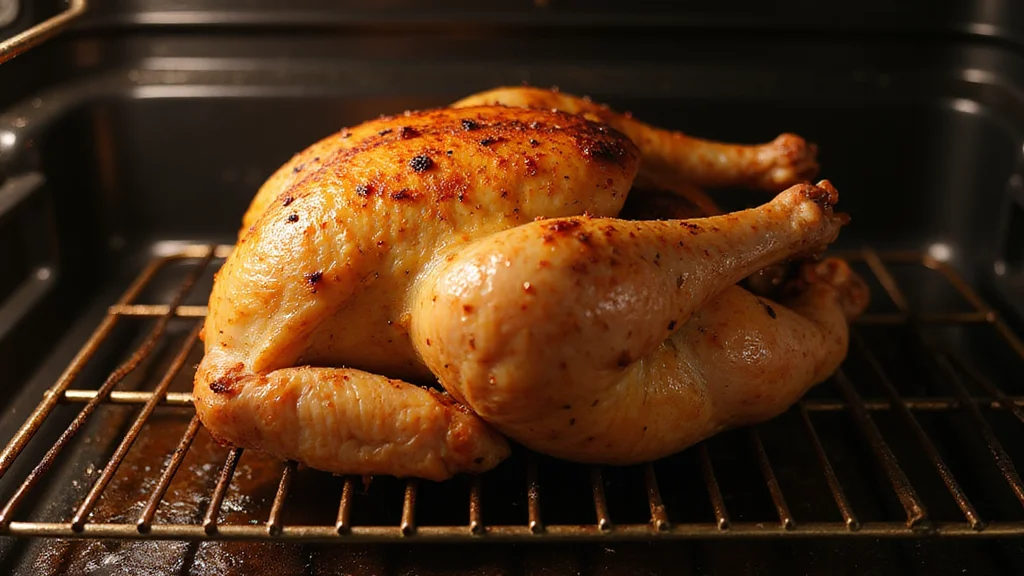
Place the roasting pan in the preheated oven.
Set a timer for 90 minutes to ensure proper cooking.
Baste the chicken every 30 minutes with its own juices.
Rotate the pan halfway through cooking for even heat distribution.
Step 7: Check Temperature
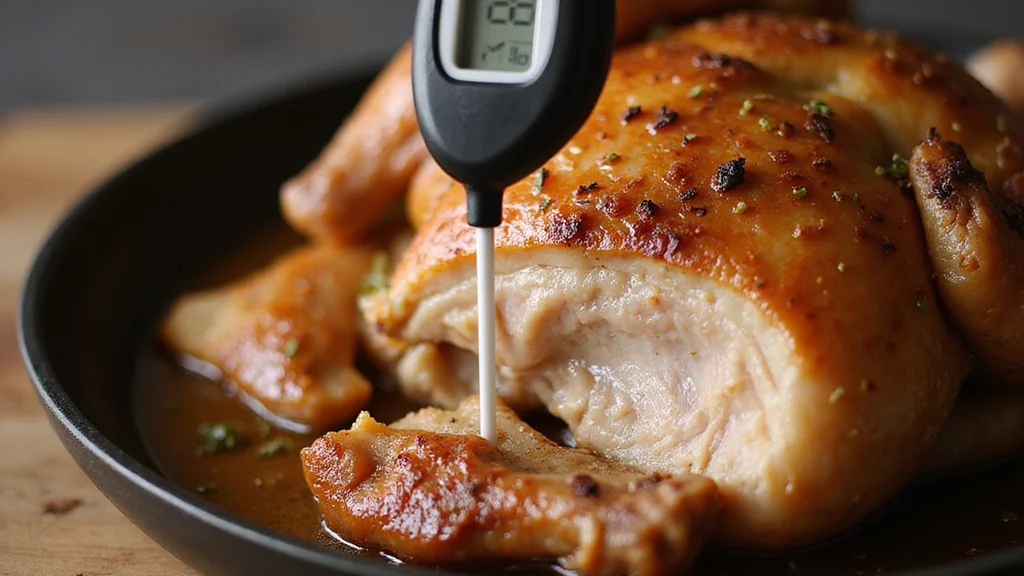
Insert a meat thermometer into the thickest part of the thigh.
Ensure it reads at least 165°F (74°C) for safe consumption.
If not, return the chicken to the oven for additional time.
Avoid touching bone with the thermometer for an accurate reading.
Step 8: Rest the Chicken
Remove the chicken from the oven once fully cooked.
Let it rest on a cutting board for 10-15 minutes before carving.
This allows juices to redistribute, resulting in moist meat.
Cover with foil to keep warm while resting.
Critical Timing and Temperature Guide
Roasting Process: Roast at 375°F (190°C) for approximately 90 minutes. Look for golden-brown skin and clear juices running from the thigh. Avoid overcooking to prevent dryness.
Temperature Check: The internal temperature should reach 165°F (74°C) in the thickest part of the thigh. Use a reliable thermometer for accuracy. Ensure not to hit the bone for an accurate reading.
Resting Period: Allow the chicken to rest for 10-15 minutes after cooking. This step is crucial for juicy meat. Cover with foil but avoid trapping steam, which can soften the skin.
Pro Tips for Whole Chicken Recipes
• Ingredient Selection: Choose a high-quality organic chicken for the best flavor and texture. The freshness of the bird significantly impacts the final result.
• Preparation Secret: Letting the chicken sit with seasoning for an hour before cooking enhances flavor absorption.
• Temperature Management: Ensure the chicken is at room temperature before roasting to promote even cooking.
• Texture Enhancement: Dry brining the chicken overnight creates a crispy, flavorful skin.
• Flavor Layering: Use aromatic vegetables like onions and celery to infuse the meat with subtle, complementary flavors.
• Make-Ahead Strategies: Prepare and season the chicken a day in advance. Store in the fridge uncovered for crisp skin.
• Restaurant-Quality Finishing Touches: Brush melted butter over the chicken just before serving for a glossy finish.
• Equipment Optimization: If you lack a roasting pan, a cast iron skillet can be a great alternative for even heat distribution.
Troubleshooting Common Issues
• Dry Meat: This is usually caused by overcooking. Ensure to check the chicken's internal temperature early and allow it to rest to reabsorb juices.
• Uneven Cooking: Truss the chicken properly and rotate the pan in the oven to ensure even heat exposure.
• Soggy Skin: Not drying the chicken thoroughly before cooking can lead to soggy skin. Use paper towels to pat the skin dry before seasoning.
• Flavorless Meat: Failing to season under the skin can result in bland meat. Carefully lift the skin and rub seasoning directly onto the meat.
• Sticky Pan: Prevent sticking by adding a layer of vegetables or using a non-stick spray on the pan before placing the chicken.
Variations and Regional Differences
• French Style: Known as 'Poulet Rôti', this version includes herbs de Provence and butter under the skin for a rich, aromatic flavor.
• Asian-Inspired: Uses soy sauce, ginger, and garlic in the marinade, resulting in a savory, umami-rich chicken.
• Latin American Variation: Incorporates lime juice and chili powder in the seasoning for a zesty, spicy profile.
• Middle Eastern Twist: Features sumac and za'atar spices, offering a tangy and earthy flavor profile distinct from the traditional method.
Food Science Behind the Recipe
• Maillard Reaction: This chemical reaction between amino acids and reducing sugars gives roasted chicken its brown color and complex flavor.
• Protein Denaturation: Cooking causes proteins in chicken to denature, which is why it's important to maintain the right temperature for tenderness.
• Enzyme Activity: Enzymes in fresh chicken break down proteins for a tender texture. Aging the chicken in the fridge overnight enhances this effect.
Frequently Asked Questions
What's the most common mistake people make when preparing a whole chicken? Overcooking is a frequent issue, leading to dry meat. Use a thermometer to avoid this.
How can I ensure the skin is crispy? Start with a dry chicken and high oven temperature initially. Dry brining overnight also helps.
Can I use different vegetables? Yes, root vegetables like potatoes and parsnips can be used for added flavor.
How do I carve a whole chicken? Let it rest first, then start with the legs, followed by the wings and breast.
What should I do with leftovers? Store in an airtight container in the fridge for up to 3 days or freeze for longer storage.
Can I use the pan drippings? Absolutely, they make a fantastic base for gravy or sauce.
Do I need to marinate the chicken? While not necessary, marinating can enhance flavor. A simple mix of lemon juice, garlic, and herbs works well.
Serving and Presentation Guide
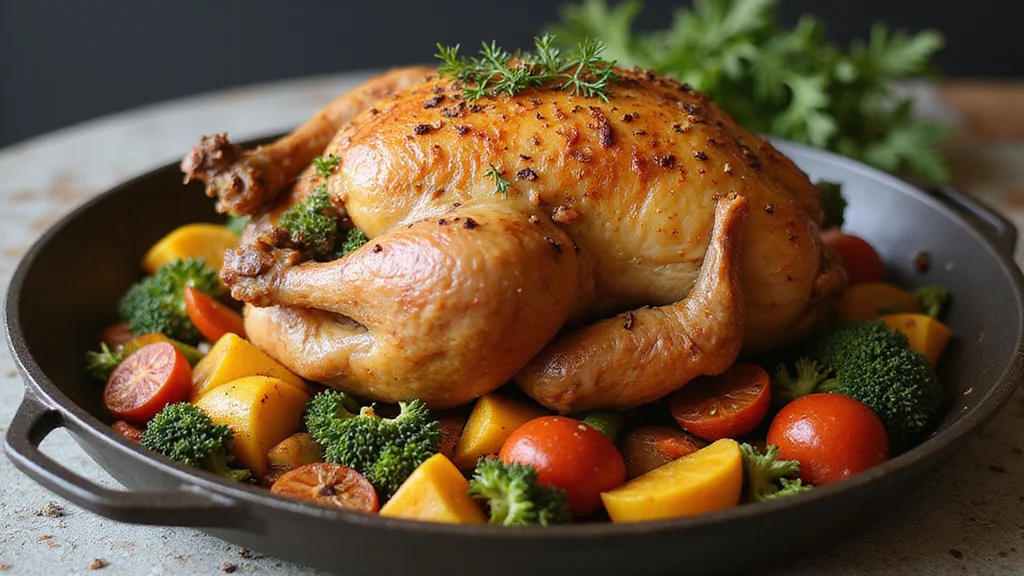
• Traditional Presentation: Serve the whole chicken on a large platter surrounded by roasted vegetables for a classic look.
• Modern Plating: Carve the chicken and arrange slices neatly, garnished with fresh herbs for a contemporary touch.
• Family Style: Carve the chicken at the table for a communal experience, allowing guests to choose their preferred pieces.
• Individual Servings: Serve portioned pieces on individual plates with a side of sauce or gravy.
Conclusion
Preparing a whole chicken is a rewarding culinary experience that combines simplicity with flavor.
This recipe offers a perfect opportunity to practice and master essential cooking techniques.
With these steps and tips, you can create a delicious meal that will impress family and friends alike.
Experiment with variations to keep your culinary adventures exciting and diverse.