
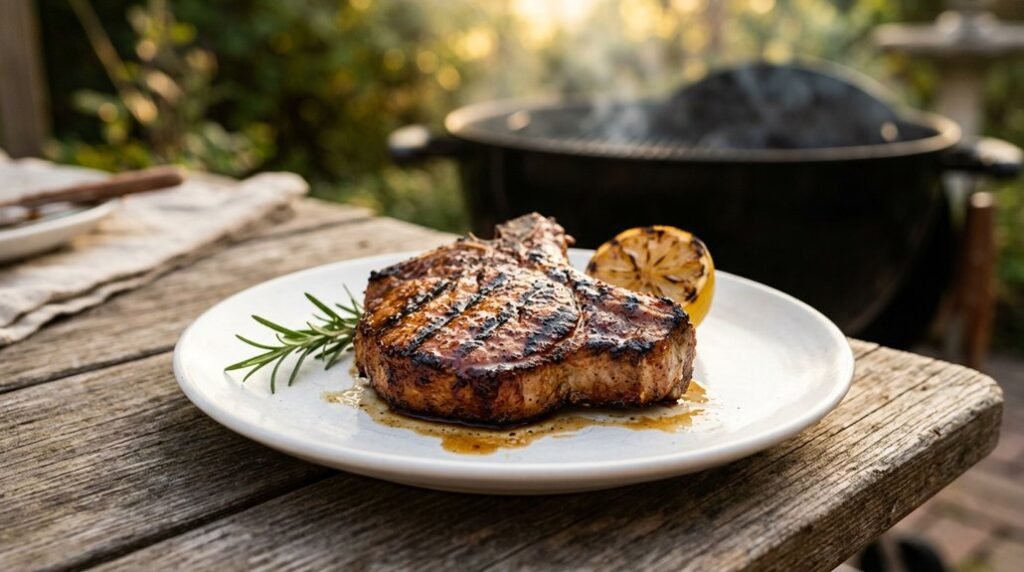


You want juicy pork chops, not gray shoe leather. You crave that crackling sear, not a sad, steamed surface. You need precision, not guesswork.
Bone-in chops at least one inch thick give you the insurance policy thinner cuts can’t; that extra mass buys you time on the grill without drying out. Room temperature meat sears faster and more evenly. Skipping this step invites uneven cooking and disappointment.
The brine, that saltwater bath, works like magic at the cellular level, plumping proteins and locking moisture in. Thirty minutes minimum, two hours maximum: beyond that you’re edging into ham territory. Pat them bone-dry afterward; moisture is your enemy now, steam kills crust. Skip the extra salt, the brine handled it, just black pepper and a thin oil sheen.
Two-zone heat isn’t fussy chef nonsense; it’s your safety net. Blazing direct heat gives you that initial sear, then the cooler indirect zone finishes gently without charring the exterior before the center hits 145°F. That thermometer isn’t optional: color lies, temperature tells the truth.
Resting under loose foil lets juices redistribute instead of flooding your cutting board; five minutes of patience rewards you with meat that actually tastes like something. Ignore these steps and you’re gambling with dinner. Following them turns you into the person everyone wants grilling at their backyard party.
Choose Bone-In Pork Chops at Least 1 Inch Thick
If you want juicy grilled pork chops, you’ll need to start at the meat counter, and that means reaching for bone-in cuts that hit at least one inch thick. You’ll thank yourself later.
Bone-in pork chops have a secret weapon: that little bit of bone locks in moisture like a natural flavor guard. Go for center-cut or rib chops, they’re your safest bets for staying tender through the flames.
You want consistently sized pieces, about 1 to 1½ inches, so everything finishes together. No one likes waiting while one chop is raw and another’s dry.
Now, you can grab thick boneless chops, but watch them closely. Without that bone, they race toward overcooked and taste like regret. Whatever you choose, you’ll rest for at least five minutes after grilling, patience pays off.
Recommended Products

One bone-in pork loin center-cut chops weighing 0.45 and 1 pound

One bone-in pork loin center-cut chops weighing 0.45 and 1 pound

Meets standards for animal welfare, feed, and more, so you can know about what you're buying (and eating)
Brine Pork Chops 30 Minutes to 2 Hours
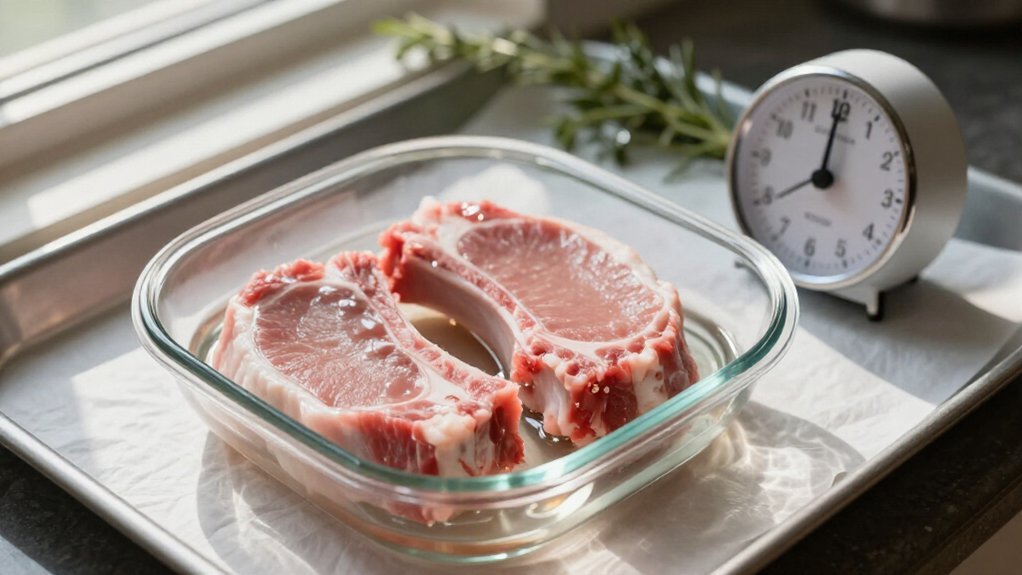
Since you’ve picked out those beautiful thick chops, it’s time to give them a soak that’ll make all the difference. You brine pork chops for at least 30 minutes, or up to 2 hours if you’ve got the time; cold water plus kosher salt does the heavy lifting here.
Keep them submerged; the salt penetrates evenly, locking in moisture that’ll save you from dry, disappointing meat. Want more punch? Toss in citrus peel, peppercorns, bay leaves, or a little sugar. Thirty minutes gives a quick boost, but closer to 2 hours packs real payoff.
Dry those chops thoroughly afterward so they sear hard instead of steam. Once they rest and the internal temperature reaches 145°F, you’ll slice into something genuinely worth the wait.
Recommended Products

COARSE-GROUND: Salt is a mix of coarse-ground garlic, salt, and parsley flakes

A delicious and juicy meal -- with easy cleanup! Cooking bag included.

THE SECRET’S IN THE SALT - Our unrefined, ancient sea salt is a healthier option than the processed salt used in other seasonings. Real Salt hasn’t been stripped of beneficial minerals and contains 60+ trace minerals that help your body stay balanced and add a subtly sweet, delicious flavor to every bite.
Reverse Sear for Chops Over 1½ Inches Thick
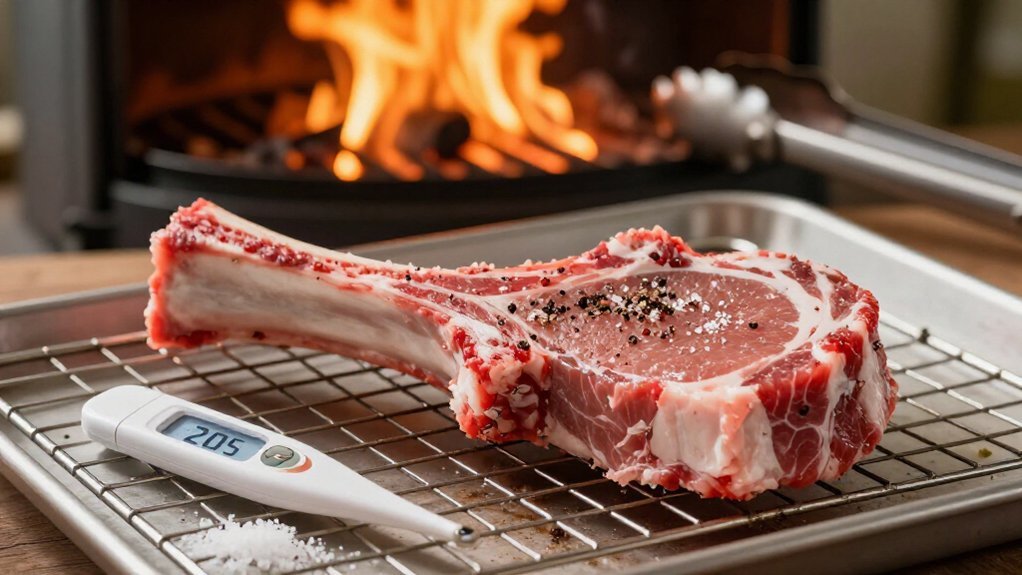
When you’re tackling chops thicker than 1½ inches, you’ll want to set up a two-zone grill with indirect heat around 300°F on one side and screaming hot direct heat on the other, because anything less just won’t give you that juicy center you’re after.
Start slow on the cooler side, flipping those beauties until they hit 135–140°F internally, which usually takes 12–15 minutes per side depending on whether you’ve got bone-in hunks or boneless cuts. Then crank things up: sear them over direct heat at 425–450°F for just 1–2 minutes per side until they reach 145°F. And don’t you dare skip that 3–5 minute rest, or you’ll lose all those precious juices to the cutting board.
Recommended Products

LOCKS IN JUICINESS & MOISTURE: A carefully balanced mixture of salt, brown sugar, and signature spices draws liquid deep into the meat while it soaks, so every chop, roast, or shoulder emerges from the grill succulent and flavorful instead of dry or bland, even after long smoking sessions.

One 4.76 ounce container of Pork Rub & Seasoning

AUTHENTIC ORIGINAL PORK INJECTION & BRINE: Our secret combination of ingredients capture the true taste of Memphis-style championship BBQ with the perfect balance of sweet & heat to take your BBQ to the next level.
Heat Zone Setup
Once your pork chop crosses that 1½-inch threshold, you’re officially in reverse-sear territory, and that’s where the real magic happens. Your first task: nail the two-zone grill. This is your general heat setup, and honestly, it’s the difference between a juicy chop and something you’d feed your neighbor’s dog.
Here’s how you build it. Crank one side to a ripping 400–450°F for direct heat later; leave the other side cooler, around 275–300°F. Think of it like having a gentle oven and a blowtorch in one grill, pretty clever, right?
Lay those thick chops on the cool zone, shut the lid, and walk away. You’re shooting for 135–140°F internal before any searing happens. Patience wins here. Rush it, and you’re looking at gray meat with charred edges, nobody wants that disappointment.
Sear and Finish
Grab your tongs and get ready, because this is where your patience pays off and those thick chops change from quietly sweating on the cool zone into something worth bragging about. You’ve cooked them indirectly at 300°F, flipping once, letting roughly 12–15 minutes per side gently bring the center to 135–140°F.
Now slide them to the hot side, where 400–450°F waits. Sear them fast, just 1–2 minutes per side, building that caramelized crust without overcooking the interior. Watch closely: puny chops can’t handle this method, so don’t blame the technique if you started too thin.
Trust your meat thermometer, not guesswork. Pull at 145°F, tent loosely with foil, and rest 3–5 minutes. You’ve earned it.
Pat Dry and Season With Pepper Only
Because you’ve already put in the effort to brine those pork chops, don’t let dampness steal your glory now. Grab paper towels and pat those chops very dry. Seriously, surface moisture is the enemy of gorgeous grill marks; it’ll steam your meat instead of sear it, and nobody wants that pale disappointment.
Brush on a thin layer of olive oil, then season lightly but evenly with black pepper only. Skip the salt, you’ve got the right amount of salt from your brine already. The pepper sticks beautifully to that dry, oiled surface and builds a clean, classic crust.
Oil first, then pepper only—skip the salt, your brine did that work already.
Let them sit at room temperature 15–30 minutes before hitting the grill. This dry, seasoned rest helps you nail even browning.
Once you hit 145°F internal, let those pork chops rest at least 5 minutes. Juicy perfection demands patience.
Recommended Products

Fast & Accurate: Get precise readings in just 1 second with ±0.9°F accuracy. NSF Certified for trusted food safety, this digital food thermometer features a 4.3 inches food-grade stainless steel meat probe, perfect for grilling, frying, baking, making candy and more

Instant Read Food Thermometer | Our instant read thermometer features a temperature probe and advanced, highly accurate technology with 1-2 seconds response time; Instructions, meat temperature chart, comes pre-calibrated for your convenience, and recalibrating feature if needed.

【8X Faster + 4X More Precise】: Upgraded with an industrial-leading professional thermocouple sensor, Themomonster meat thermometer digital with NIST certified ±0.5℉ precision provides you the accurate temperature of your food in just 0.5 Seconds.
Rest Chops at Room Temperature Before Grilling
If you pull your chops straight from the fridge and slap them on the grill, you’re basically asking for trouble: burnt edges with a raw center nobody wants to eat. Letting them sit out for 15 to 20 minutes, maybe 30 if they’re thick, gets the meat to room temperature so heat penetrates evenly, and that 145°F target becomes way less of a guessing game.
Don’t overthink it. This isn’t an all-day affair, just enough time for the chill to fade so your pork cooks like a champ.
Recommended Products

Boneless Pork Chops, 2 per package, 13-ounces total

One bone-in pork shoulder blade steak weighing between 0.45 and 1 pound

One bone-in pork shoulder blade roast weighing between 1.6 and 3.8 pounds
Why Timing Matters
While your pork chops are still ice-cold from the fridge, you’re already setting yourself up for trouble, and that’s a real shame because this small step makes such a huge difference.
When you let them rest at room temp, you’re cutting down your total cook time notably, minutes depending on how thick your cut is. This isn’t just some fancy chef trick; it’s basic physics. Cold meat means the center lags behind while the outside burns, leaving you with a sad, gray band around a barely warm middle.
You’ll still need your thermometer to hit that perfect 145°F target, but timing the warmup right makes everything smoother. Skip this, and you’re basically fighting your own dinner. That’s frustrating, completely avoidable, and honestly kind of embarrassing.
Room Temp Benefits
Pull your chops out of the fridge and just let them sit there. Seriously, this step matters more than most home cooks realize. Giving bone-in pork chops 15–20 minutes on the counter delivers real room temp benefits: the center warms slightly, so you don’t burn the outside while the inside stays stubbornly cold. You’ll spend less time over direct heat, which keeps the meat moist instead of turning it into shoe leather.
When your grill’s already ripping at 425°F, room-temp chops hit that perfect 145°F target way more predictably. No guessing games, no dry edges with raw middles. That brief rest also dries the surface, so you get gorgeous browning and those Instagram-worthy grill marks.
After cooking, rest them 3–5 minutes before serving, just enough for carryover to finish the job.
Set Up Two-Zone Heat on Your Grill
Because you want pork chops that are juicy inside and beautifully seared outside, you’ll need to master the two-zone setup, which is honestly the smartest move any griller can learn. You’re doing two things here: cranking one side to screaming-hot direct heat (400–450°F) and keeping the other at gentler indirect temps (300–375°F). Your gas grill makes this easy; just fire half the burners to medium-high heat and leave the others low, or off entirely.
For thick center-cut chops, this method makes all the difference. You get control, and control means consistently great results.
Here’s what you’ll love about this approach:
- No more dry, sad chops from cooking too hot, too fast
- You control exactly when the sear happens
- The indirect zone buys you time to hit that perfect 145°F without panic
Keep the lid closed to hold steady temps, and you’re set.
Recommended Products

XL BOTTLE OF CURING SALT #1: Enough premium Prague Powder to brine hundreds of pounds of meat, in an easy to store container. Sprinkle directly into your brine, or measure using the dual action cap for direct teaspoon entry, without the mess.

Natural Preserving Non-Iodized Sea Salt: Our natural pickling salt is both non-iodized & Kosher, making it a preservation essential to achieve the best results, as iodine and other additives interfere with natural flavors & preservation processes.
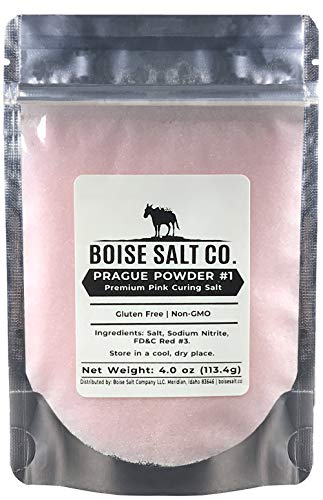
Gives cured meats a distinctive salty taste.
Sear Pork Chops 2 to 3 Minutes Per Side
Lay your bone-in pork chops down on that screaming-hot direct heat and don’t touch them for a solid 2 to 3 minutes. You’ll know you’ve nailed it when those deep, caramelized grill marks form; that’s flavor building right there.
Sear bone-in pork chops at 375–450°F, and trust me, thicker chops need this high heat to brown before the middle turns to cardboard. Flip once, just once, or you’ll tear that gorgeous crust and ruin your timing. You’re aiming for 2–3 minutes per side, no more.
If they char too fast, slide them to a cooler spot, but don’t panic, adjusting on the fly is part of the game. Get this sear right, and you’ve already won half the battle.
Recommended Products
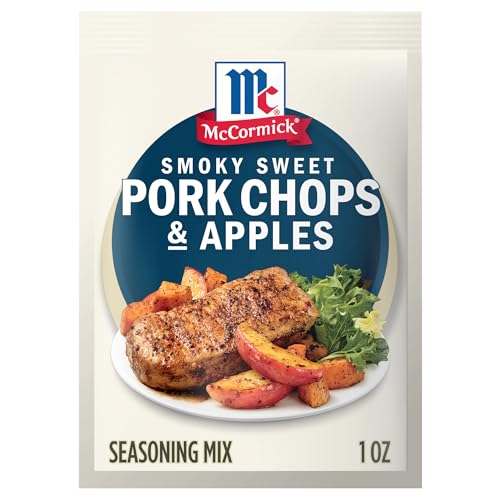
BALANCED FLAVOR: A comforting blend of sweet and savory flavors, finished with a subtle smoky note that brings depth to pork chops and more.

Perfectly balanced with citrus and Worcestershire, this savory blend brings the right amount of bold flavor to grilled beef and pork
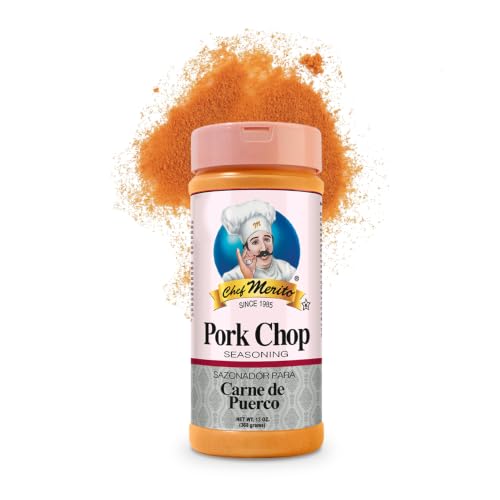
PORK CHOP SEASONING: We to bring you authentic Latin spices, resulting in a Pork Chop Seasoning that evokes the flavors of abuela's kitchen. Ideal for lamb, veal, goat, pork roast, and beyond
Finish on Indirect Heat 4 to 7 Minutes
Once you’ve got those beautiful grill marks locked in, shift your pork chops to indirect heat, that cooler zone where they’ll gently finish cooking without turning into hockey pucks. You’ll need roughly 4 to 7 minutes until internal temps climb safely toward 145°F. Close that lid to trap steady warmth, like a low oven outdoors.
Slide the thermometer probe into the thickest part, dodging the bone, which lies about temperature like a bad alibi. Precision matters; guesswork ruins good meat. Patience rewards you with tender, juicy bites.
Thick chops demand this gentle finish, turning harsh flames into a soft, even heat. Trust the process: you’ll know you’ve nailed it when the center feels firm yet springy, promising pork worth the wait.
Recommended Products

【Fast & Accurate】Our meat thermometer digital delivers accurate readings within ±1°F in just 1–2 seconds, with a wide temperature range of -58°F to 572°F (-50°C to 300°C). No more waiting over the heat - know your food's exact temperature instantly.

【Fast & Accurate】Our meat thermometer digital delivers accurate readings within ±1°F in just 1–2 seconds, with a wide temperature range of -58°F to 572°F (-50°C to 300°C). No more waiting over the heat - know your food's exact temperature instantly.

Completely Waterproof: IPX6 waterproof rating means you can wash this cooking thermometer under running water without fear. This food thermometer for cooking ensures cleanup is ultra-fast
Remove at 145°F and Rest for 5 Minutes
You’ll want to pull those chops the instant your thermometer hits 145°F in the thickest part, steering clear of the bone since that’s a trap for false readings.
Don’t skip the rest, either: those five minutes under a loose foil tent aren’t lazy time, they’re when the real magic happens as juices sucked to the surface during grilling creep back toward the center, and carryover heat nudges the temp up just enough for perfect tenderness without turning your work into chewy disappointment.
Trust the thermometer, not your eyes, because thickness and bone-in versus boneless setups throw off timing so wildly that guessing leaves you either nervous and undercooked or, worse, stranding a beautiful chop in dry, overcooked territory.
Recommended Products
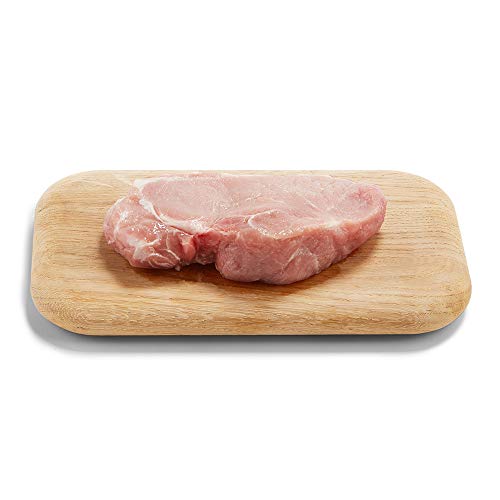
Meets standards for animal welfare, feed, and more, so you can know about what you're buying (and eating)

Meets standards for animal welfare, feed, and more, so you can know about what you're buying (and eating)

One value pack of boneless pork loin, assorted chops weighing between 1.5 and 3.2 pounds
Precise Internal Temperature
Since overcooking turns pork chops into dry, disappointing slabs, you’ll want to pull them off the grill the moment the thickest part hits 145°F, and don’t let your thermometer touch the bone or you’ll get a false reading. This temperature isn’t just a suggestion; it’s your ticket to juicy pork that actually tastes like something worth eating. When you cook pork chops right, you grill the best version of this affordable cut, and 145°F delivers safety without sacrificing tenderness.
, The panic of cutting into gray, shoe-leather meat you spent twelve dollars on
, The relief of seeing that faint pink center and knowing you nailed it
, The pride of serving pork that doesn’t need gallons of sauce to save it
Trust the thermometer, pull at 145°F, and you’ll never dread pork night again.
Resting Redistributes Juices
If you pull those pork chops off the grill and immediately dig in, you’re basically throwing juiciness in the trash. Sure, waiting feels like torture when that grilled smell hits you, but trust me, that rest changes everything.
Pull your chops when the thickest part hits 145°F, then tent them loosely with foil so the exterior doesn’t dry out. During those five minutes, carryover cooking gently pushes the temperature higher while juices that rushed to the outside redistribute back through the meat.
This rest adds moisture you’d otherwise lose on the cutting board. Cut too soon and you’ll watch flavorful liquid pool on your plate instead of staying in each bite. Bone can trick your thermometer, so measure carefully. Patience rewards you with pork that’s juicy from the grill.
Complete the Meal: Best Sides for Grilled Pork Chops
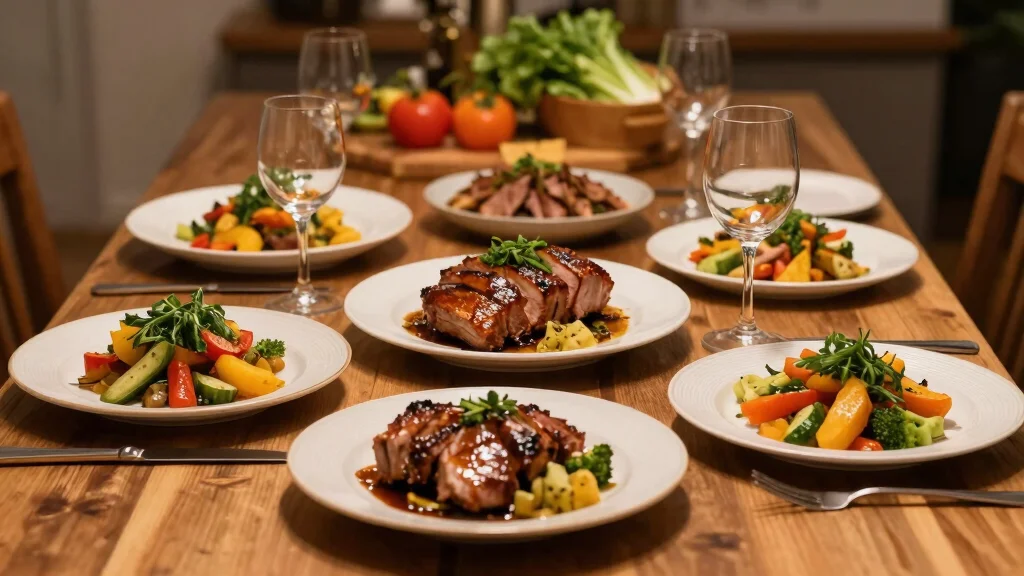
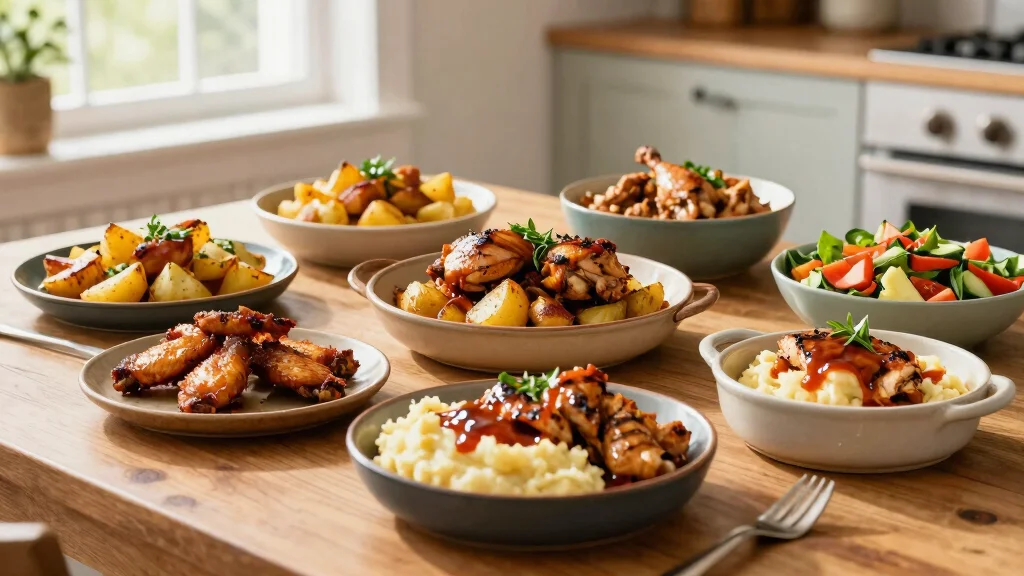
When you pull those pork chops off the grill, you’ll want sides that actually do something for the plate, not just fill space. Pairing a crisp cucumber tomato salad as your side dish cuts through the smoky richness like nothing else. The cool, juicy crunch against that charred crust, it just works.
A crisp cucumber tomato salad cuts through smoky richness like nothing else—cool, juicy crunch against charred crust, it just works.
While you’re grilling pork chops, throw vegetables on the cooler zone; same fire, less hassle. Keep your eye on the thermometer, pull at 145°F, then rest 3 to 5 minutes so juices settle and sides finish together. Nothing worse than a cold potato.
- The cucumber tomato salad snaps you back to life
- Grilled vegetables keep the smoky theme alive
- Baked potatoes soak up every last drop
Recommended Products
Chef-Mastered Moisture Retention – Our premium crystal salt acts at the molecular level to help retain up to ~30-40% more moisture in proteins like turkey, chicken and pork, resulting in juicier, more tender meals.

Our Alderwood Smoked Sea Salt is Non-GMO and does not contain any MSG, Soy, Gluten, Dairy, or anti-caking agents. Packaged in our U.S.A., SQF Quality code, Organic compliant facility.

NET WT 16oz/1LB Of Cured Salt Pork (Tocino), Cured Pork Belly (Skin On)