


Most backyard grillers wing the timing and end up with ribs that are either leather-tough or falling apart before they hit the plate. You deserve better than guesswork, and the three-step method delivers ribs you are actually proud to serve: trimmed, seasoned, and chilled first.
Then low and slow at 300°F until they hit that sweet spot near 190°F internally.
Finally glazed, rested, and sliced into proper barbecue. It is not complicated, but there is one step almost everyone rushes, and that mistake costs you the texture you are after.
Prep, Season, and Refrigerate Your Ribs
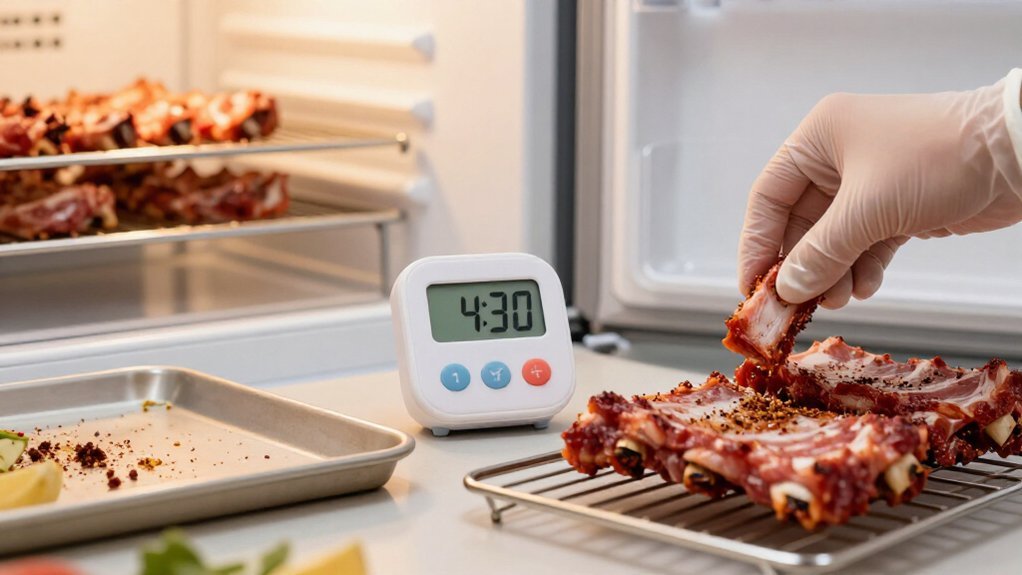
Before you even think about firing up the grill, you’ve gotta show your ribs some respect, and that starts with ripping off that stubborn silver skin hiding on the back. That membrane on the back just ruins everything, leaving your bite chewy and tough instead of tender. Once you’ve carefully remove the ribs from packaging, pry it up with a butter knife, grab with a paper towel, and yank.
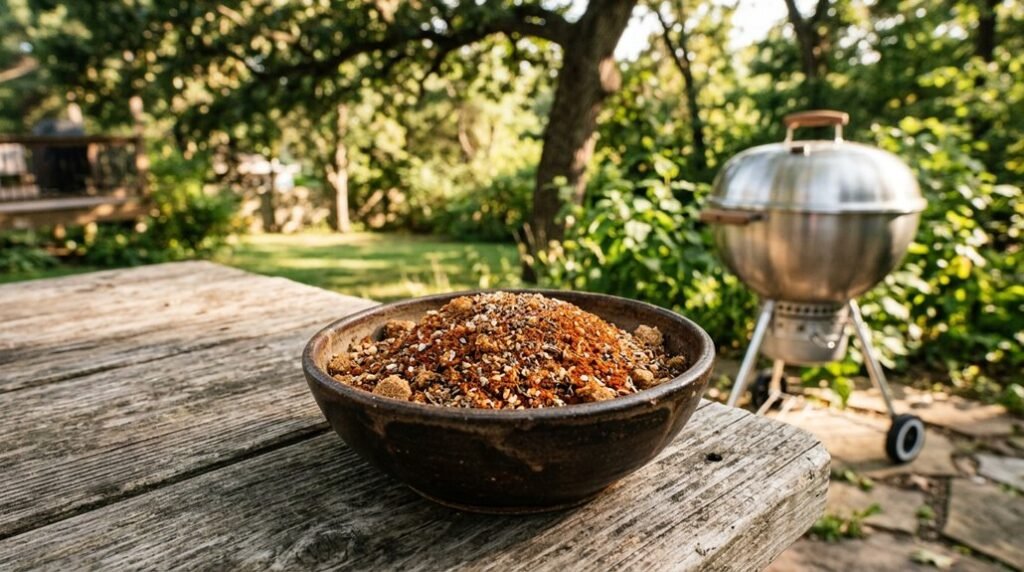
Pat everything bone-dry, then lay those beauties into a sprayed aluminum tray. Now mix your dry rub; massage those rub ingredients into every crevice so your ribs evenly, then stash the tray in the fridge. Wait, you’re not done: pour apple juice into the pan, seal tight with aluminum foil, and chill everything together. You wouldn’t slather bbq sauce yet, that comes later. Skip this overnight rest and you’ll regret it.
Recommended Products

Contains (1) 4.5 oz. bottle of Rib Rack All Natural Pork Spice Rub

Contains (1) 5.5 oz. bottle of Rib Rack All Natural Cajun Spice Rub

Contains (1) 7.0 oz. bottle of Rib Rack All Natural Steak Spice Rub
Grill Low and Slow Over Indirect Heat
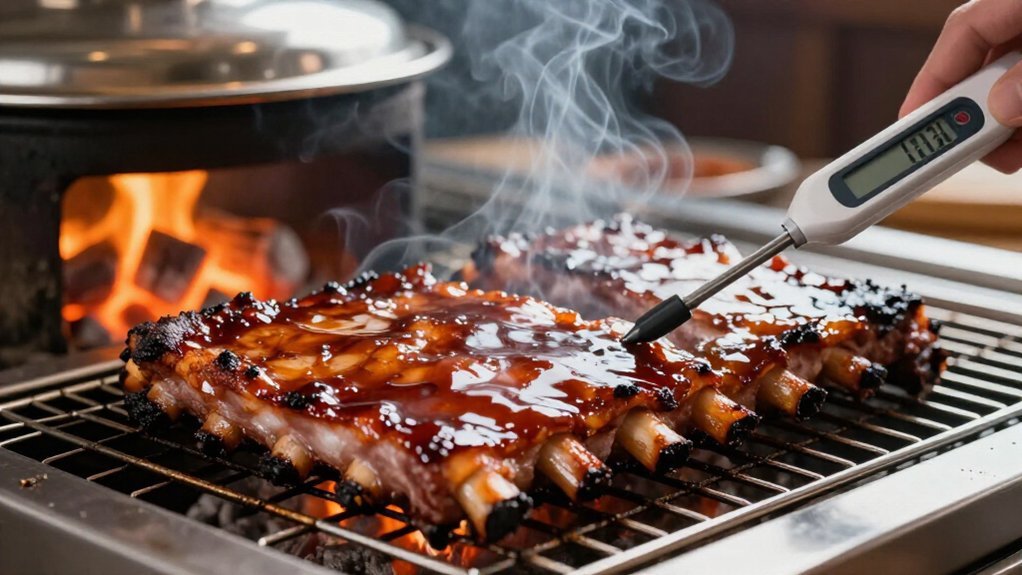
Once your ribs have soaked up that seasoning overnight, you’re finally ready to fire up the grill, and this is where patience pays off. You set up for low and slow cooking: keep that middle burner off, run the outside ones on low, and aim your thermometer at medium heat around 300°F. Toss some hickory wood on for that smoky depth you can’t fake with liquid smoke.
Make sure you foil and place your baby back ribs or spare ribs on the indirect side, away from those aggressive flames that’ll turn your beautiful rub into bitter ash. Cover that grill and don’t peek; you’re looking at roughly 1–2 hours depending on thickness.
Trust your instant-read thermometer, as you want at least 145°F for safety, though pushing toward 190°F breaks down collagen into silky tenderness.
Recommended Products

Grill temperature gauge fits multiple grills and BBQ smokers

Reads internal food temperature
Baste, Finish, and Rest Before Serving
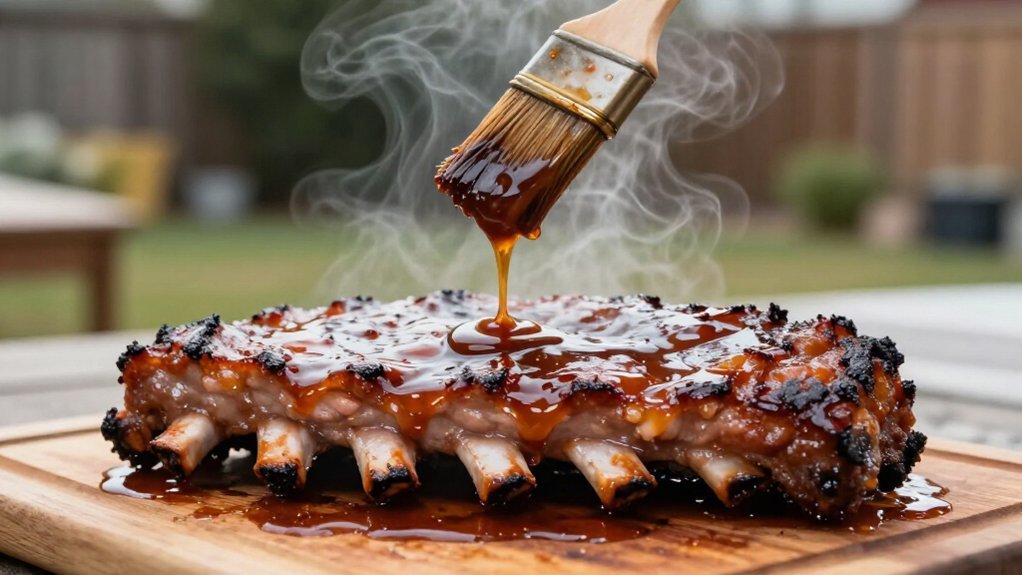
When your ribs hit that sweet spot where they’re almost there, not quite fall-off-the-bone but getting close, that’s your cue to grab the glaze. Warm up about half a cup brown sugar’s worth of orange marmalade mixed with apple cider vinegar, whisk it smooth, and brush it on your Pork Ribs. Cover the grill for roughly five minutes so the fat and collagen help that coating turn sticky.
Baste again, because one layer never sticks quite right, then finish uncovered for ten to twelve minutes. Let that glaze char in spots, get glossy, almost lacquered. Pull them back, rest on a cutting board with a paper towel underneath, and slice between bones using a sharp knife. That rub recipe you used earlier? Feel free to use extra sauce on the side.
Recommended Products

Hickory wood chunks

ALL NATURAL HICKORY WOOD CHUNKS: These smoking wood chunks are crafted from 100% hickory hardwood without any harsh chemicals. They naturally enhance chicken, pork, beef, and seafood with a slightly sweet, powerful smoke flavor and a deep color.

Old Potters smoker chunks are made from 100% real hardwood and are usda certified kiln dried