


The allure of homemade bread is undeniable, and with a bread machine, creating fresh, warm loaves has never been easier.
Imagine the comforting aroma of baking bread filling your kitchen, inviting everyone to gather and share.
With these recipes, anyone can enjoy the satisfaction of creating bakery-quality bread at home with minimal effort.
Whether you’re a novice or an experienced baker, these recipes provide an approachable introduction to bread-making.
Each recipe has been crafted to highlight unique flavors and textures, ensuring a delightful experience for every palate.
The History and Cultural Significance
• Bread Machine Recipes traces its origins to the 1980s, where it was originally created by innovative bakers seeking convenience.
• The dish evolved over decades as bread machines became more advanced, eventually becoming the beloved version we know today.
• In many cultures, bread is a staple that appears at daily meals and special celebrations, symbolizing nourishment and community.
• While many variations exist across different regions, the authentic version maintains a simplicity and freshness that sets it apart from imitations.
Recipe Overview
Nutritional Information (per serving)
Essential Equipment Guide
Bread Machine: This tool is essential for automating the bread-making process, ensuring consistent kneading, rising, and baking. Look for models with customizable settings for different types of bread.
Measuring Cups and Spoons: Accurate measurements are crucial for baking. Opt for sturdy, easy-to-read sets to ensure precision.
Cooling Rack: Allows bread to cool evenly, preventing soggy bottoms. A wire rack is ideal for optimal airflow.
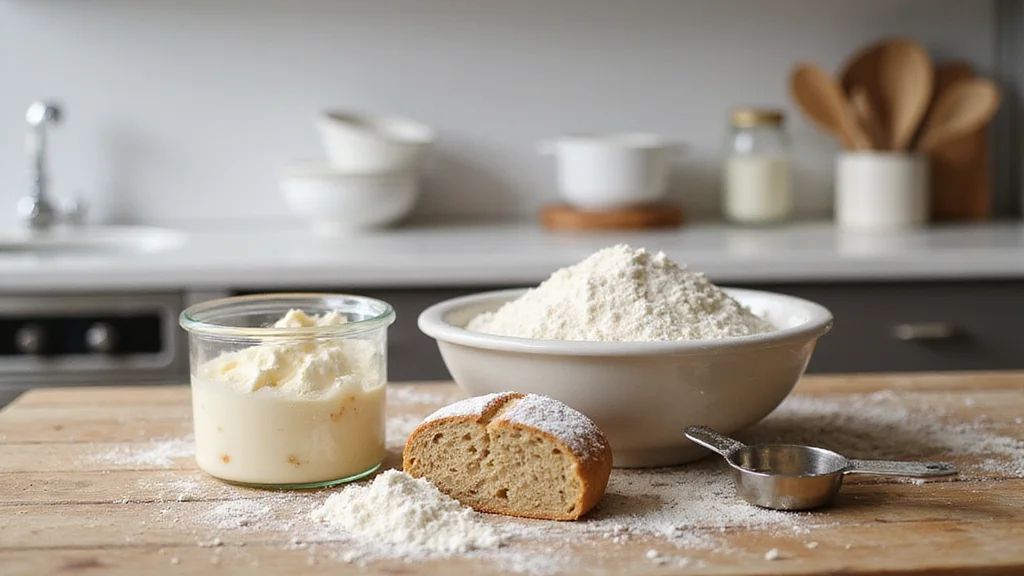
Ingredients
For the Dough
|
| Amount | Ingredient | Notes |
|---|---|---|
| 3 cups | bread flour | provides structure and chew |
| 1 1/2 teaspoons | salt | enhances flavor |
| 2 tablespoons | sugar | aids fermentation |
| 1 1/4 cups | warm water | activates yeast |
| 2 tablespoons | olive oil | adds richness |
| 2 1/4 teaspoons | active dry yeast | leavens the dough |
Preparation Methods
Kneading: This technique develops gluten, giving bread its structure and chew. In a bread machine, the dough is kneaded until it's smooth and elastic, which is crucial for a well-risen loaf.
Proofing: Critical for allowing the dough to rise and develop flavor. In a bread machine, proofing is timed precisely to ensure optimal rise without overproofing.
Baking: The bread machine bakes the bread evenly, maintaining the right temperature throughout. This ensures a golden crust and even crumb.
Step 1: Prepare Ingredients
Gather all the ingredients and ensure they are at room temperature.
Measure each ingredient accurately using measuring cups and spoons.
Warm the water slightly to help activate the yeast.
Double-check that you have everything before starting.
Step 2: Add Ingredients to Bread Machine
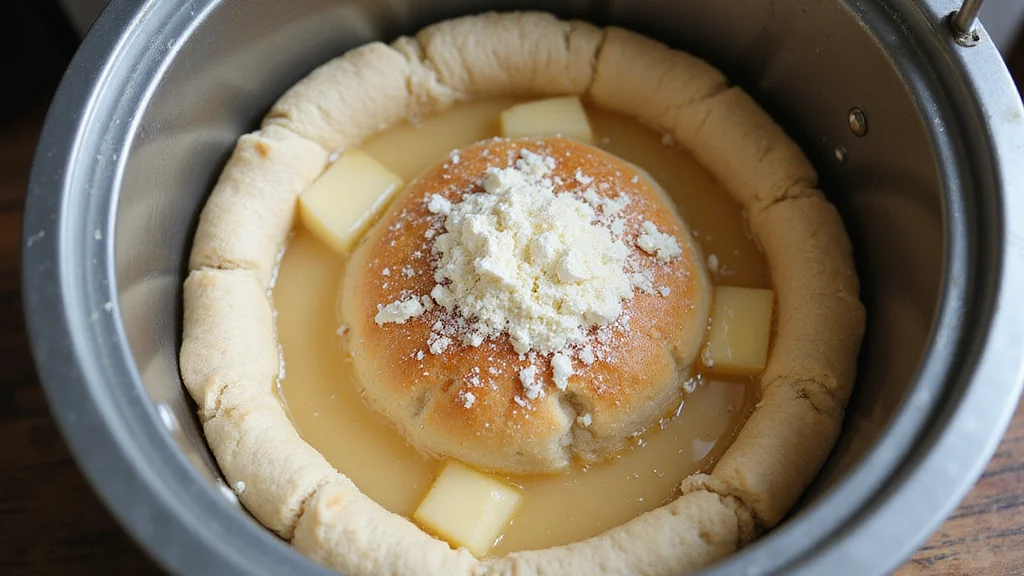
Open the bread machine and remove the bread pan.
Add the warm water and olive oil to the pan first.
Layer the dry ingredients on top, ending with the yeast.
Make sure the yeast does not touch the water initially.
Step 3: Select Bread Setting
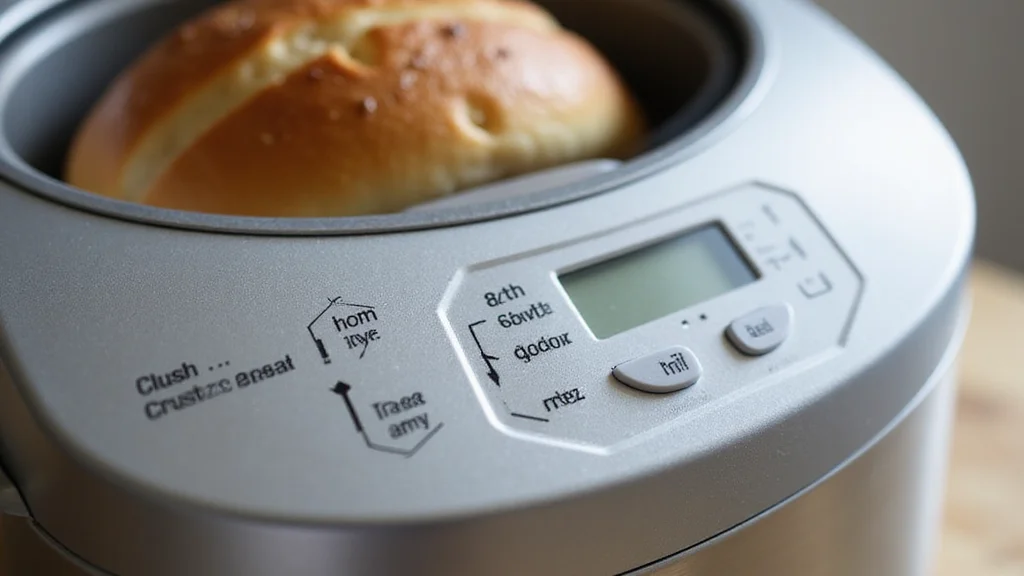
Place the pan back into the bread machine and close the lid.
Select the basic bread setting on your machine.
Adjust the crust color to your preference, such as light, medium, or dark.
Press start to begin the cycle.
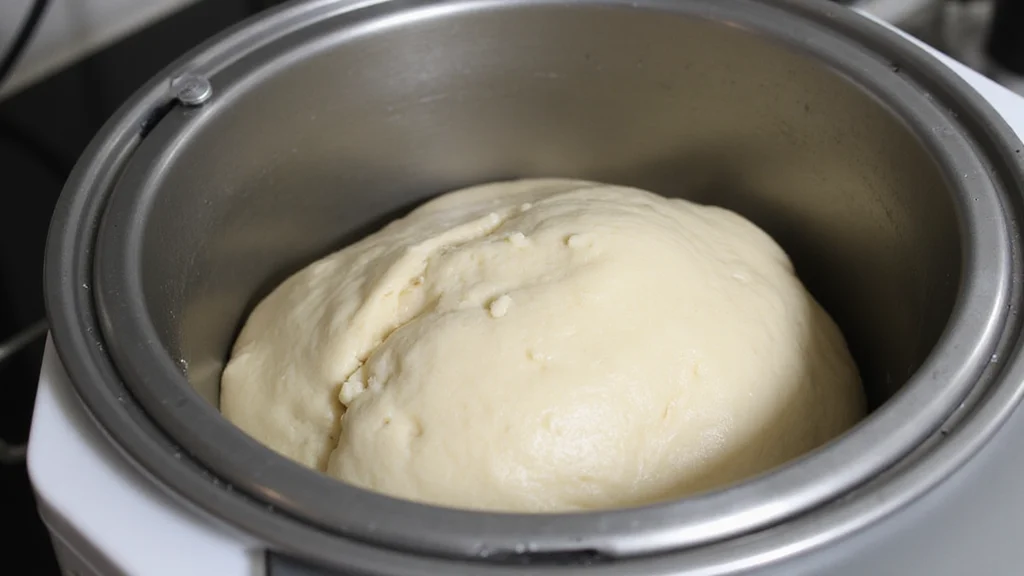
Step 4: Kneading Process
The machine will begin to knead the ingredients into a dough.
Listen for the rhythmic kneading sounds, indicating the process has started.
After a few minutes, check that the dough forms a smooth ball.
If the dough is too sticky, add flour a tablespoon at a time.
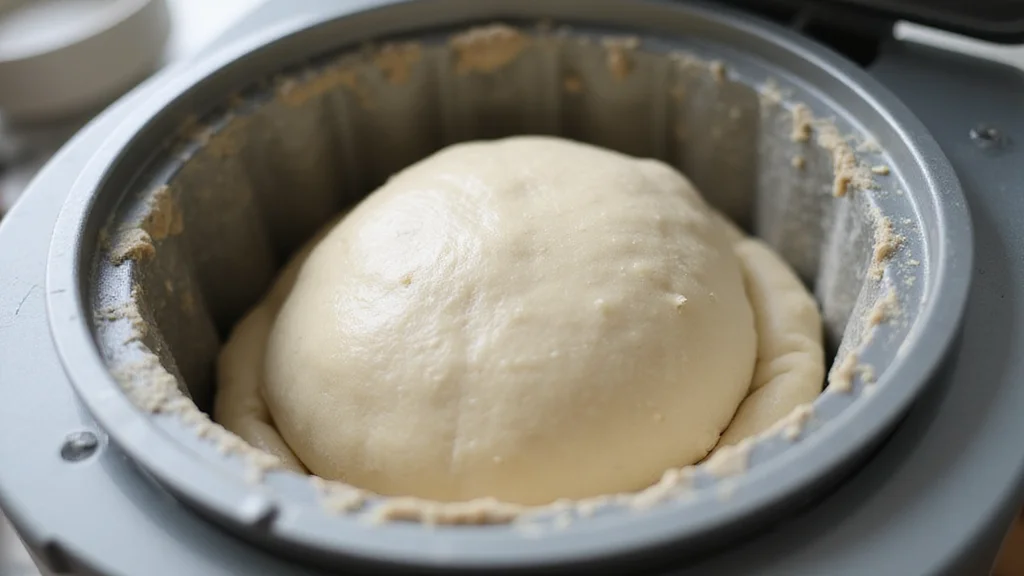
Step 5: First Rise
The dough will now rest and rise within the machine.
This phase allows the yeast to ferment and expand the dough.
Ensure the lid is closed to maintain a warm environment.
After this rise, the dough should double in size.
Step 6: Baking Cycle
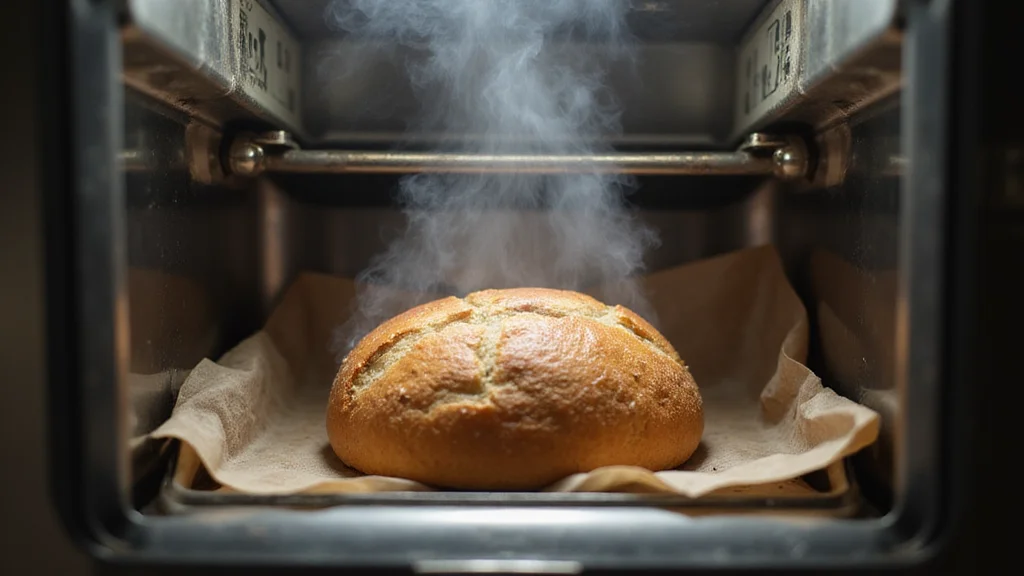
The bread machine will automatically transition to the baking phase.
During baking, the dough will form a crust and bake through.
The aroma of baking bread will fill your kitchen.
Avoid opening the lid during this phase to maintain the temperature.
Step 7: Cooling the Bread
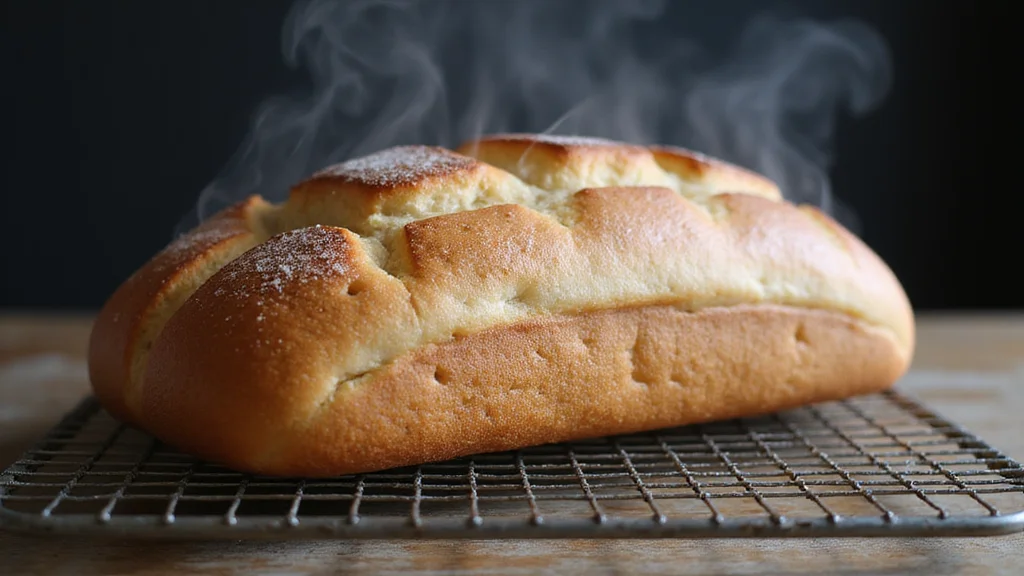
Once baking is complete, remove the pan from the machine carefully.
Turn the pan upside down to release the bread onto a cooling rack.
Allow the bread to cool completely for optimal texture.
Cooling prevents the bread from becoming soggy.
Step 8: Slicing and Serving
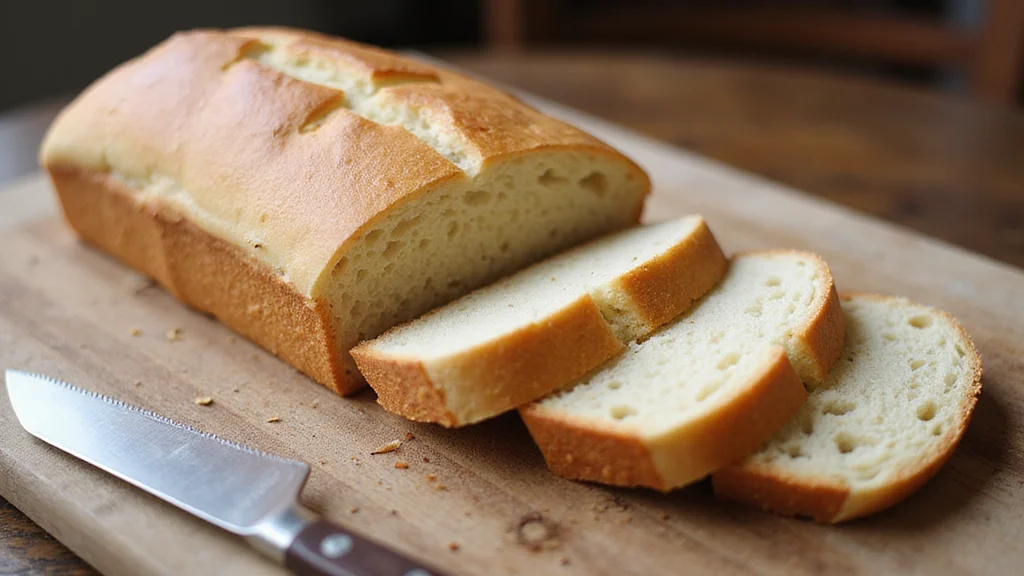
Once the bread is cooled, use a serrated knife to slice it.
Slice gently to maintain the structure and texture.
Serve the slices warm or room temperature for the best flavor.
Store any leftover bread in a sealed bag to maintain freshness.
Critical Timing and Temperature Guide
First Rise: Allow dough to rise for approximately 60 minutes at a consistent warm temperature. Look for doubling in size as an indicator.
Baking: Bake at a consistent temperature around 350°F. The bread should have a golden-brown crust when done.
Cooling: Allow bread to cool for at least 30 minutes on a rack to prevent a soggy texture and ensure even cooling.
Pro Tips for Bread Machine Recipes
• Ingredient Selection: Use high-quality bread flour for the best structure and texture.
• Preparation Secret: Add a teaspoon of vinegar to enhance gluten development and improve texture.
• Temperature Management: Keep ingredients, especially yeast, at room temperature for consistent results.
• Texture Enhancement: Let the dough rest after kneading to allow gluten to relax, resulting in a softer bread.
• Flavor Layering: Incorporate herbs or spices into the dough for added flavor complexity.
• Make-Ahead Strategies: Prepare the dough in advance and refrigerate it overnight for a more developed flavor.
• Restaurant-Quality Finishing Touches: Brush the top with butter post-baking for a shiny, flavorful crust.
• Equipment Optimization: Regularly clean your bread machine to maintain its efficiency and extend its lifespan.
Troubleshooting Common Issues
• Dense Texture: Often caused by insufficient kneading or inaccurate measurements. Ensure dough forms a smooth ball during kneading.
• Uneven Rising: Can occur if yeast is inactive or expired. Check yeast freshness before use.
• Crust Too Thick: May result from over-baking. Adjust crust settings or monitor baking time closely.
• Off Flavors: Typically due to rancid flour or old yeast. Use fresh, high-quality ingredients.
• Hollow Top: Caused by overproofing. Reduce rise time or temperature for better control.
Variations and Regional Differences
• French Baguette: Uses a longer rise time and minimal ingredients for a crusty exterior and chewy interior.
• Italian Ciabatta: Characterized by a high hydration dough, resulting in a light, airy crumb with large holes.
• Whole Wheat Bread: Incorporates whole wheat flour for added fiber and a denser texture.
• Sourdough: Utilizes a fermented starter for a tangy flavor and chewy texture.
Food Science Behind the Recipe
• Gluten Formation: Gluten proteins in flour form a network, providing structure and elasticity to the dough.
• Yeast Fermentation: Yeast consumes sugars, producing carbon dioxide gas that causes the dough to rise.
• Maillard Reaction: This chemical reaction between amino acids and reducing sugars gives baked bread its golden-brown crust and complex flavors.
Frequently Asked Questions
What's the most common mistake people make when preparing bread in a machine? Not measuring ingredients accurately, leading to imbalanced dough consistency.
Can I use all-purpose flour instead of bread flour? Yes, but the bread will have a softer texture and less chewiness.
How do I prevent my bread from sticking to the pan? Lightly oil the pan before adding ingredients to ensure easy release.
Why is my bread collapsing after baking? This could be due to overproofing or too much yeast. Adjust the yeast amount and proofing time.
Is it possible to add ingredients like nuts or seeds? Yes, add them during the kneading phase for even distribution.
Can I make gluten-free bread in a bread machine? Yes, but use a specific gluten-free setting or recipe for best results.
How do I store leftover bread to keep it fresh? Wrap it in a cloth or store in a sealed bag at room temperature for a few days.
Serving and Presentation Guide
• Traditional Presentation: Serve slices warm with a pat of butter or a drizzle of olive oil.
• Rustic Display: Present the whole loaf on a wooden board with a bread knife for guests to slice themselves.
• Brunch Setting: Pair slices with an array of jams, cheeses, and cured meats for a complete spread.
• Gourmet Plating: Arrange slices alongside a bowl of soup or a fresh salad for a balanced meal.
Conclusion
With these easy bread machine recipes, you can enjoy the pleasure of homemade bread without the hassle.
Each recipe offers a unique flavor and texture, perfect for any occasion.
Dive into the world of bread-making and discover the joy of baking from scratch.