


Baking bread at home is a timeless tradition that fills your kitchen with warmth and the irresistible aroma of fresh bread.
The simple pleasure of slicing into a loaf you’ve made with your own hands is unmatched.
I first fell in love with homemade bread during a winter spent in the countryside, where the chill in the air was perfectly countered by the warmth of baking.
This easy bread recipe is perfect for beginners and seasoned bakers alike, offering a straightforward guide to creating something truly special.
Whether it’s a rustic loaf or soft rolls, the results are always satisfying and delicious.
Join me on this journey as we explore the art and science of bread-making together.
The History and Cultural Significance
• Bread Recipes – traces its origins to ancient Egypt, where it was originally created by early bakers experimenting with fermentation.
• The dish evolved over decades as milling techniques improved and yeast cultivation became more reliable, eventually becoming the beloved version we know today.
• In many cultures, this dish traditionally appears at family gatherings and religious ceremonies, symbolizing sustenance and community.
• While many variations exist across different regions, the authentic version maintains a chewy crust and airy crumb that sets it apart from imitations.
Recipe Overview
Nutritional Information (per serving)
Essential Equipment Guide
Mixing Bowl: A sturdy mixing bowl is essential for combining ingredients and kneading dough. Opt for a non-slip base to prevent movement during mixing, or use a large glass or metal bowl for better heat conduction.
Bench Scraper: This tool helps in handling sticky dough and cleaning surfaces. Alternatives include a spatula or knife, but a bench scraper is best for its flat edge and versatility.
Baking Stone or Sheet: A baking stone or heavy-duty sheet ensures even heat distribution, crucial for a crisp crust. If unavailable, a preheated heavy-duty baking sheet can serve as a substitute.
Ingredients
For the Dough
|
| Amount | Ingredient | Notes |
|---|---|---|
| 3 cups | all-purpose flour | sifted for light texture |
| 1 packet | active dry yeast | provides leavening |
| 1 1/2 cups | warm water | activates yeast |
| 1 teaspoon | salt | enhances flavor |
| 1 tablespoon | olive oil | adds richness |
Preparation Methods
Kneading: Kneading develops gluten, giving bread its structure and chewiness. Press the dough with the heels of your hands, fold it over, and repeat. Mastering this technique ensures a well-textured loaf.
Proofing: Allowing the dough to rise in a warm place encourages yeast activity and flavor development. Cover the bowl with a damp cloth to prevent drying out.
Shaping: Shaping the dough before its final rise impacts the bread’s appearance and texture. Gently stretch and fold the dough into a tight ball or desired shape without deflating it.
Step 1: Prepare Ingredients
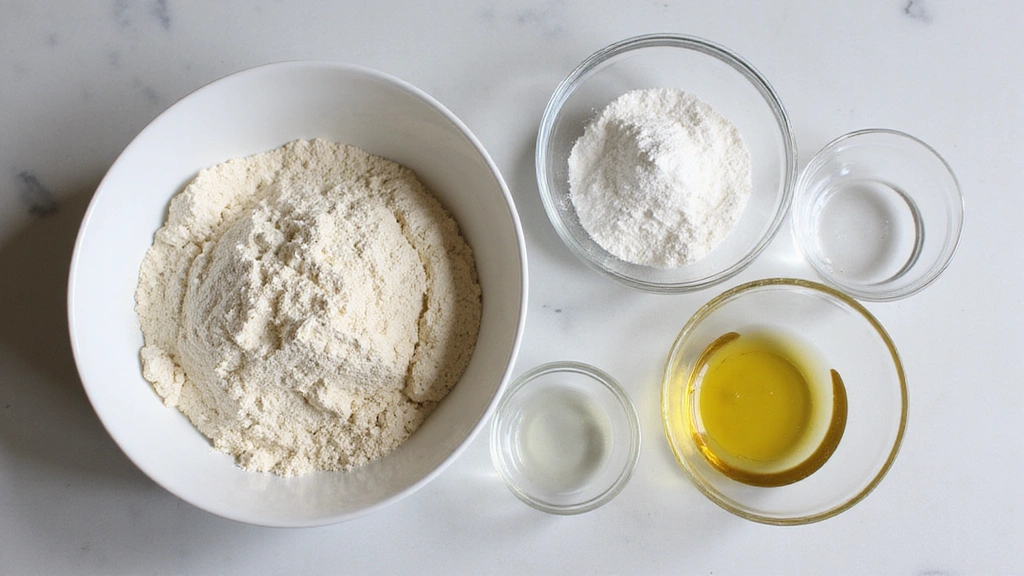
Begin by gathering all your ingredients.
Measure them accurately to ensure consistency.
Keep the water warm but not hot to avoid killing the yeast.
Have your mixing bowl ready for combining ingredients.
Step 2: Activate Yeast
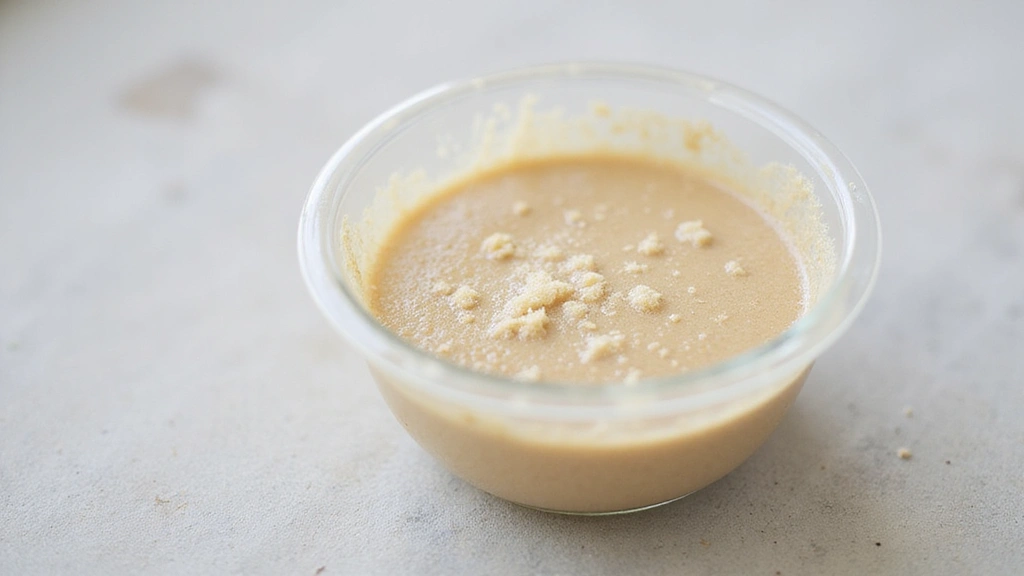
In a small bowl, combine warm water and yeast.
Stir gently until dissolved.
Let it sit for 5 minutes until foamy.
This indicates that the yeast is active and ready.
Step 3: Mix Dough
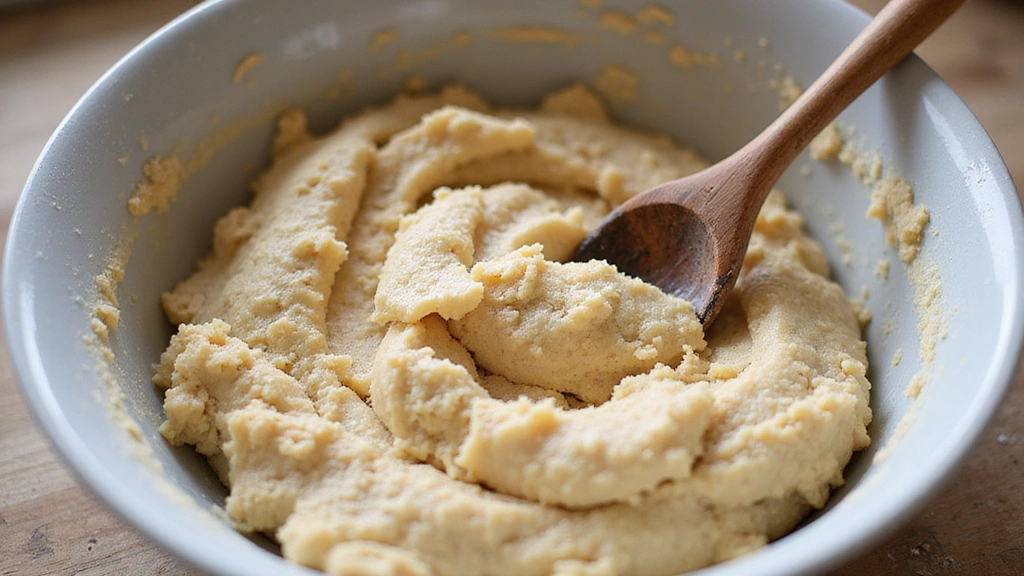
In a large mixing bowl, combine flour and salt.
Create a well in the center and pour in the yeast mixture and olive oil.
Stir with a wooden spoon until a shaggy dough forms.
Ensure all flour is incorporated and no dry spots remain.
Step 4: Knead Dough
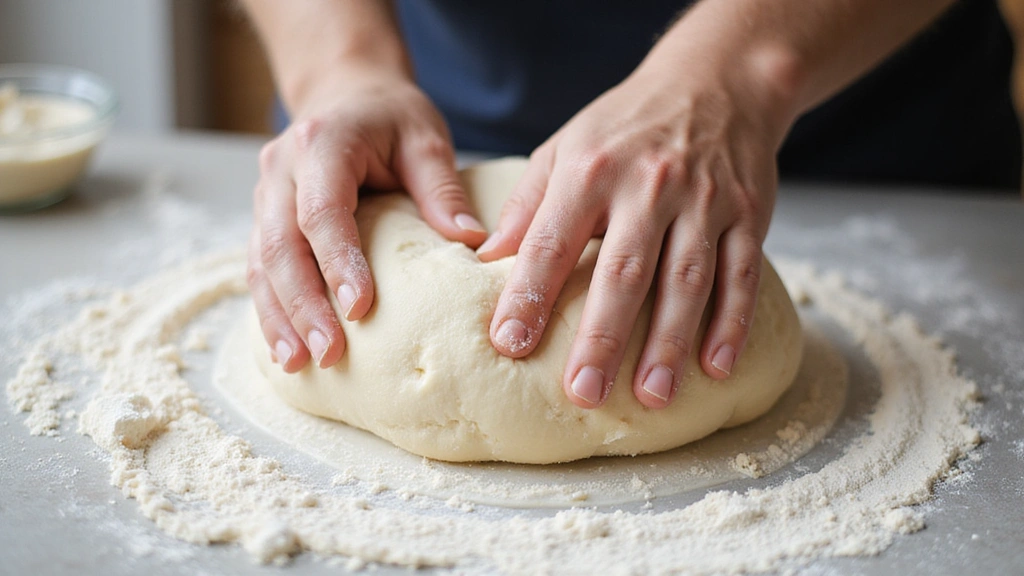
Transfer the dough to a floured surface.
Begin kneading by folding and pressing the dough with your palms.
Continue for 8-10 minutes until smooth and elastic.
If the dough is sticky, dust with additional flour as needed.
Step 5: First Rise
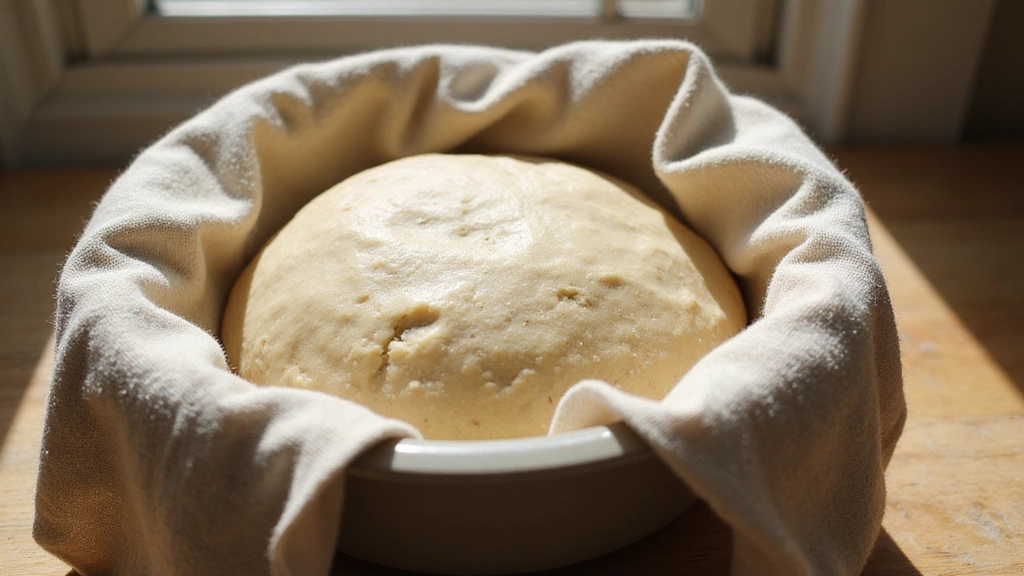
Shape the dough into a ball and place it in a lightly oiled bowl.
Cover with a damp cloth and let rise in a warm place.
Allow it to double in size, about 1 hour.
Check that the dough springs back slightly when poked.
Step 6: Shape Dough
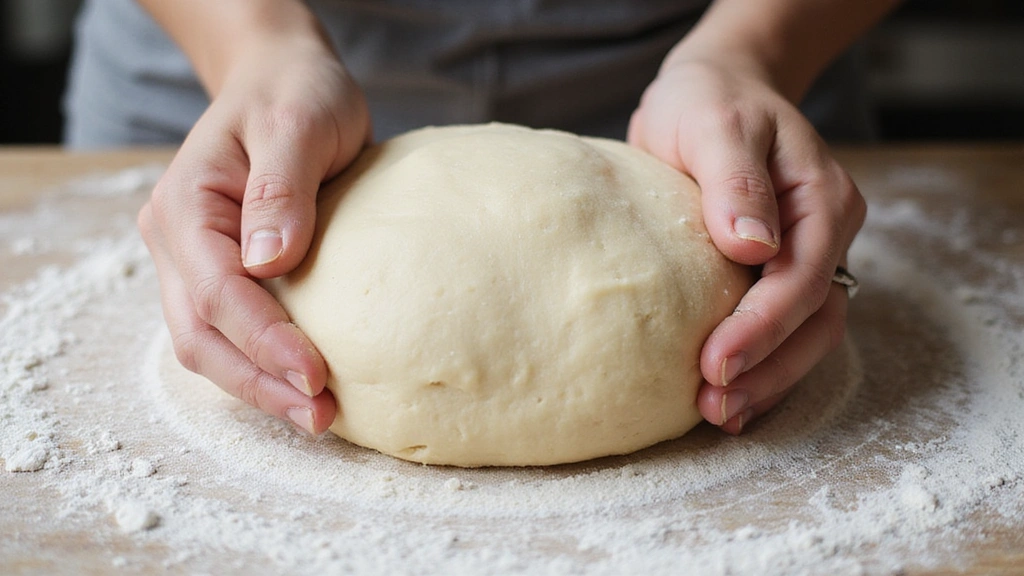
Punch down the risen dough gently to release air.
Turn it onto a floured surface and shape it by folding edges to the center.
Form into a tight ball or loaf shape.
Place on a baking sheet or stone to rise again.
Step 7: Second Rise
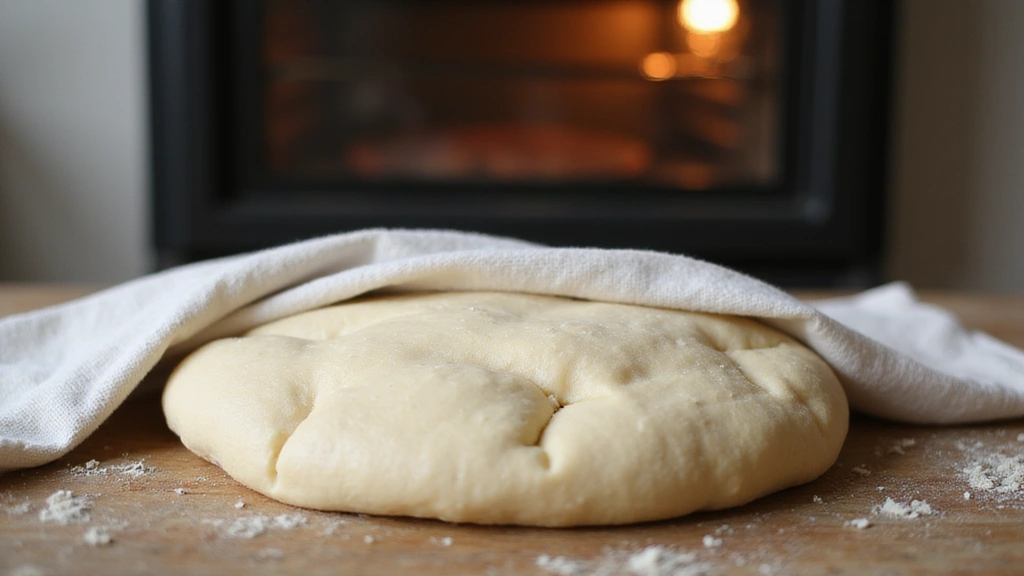
Cover the shaped dough with a cloth again.
Let it rise for another 30-40 minutes until puffy.
Preheat your oven to 450°F during this time.
Ensure dough has risen adequately before baking.
Step 8: Bake Bread
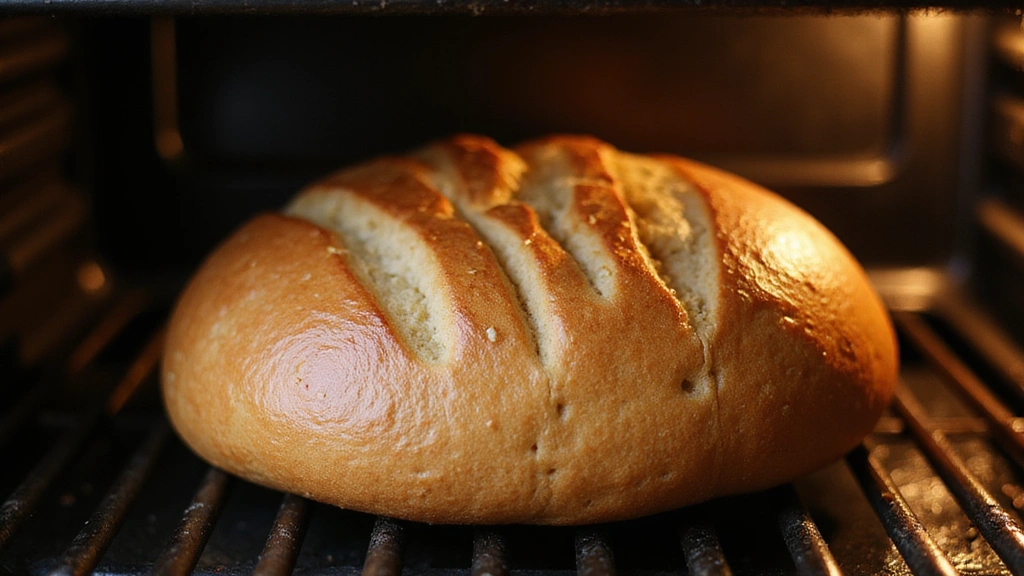
Score the top of the dough with a sharp knife.
Place it in the preheated oven on the center rack.
Bake for 25-30 minutes until golden brown.
Check for a hollow sound when tapped on the bottom.
Critical Timing and Temperature Guide
Proofing: Proof the dough for about 1 hour initially, and 30-40 minutes after shaping. Look for the dough to double in size and become puffy. Avoid over-proofing, which leads to collapsing.
Baking: Bake at 450°F for 25-30 minutes. The bread should be golden brown with a hollow sound when tapped. Watch for burning if the oven runs hot.
Cooling: Allow bread to cool on a wire rack for at least 30 minutes before slicing. Cutting too soon can ruin texture and steam release.
Pro Tips for Bread Recipes –
• Ingredient Selection: Use high-quality all-purpose flour for the best gluten structure, and ensure your yeast is fresh for optimal rise.
• Preparation Secret: Let the dough rest for a few minutes during kneading. This relaxes gluten and makes handling easier.
• Temperature Management: Keep your kitchen warm during proofing for consistent yeast activity. A slightly warm oven (turned off) can help.
• Texture Enhancement: For a chewier texture, add a tablespoon of vital wheat gluten to the flour.
• Flavor Layering: Incorporate a small amount of sugar or honey to feed the yeast and enhance flavor.
• Make-Ahead Strategies: Prepare dough the day before and refrigerate after the first rise. This enhances flavor and flexibility in timing.
• Restaurant-Quality Finishing Touches: Brush the loaf with butter immediately after baking for a soft, flavorful crust.
• Equipment Optimization: If lacking a baking stone, preheat a heavy-duty baking sheet for a similar effect.
Troubleshooting Common Issues
• Dense Texture: Caused by insufficient kneading or proofing. Ensure dough is kneaded until smooth and elastic and proofed until doubled in size.
• Bread Not Rising: Check yeast freshness and water temperature. Yeast should foam in warm water. Replace yeast if inactive.
• Crust Too Hard: Over-baking or high oven temperature. Bake at recommended temperature and cover with foil if browning too quickly.
• Sticky Dough: Due to high humidity or incorrect flour measurement. Add flour gradually until dough is manageable.
• Uneven Bake: Ensure oven is fully preheated and use an oven thermometer for accuracy. Rotate loaf midway if necessary.
Variations and Regional Differences
• French Baguette: Uses a lean dough with a longer fermentation period, providing a crisp crust and airy interior. Often requires steam during baking for authentic results.
• Italian Ciabatta: Known for its open crumb and chewy texture, made with a wetter dough and olive oil.
• German Rye Bread: Incorporates rye flour and sourdough starter for a dense, flavorful loaf, reflecting traditional German bread-making.
• Indian Naan: A softer, leavened flatbread often cooked in a clay oven. Yogurt and ghee are typical ingredients for authenticity.
Food Science Behind the Recipe
• Gluten Development: Kneading aligns gluten strands, creating a network that traps gases and gives bread its structure.
• Yeast Fermentation: Yeast consumes sugars, producing carbon dioxide and ethanol, which leavens the bread and contributes to flavor.
• Maillard Reaction: The caramelization of sugars and proteins at high temperatures creates the bread's brown crust and complex flavors.
Frequently Asked Questions
What's the most common mistake people make when preparing bread? Not kneading the dough enough to develop gluten, resulting in a dense loaf.
Can I use a bread machine for this recipe? Yes, adjust the settings to mix, knead, and bake as per the machine's instructions.
How do I know if my yeast is still active? Proof it in warm water with a little sugar. If it foams after 5 minutes, it's active.
Can I substitute whole wheat flour? Yes, but expect a denser loaf. Mix with all-purpose flour for better texture.
What's the best way to store homemade bread? Store in a paper bag or bread box to maintain crust quality. Avoid plastic bags which soften the crust.
Why is my bread not browning? Ensure oven is preheated and use an egg wash or butter for color.
Is it necessary to score the dough? Scoring allows steam to escape and helps the bread expand evenly in the oven.
Serving and Presentation Guide
• Traditional Presentation: Serve bread warm, sliced on a wooden board with a serrated knife for a rustic touch.
• Garnished Presentation: Drizzle with olive oil and sprinkle with sea salt or herbs for an enhanced flavor.
• Accompaniment Presentation: Pair with a selection of cheeses, olives, and charcuterie for an appealing platter.
• Modern Presentation: Serve with flavored butters or spreads presented in small ramekins for a contemporary twist.
Conclusion
Embarking on the journey of homemade bread-making is both rewarding and delicious.
This easy recipe ensures that with a little patience and care, anyone can bake a loaf to be proud of.
So, gather your ingredients and tools, and fill your home with the delightful aroma of freshly baked bread today.