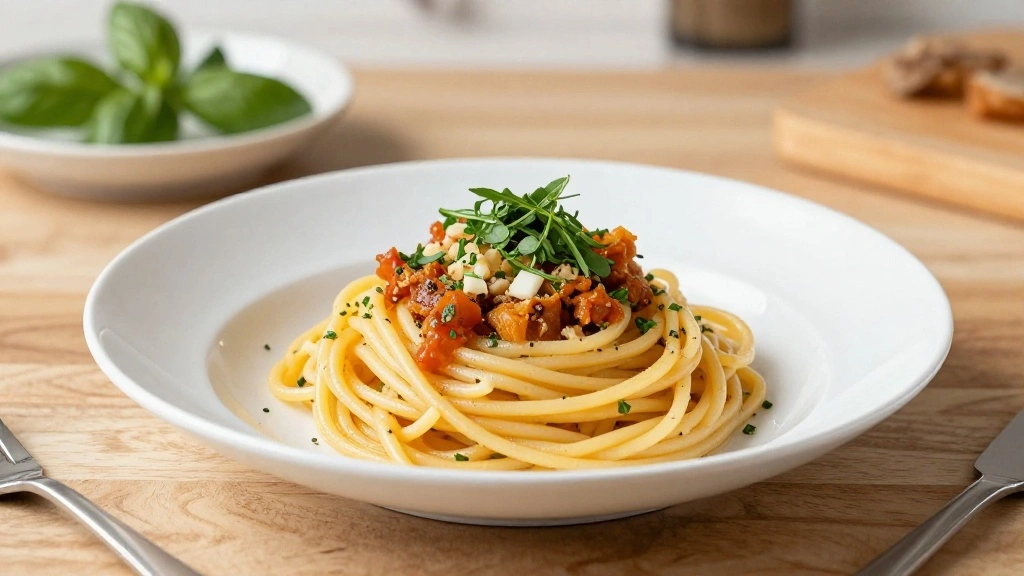


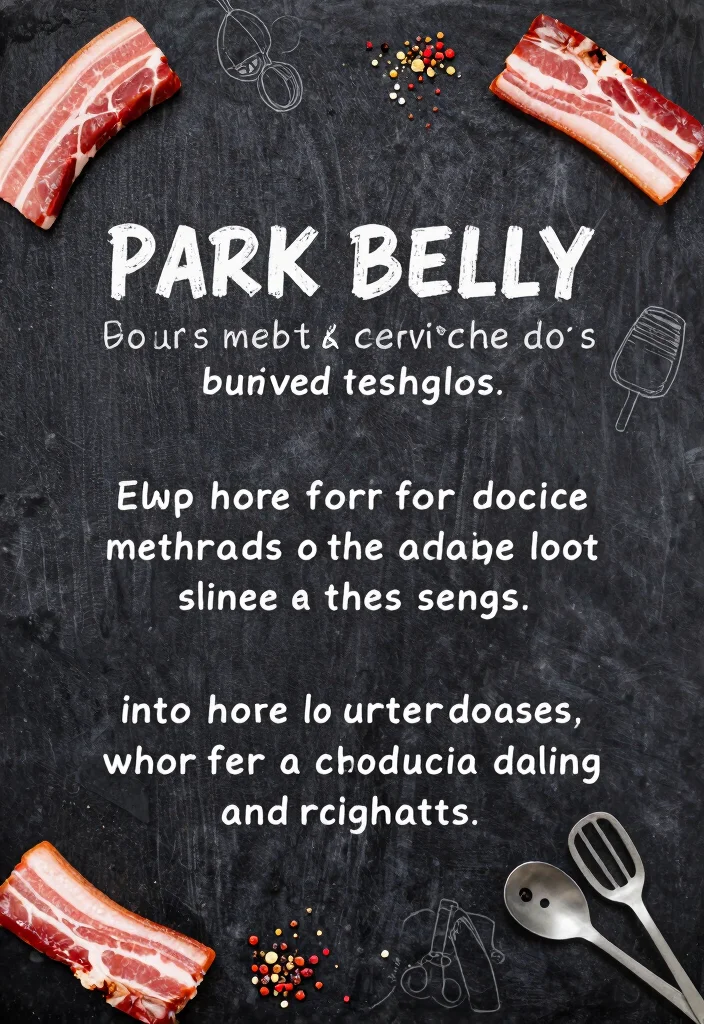
Are you ready to indulge in some mouthwatering pork belly burnt ends? I created this post because I can’t get enough of that crispy, tender goodness. There’s something magical about the combination of juicy pork belly, rich flavors, and that delightful crunch. It’s the perfect dish for gatherings, family dinners, or simply when you want to treat yourself.
If you’re a home chef looking to impress friends with something unique, this recipe is for you. Whether you’re a seasoned pro in the kitchen or just starting your culinary journey, you’ll appreciate this guide. You’ll learn how to make oven-cooked pork belly burnt ends that are incredibly crispy on the outside and tender on the inside. Plus, I’ve included handy tips and tricks to elevate your cooking game.
Get ready to dive into a detailed, easy-to-follow recipe that will leave you satisfied and craving more. You’ll discover essential ingredients, preparation steps, cooking techniques, and even how to store those tasty leftovers. By the end, you’ll have everything you need to create your own homemade burnt ends that are sure to impress.
Key Takeaways
– You’ll learn how to prepare pork belly burnt ends in the oven, ensuring crispy edges and tender meat.
– Discover essential ingredients that elevate the flavor of your burnt ends for an unforgettable meal.
– Follow straightforward steps for cutting, seasoning, and cooking your pork belly to perfection.
– Gain insights into saucing your burnt ends and serving suggestions that complement the dish beautifully.
– Find tips for storing leftovers and reusing them in delicious ways, making the most of your meal.
Recipe Overview

Are you ready to dive into a mouthwatering experience? These pork belly burnt ends are not just a treat; they’re an indulgence that everyone craves. With a perfect balance of crispy and tender textures, they are sure to impress at any gathering or dinner table. You’ll love how easy they are to prepare, making them perfect for anyone looking to elevate their cooking game with minimal effort.
Servings: 4-6 people
Prep Time: 20 minutes
Cook Time: 2 to 3 hours
Total Time: Approximately 3 hours
Calories: Around 350-400 per serving (varies based on portion size and ingredients)
Get ready for a flavor explosion that makes every bite worth the wait!
Fun fact: this instant pot pulled pork recipe can go from pantry to plate in just 30 minutes, delivering tender, shreddable meat. The secret is timing and spices that lock in flavor for sandwiches, tacos, or rice bowls.
🍖 Set & Forget Cooking Made Easy
Transform your weeknight dinners with effortless slow cooker recipes designed for busy home chefs like you!
Nutritional Breakdown
Want to enjoy a delicious meal while keeping track of what you eat? Knowing the nutritional content of pork belly burnt ends can help you indulge wisely.
Nutritional Information (per serving):
– Calories: 350-400
– Total Fat: 30g (Saturated Fat: 10g)
– Cholesterol: 70mg
– Sodium: 600mg
– Carbohydrates: 5g (Fiber: 0g, Sugar: 4g)
– Protein: 24g
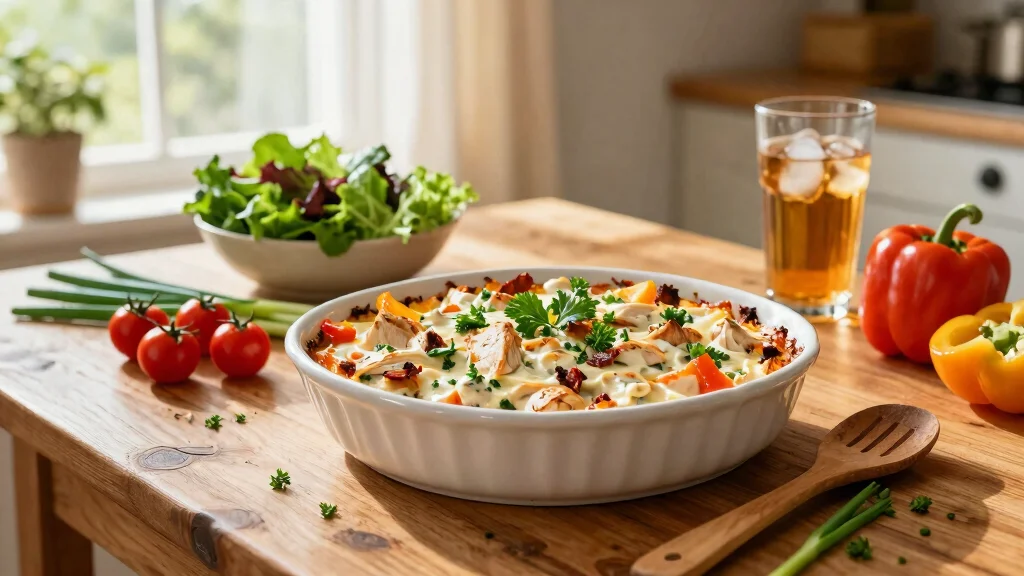
While these burnt ends are a decadent choice, balance is key. Pair them with a fresh salad or steamed veggies to create a well-rounded meal that satisfies your cravings while keeping things nutritious.
Essential Ingredients for Pork Belly Burnt Ends

Ready to create something special? You’ll need a few key ingredients that bring out the best in your pork belly.
Here’s your shopping list:
– 2 lbs pork belly
– 1/4 cup brown sugar
– 2 tablespoons smoked paprika
– 1 tablespoon garlic powder
– 1 tablespoon onion powder
– 1 teaspoon salt
– 1 teaspoon black pepper
– 1/4 cup barbecue sauce
Each ingredient contributes to a delightful blend of flavors. The brown sugar caramelizes beautifully, giving you that irresistible crunchy crust, while the spices enhance the rich taste of the pork belly, making it impossible to resist!
How To Choose the Right Pork Belly for Burnt Ends
When it comes to making the best pork belly burnt ends in the oven, choosing the right cut of meat is essential. The quality of your pork belly will directly affect the flavor and texture of your finished dish. Here are some tips to help you choose the perfect pork belly for your recipe:
1. Look for the Right Cut
Select a pork belly that has a good balance of meat and fat. You want to see a thick layer of fat on one side, as this will render during cooking and keep the meat tender and moist. A belly that is too lean will result in dry burnt ends. Aim for pork belly that is at least 3-4 inches thick for optimal results.
2. Check the Freshness
Always look for fresh pork belly. Check the sell-by date to ensure it’s not past its prime. The meat should have a pinkish hue with a nice, white layer of fat. Avoid any pork belly that looks gray or has an off smell, as this indicates it may be spoiled.
3. Consider the Source
If possible, buy your pork belly from a reputable butcher or a trusted source. This ensures you get high-quality meat that hasn’t been pumped full of additives or preservatives. Local farms often provide better cuts of meat compared to mass-produced options.
4. Pay Attention to the Price
Pork belly prices can vary widely based on quality and source. Don’t always go for the cheapest option, as this may lead to lower quality meat. Instead, find a balance between cost and quality. Generally, spending a little more on a good cut will pay off in flavor and texture.
5. Opt for Skin-On or Skinless
You can choose between skin-on or skinless pork belly. Skin-on will give you a nice crispy texture once cooked, while skinless may render more fat into the dish. If you enjoy crispy burnt ends, go for skin-on belly. If you prefer a slightly softer texture, skinless is a good choice.
6. Check for Grade
Pork is graded as either Prime, Choice, or Select. Prime pork belly is the best quality, with abundant marbling and tenderness. Choice is still a great option but may have a bit less fat. Select is leaner and can work, but it might not give you the melt-in-your-mouth experience you’re looking for. Opt for at least Choice grade or higher for the best results.
Pro Tip: If you’re unsure about which pork belly to choose, don’t hesitate to ask your butcher for recommendations. They can guide you to the best options available and even cut a custom size for your needs. Happy cooking!
Preparation: Cutting the Pork Belly
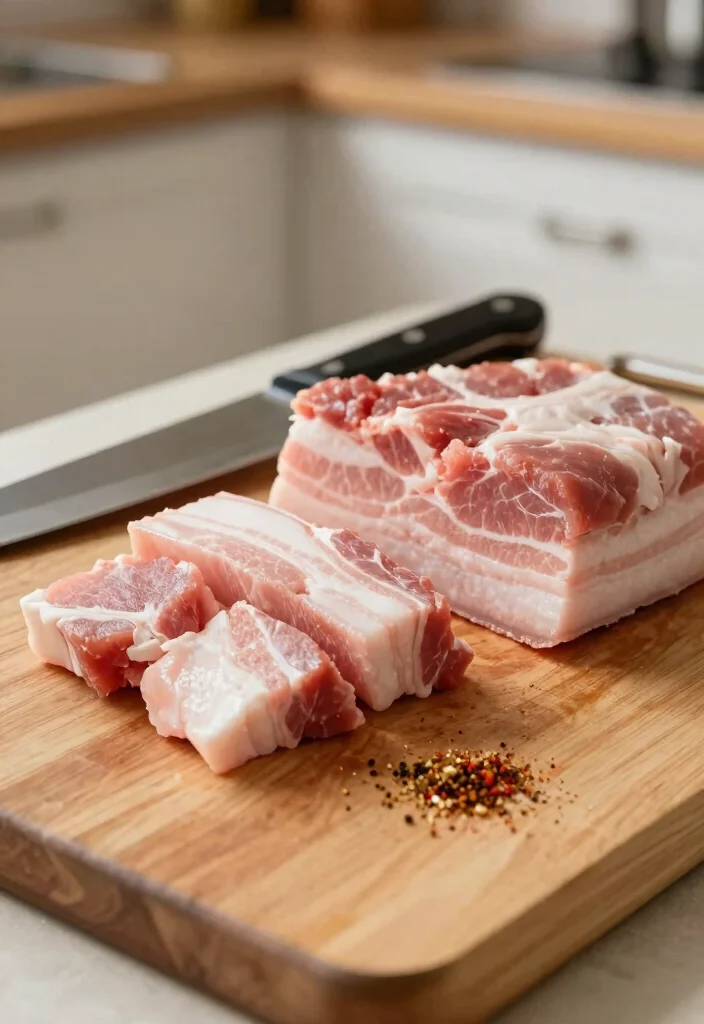
Getting your pork belly ready is crucial for achieving those perfect burnt ends. Let’s cut it just right for maximum flavor.
1. Rinse the pork belly under cold water and pat it dry with paper towels.
2. Place it on a cutting board, and cut it into 1-inch cubes for even cooking.
3. Trim any excess fat but keep some for that juicy texture.
4. Set the cubes aside while you prepare your spices.
Proper preparation will ensure that every piece is seasoned well and cooked to perfection. You want each cube to have that crunch and tenderness that makes these burnt ends so memorable.
Fun fact: Cutting pork belly into 1-inch cubes speeds even oven cooking and keeps juiciness locked in. Aim for uniform cubes; it cuts the risk of uneven browning and gives you tastier, more consistent burnt ends.
Seasoning: Getting That Flavor In
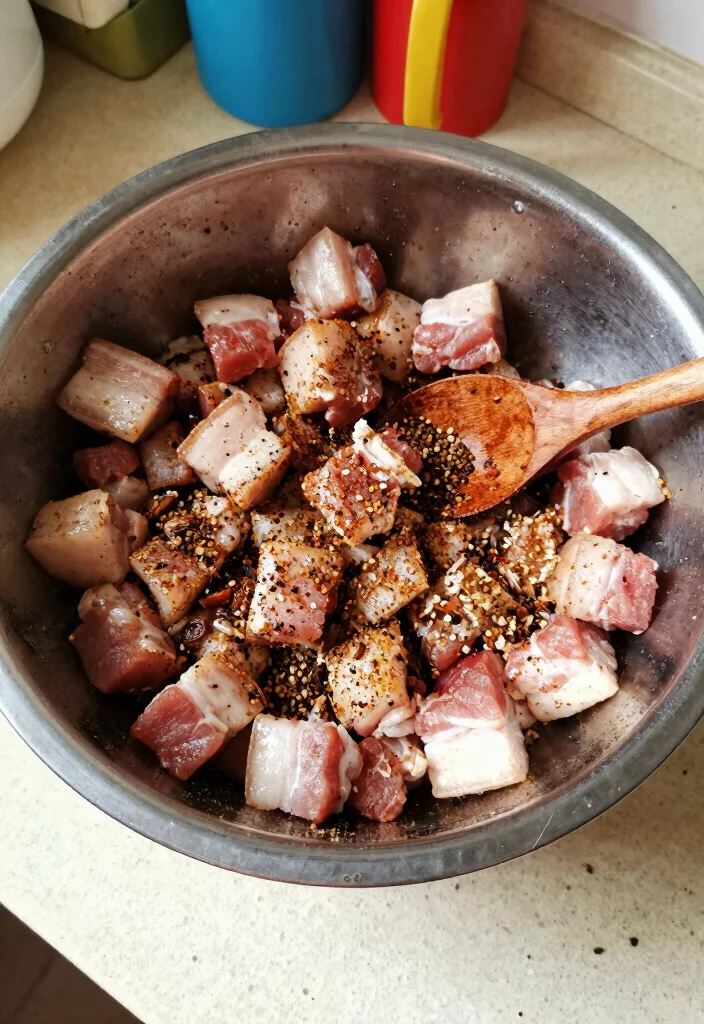
Now that your pork belly is cubed, it’s time to infuse it with flavor!
1. In a large bowl, mix together the brown sugar, smoked paprika, garlic powder, onion powder, salt, and black pepper.
2. Toss the pork belly cubes in the seasoning until they’re well-coated.
3. Cover the bowl and let the pork belly sit for about 30 minutes to let the flavors sink in.
This step is vital. The longer the pork sits with the spices, the more flavorful and tender it becomes. Think of it as marinating magic that enhances your dish!
Oven Preparation: Preheating and Pan Setup
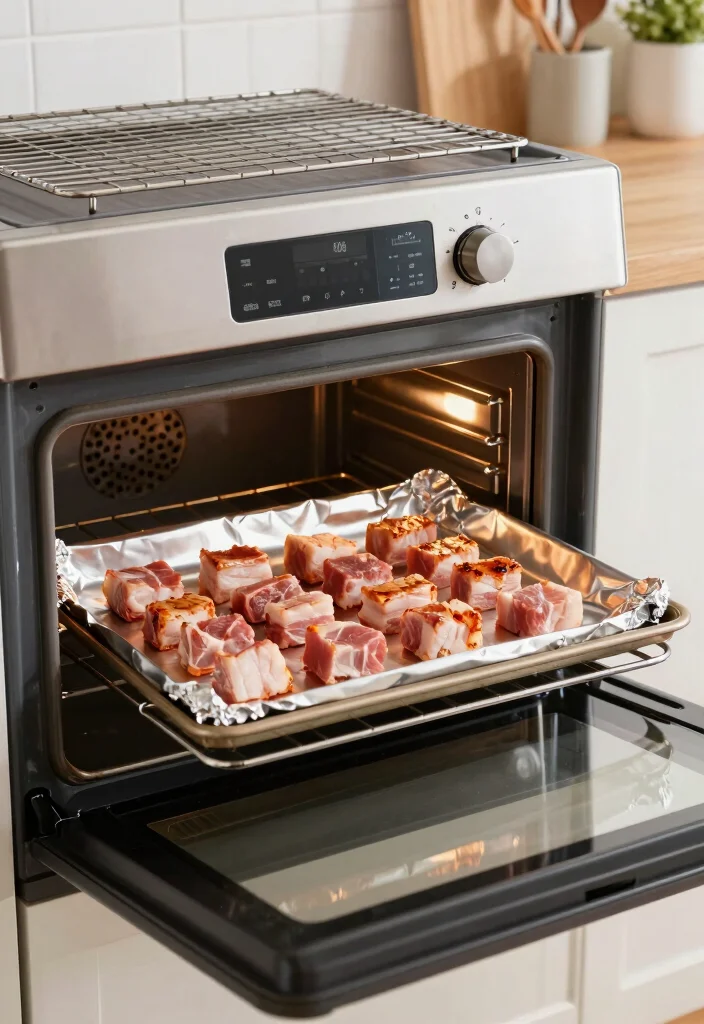
Before you cook, let’s prepare your oven for the best results.
1. Preheat your oven to 300°F (150°C). This slow cooking will make the pork incredibly tender.
2. Line a baking sheet with aluminum foil for easy cleanup, and place a cooling rack on top to allow fat to drain away as it cooks.
3. Spread the seasoned pork belly cubes evenly on the rack, ensuring they have space to crisp up.
By setting things up right, you’re ensuring that those burnt ends will turn out perfectly crisp and delicious!
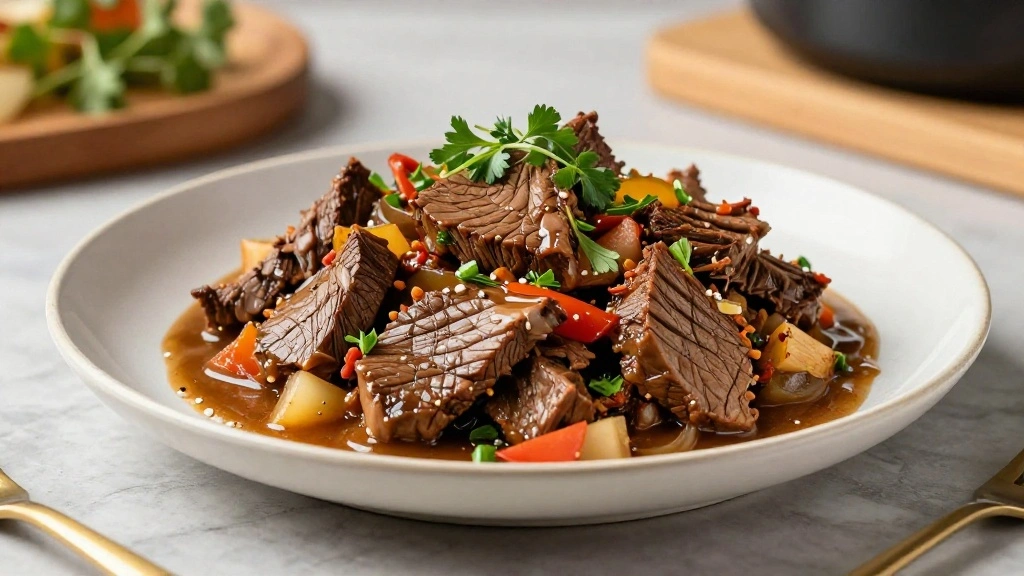
Cooking: Slow and Steady Wins the Race
The exciting part is here—let’s cook those pork belly burnt ends!
1. Place the baking sheet into the preheated oven.
2. Cook for 1.5 to 2 hours, flipping the cubes halfway through to achieve an even crisp.
3. Keep an eye on them; you’re aiming for a golden-brown finish.
4. When done, let them cool for about 10 minutes.
This slow cooking process lets the flavors meld and the pork belly become wonderfully tender, while the crispy edges create an irresistible treat!
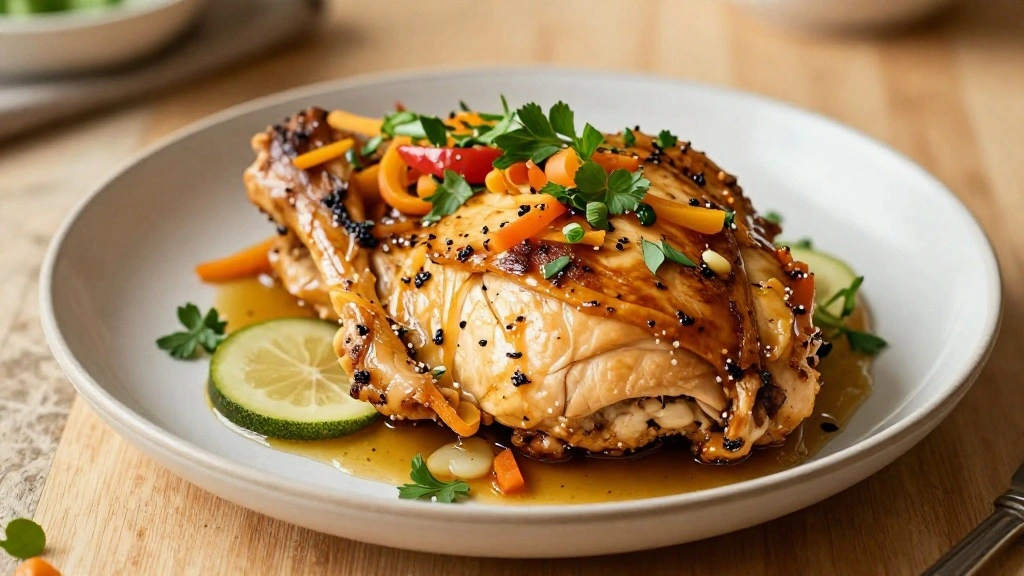
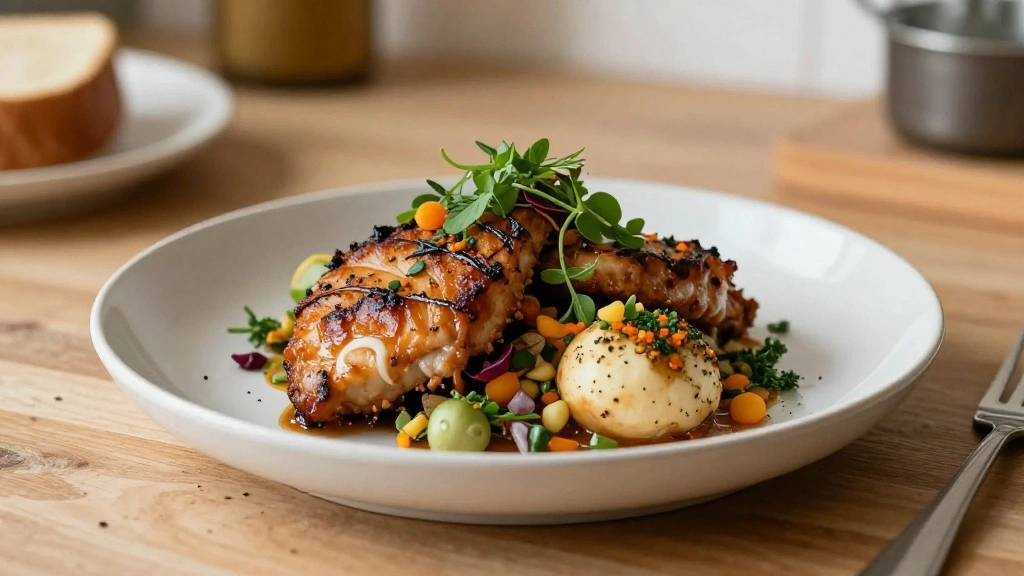
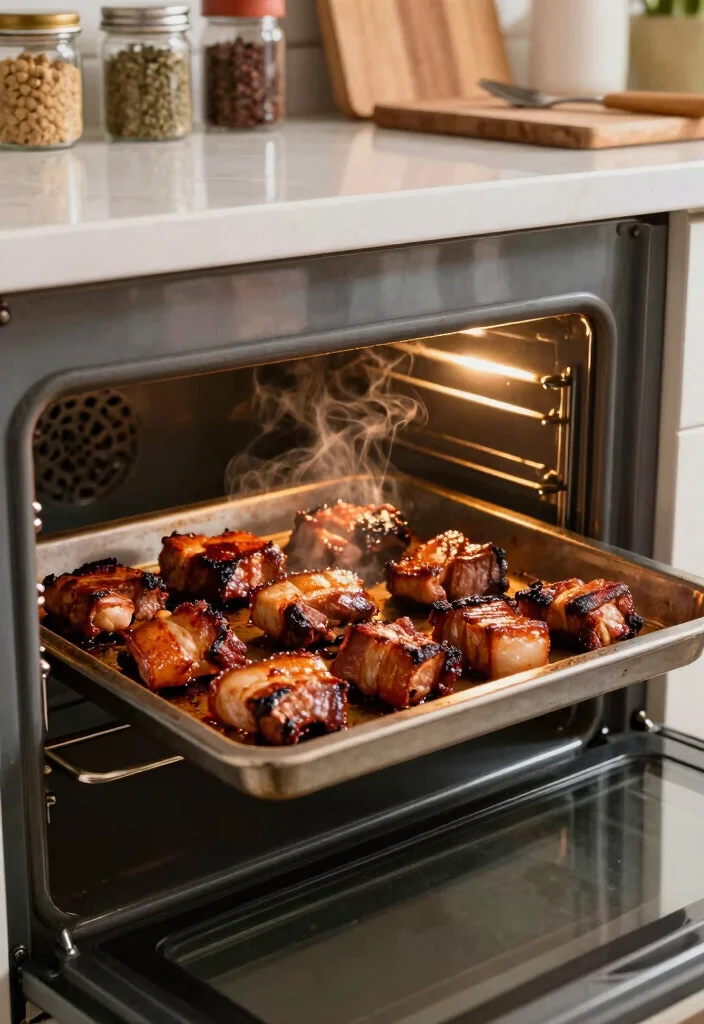
Saucing Up: Adding the Final Touch
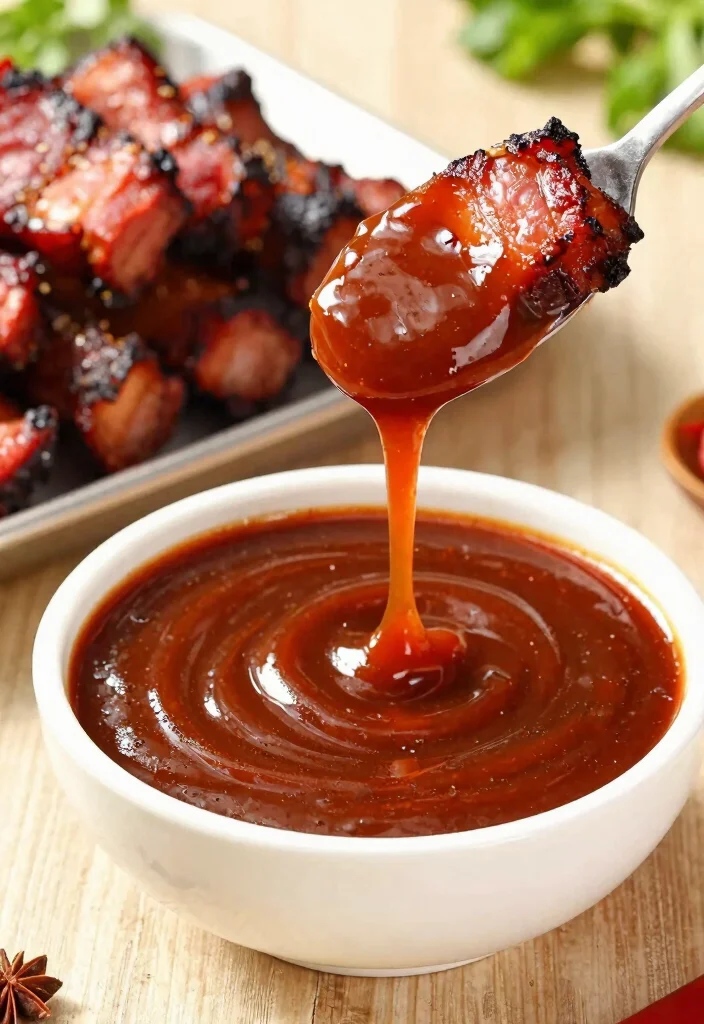
Now it’s time to take your pork belly burnt ends to the next level with a delicious sauce.
1. In a medium bowl, mix your favorite barbecue sauce with a tablespoon of apple cider vinegar for a tangy kick.
2. Toss the burnt ends in the sauce until they’re well-coated, adjusting the amount to your taste.
3. Return the sauced burnt ends to the baking sheet and bake for an additional 15-20 minutes.
This final touch is where the magic happens! The sauce caramelizes and creates a sticky, gooey glaze that makes every bite even more satisfying.
Fun fact: they say a 1 tablespoon splash of apple cider vinegar adds tang without thinning the glaze. For pork belly burnt ends in the oven, coating evenly and baking 15–20 minutes seals the caramelized finish.
Resting: Patience is Key
After that final bake, it’s essential to let your pork belly burnt ends rest. This step is crucial for flavor and texture.
1. Remove the burnt ends from the oven and let them cool for about 10 minutes.
2. Transfer them to a serving platter to allow excess grease to settle.
Resting is key; it lets the juices redistribute so every bite is juicy and flavorful. Trust us, a little patience here will pay off in deliciousness!
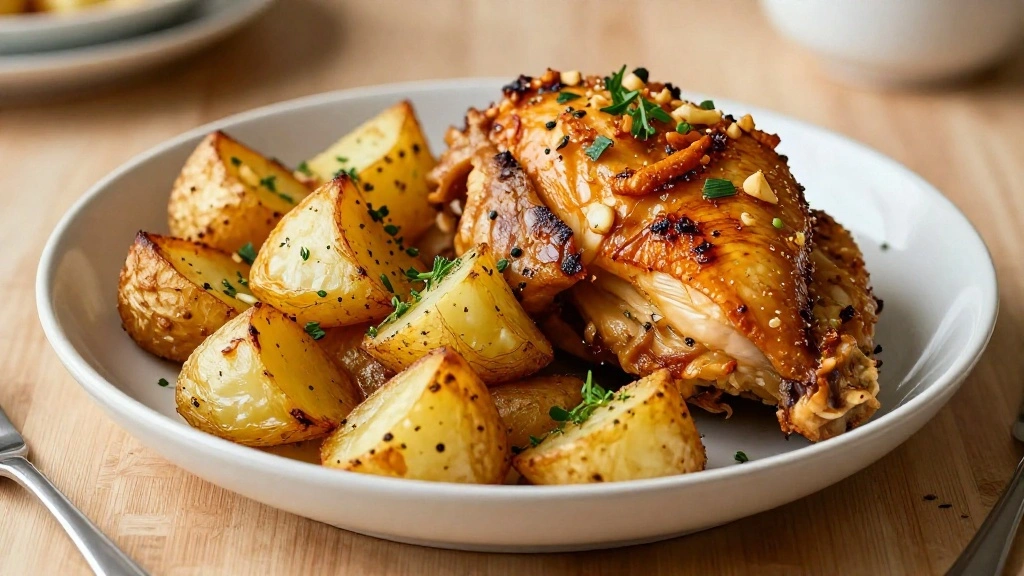
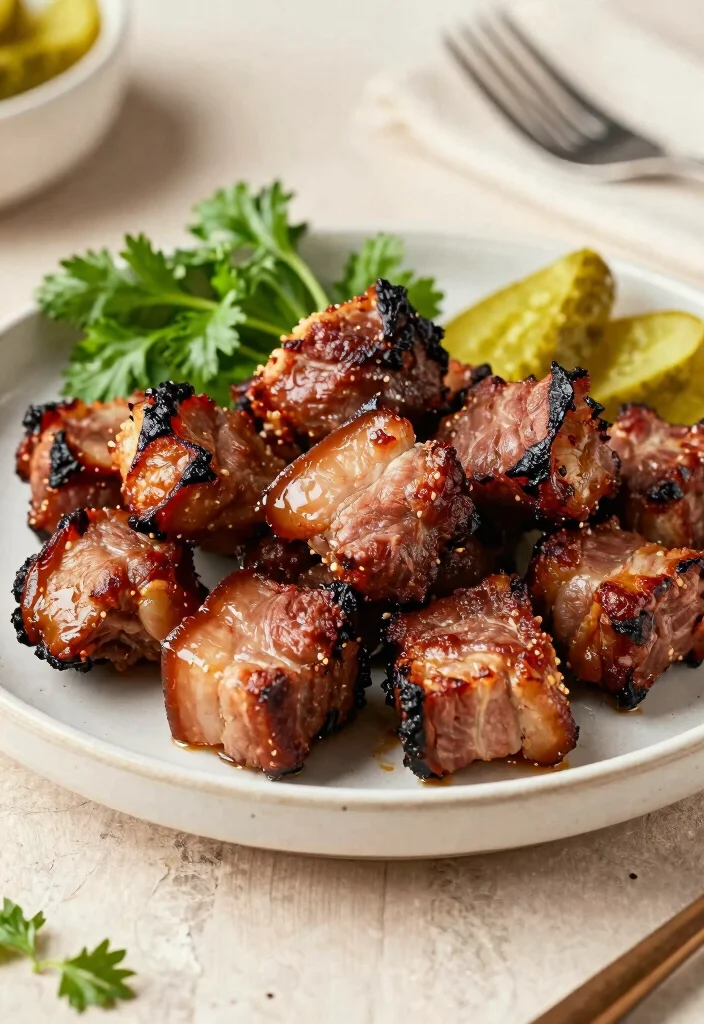
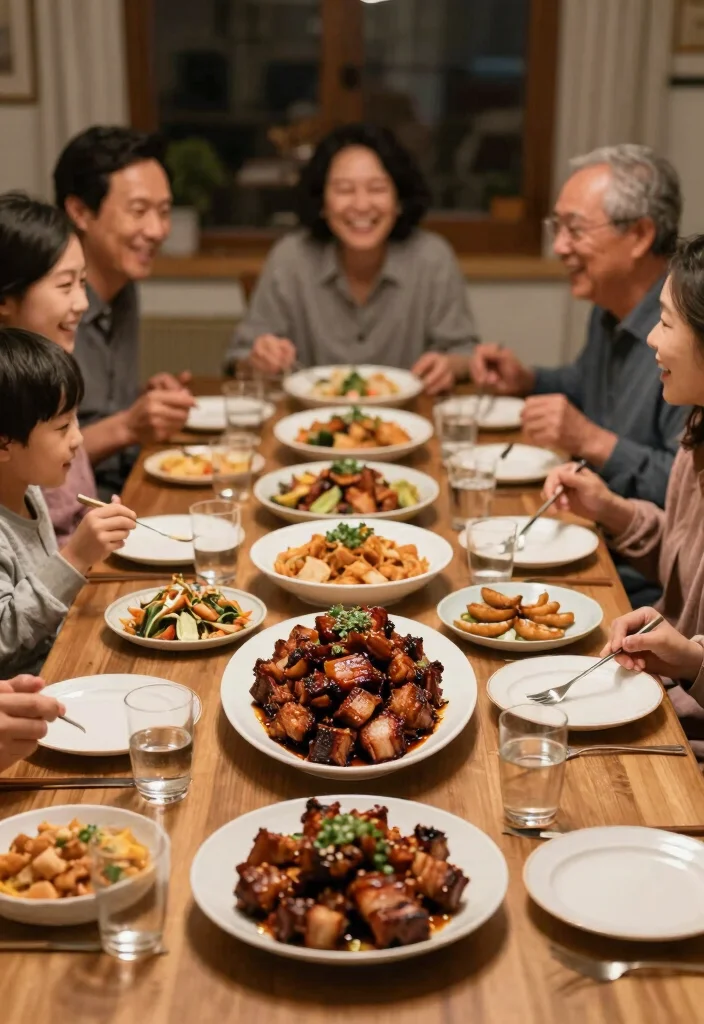
Serving Suggestions: Pairing for Perfection
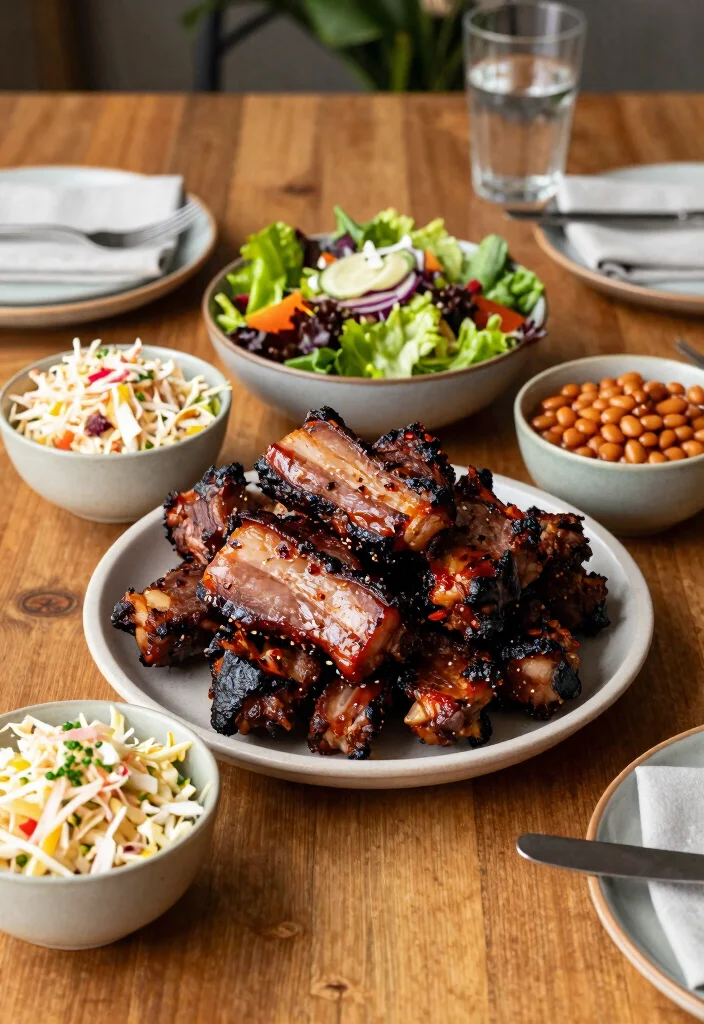
It’s time to enjoy your incredible pork belly burnt ends! Here are some fantastic pairing ideas to enhance your meal.
1. Serve with coleslaw for a crunchy contrast.
2. Baked beans add a sweet and smoky flavor.
3. A refreshing salad balances the richness.
4. Offer pickles or pickled veggies for a refreshing bite.
5. Don’t forget soft dinner rolls to soak up all those juices!
These serving ideas create a feast that will impress friends and family alike, turning your meal into a memorable occasion!
Storing Leftovers: Make the Most of Your Meal
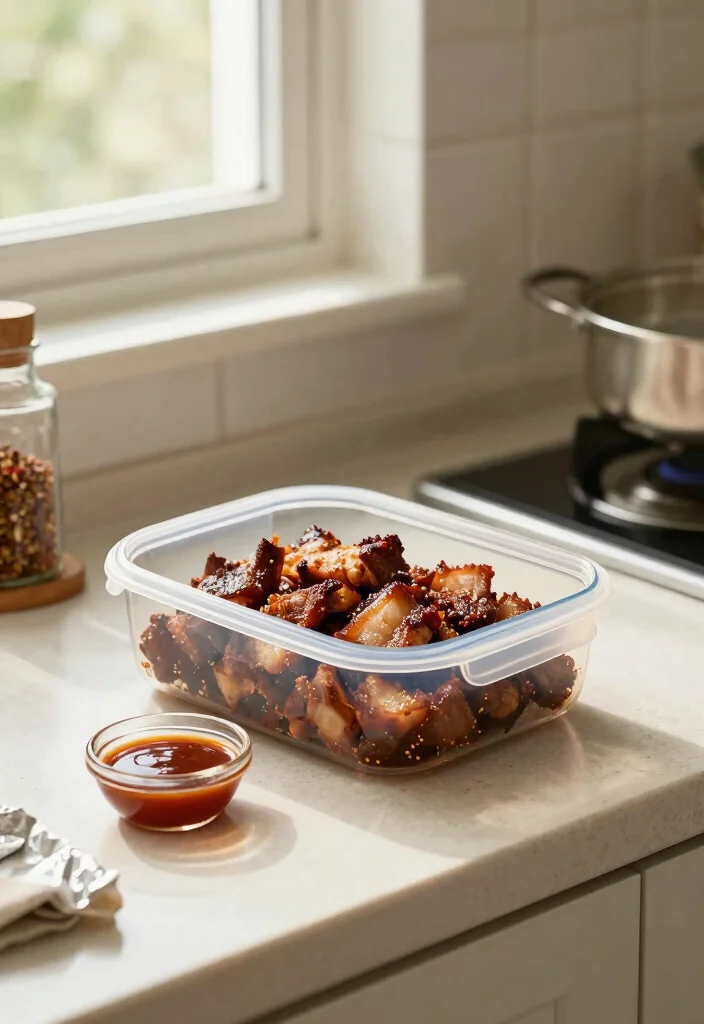
What to do with leftovers? No problem! Here’s how to store your pork belly burnt ends.
1. Let them cool completely.
2. Place in an airtight container, layering with parchment paper if necessary to avoid sticking.
3. Store in the fridge for up to 3 days, or freeze for up to 2 months.
4. Reheat in the oven at 350°F for about 15-20 minutes, adding a little sauce to keep them juicy.
Enjoying these burnt ends later is a treat, making for easy snacks or meals throughout the week!
Tips for Perfect Pork Belly Burnt Ends
Want to master pork belly burnt ends? Here are some handy tips!
1. Choose high-quality pork belly for the best flavor.
2. Don’t rush the cooking; low and slow is key.
3. Feel free to adjust spices to your liking.
4. Use a meat thermometer to check for doneness.
5. Never skip the resting period for juicy results.
These tips will help you perfect your technique, ensuring your burnt ends impress everyone!
Frequently Asked Questions
Let’s tackle some common questions about making pork belly burnt ends!
Q: Can I use a different cut of meat?
A: While pork belly is best, you can try pork shoulder or ribs for a different texture.
Q: Is a cooling rack necessary?
A: It helps achieve crispiness, but you can cook directly on a baking sheet if needed.
Q: Can I make these ahead of time?
A: Yes! Prep and season a day ahead for even more flavor.
Q: What if I don’t have barbecue sauce?
A: You can whip up a quick homemade sauce or enjoy them plain.
These FAQs will guide you through any bumps you might encounter while creating these fantastic burnt ends!
Conclusion: Your Journey to Perfect Pork Belly Burnt Ends
Now you’re equipped with everything you need to make crispy and tender pork belly burnt ends in your oven!
From preparation to seasoning and finally serving, each step brings you closer to a delightful culinary experience that’s sure to impress. Remember, cooking is all about having fun and experimenting, so don’t hesitate to make this recipe your own. Gather your friends and family for a feast they’ll remember!
Let the delicious journey begin, and enjoy every savory bite of your homemade burnt ends!
Related Topics