
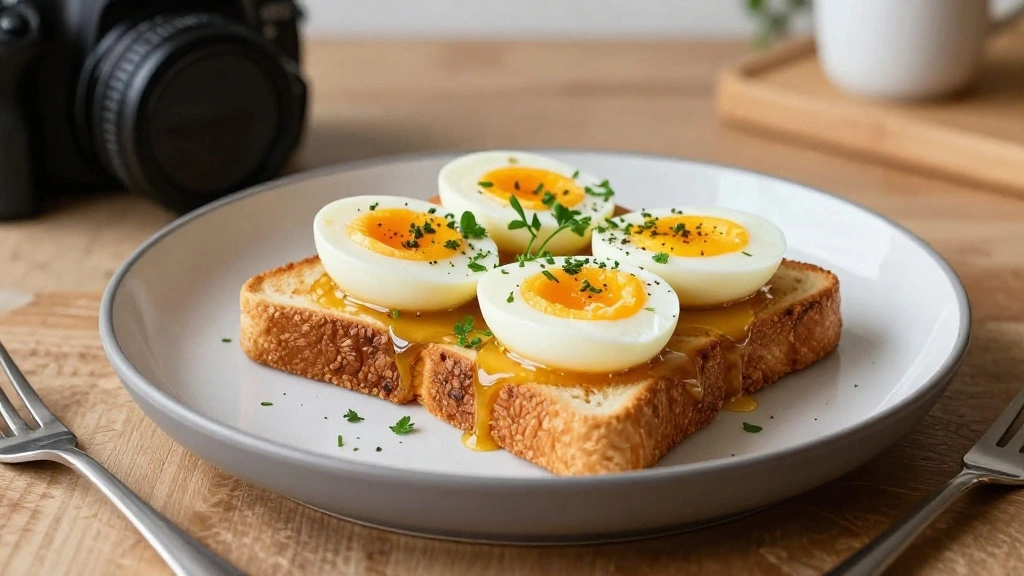


This 10-Minute Egg Toast Is My Go-To Breakfast on Busy Days
1 slice bread
1 large egg
1 pinch salt
1 pinch black pepper
1 tablespoon butter
1 sprinkle chopped chives
PT10M
1 servings
Every morning, I find myself reaching for this quick and satisfying breakfast delight.
The simplicity of egg toast combined with its rich flavor makes it a staple in my busy routine.
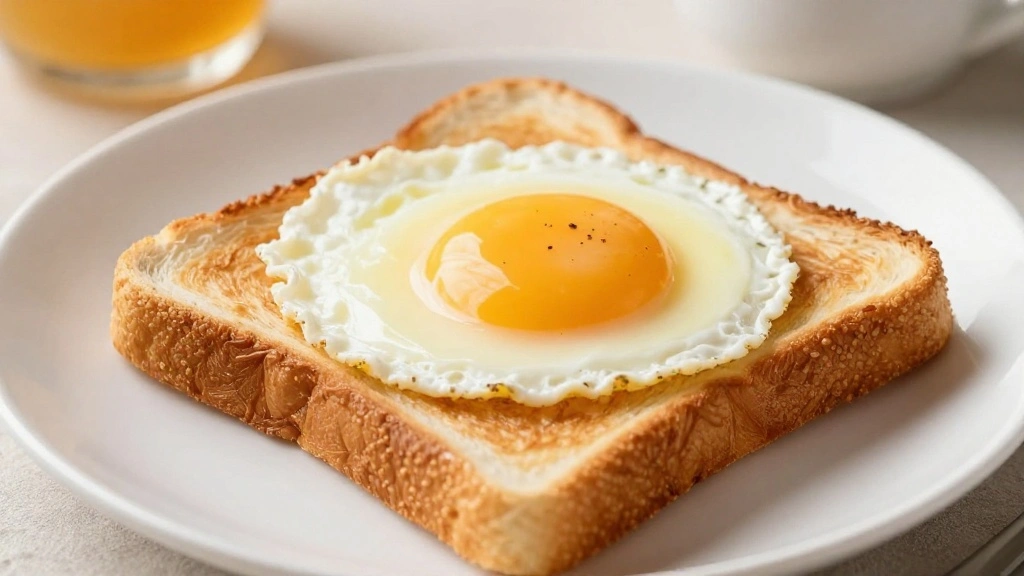
Crisp edges, a runny yolk, and a hint of butter create a comforting experience that feels like a warm hug.
This dish effortlessly transforms minimal ingredients into a gourmet meal in just 10 minutes.
Whether you’re rushing out the door or savoring a quiet morning moment, this recipe will not disappoint.
The History and Cultural Significance
• This 10-Minute Egg traces its origins to Victorian England, where it was originally created as a quick breakfast for busy workers.
• The dish evolved over decades as different bread types and cooking techniques were experimented with, eventually becoming the beloved version we know today.
• In British culture, this dish traditionally appears at brunch gatherings, symbolizing both simplicity and elegance.
• While many variations exist across different regions, the authentic version maintains the warm, runny yolk and buttery toast that sets it apart from imitations.
Recommended Products

[High-Quality Non-Stick Granite Coating] Crafted from eco-friendly nonstick granite material. Completely free from PFOS and PFOA, our egg frying pan guarantees a safe and healthier cooking experience.

【Superior Nonstick Performance】 - Carote deep non stick frying pan with lid is made with natural granite materials, providing superior nonstick performance with 100% PFOA-free and non-toxic properties. Enjoy healthier cooking with less oil intake. Advanced technology ensures a long-lasting and naturally nonstick surface that effortlessly releases food.

Eco-friendly Granite Non-Stick Material: Carote egg pancake pan with nonstick granite material. With 100% Free of PFOS, PFOA, our 4-Cup egg frying pan ensures your daily cooking is always safer and healthier.
Recipe Overview
Recommended Products

【High Quality Material】: This metal spatula is made of food grade stainless steel, which is healthy and safe. The wooden handle insulates heat and is very comfortable to hold and durable.
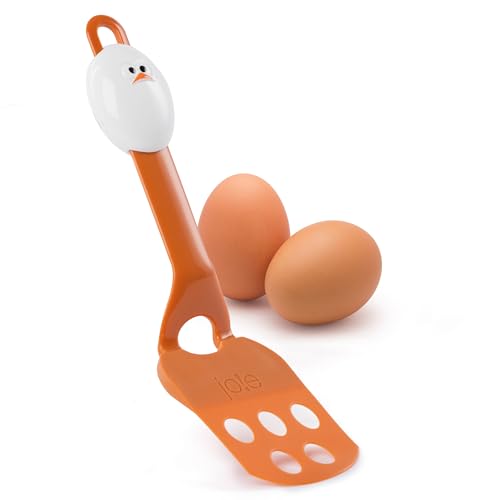
CONTAINS: (1) chicken-themed slotted egg spatula.

A 2-in-1 Cooking Tool - Our egg flipper spatula works as a spatula & clamp, allowing you to easily flip toast, grilled cheese, steaks, hash browns, pancakes or eggs with spatula tongs for flipping.
Nutritional Information (per serving)
Recommended Products

FITS ARTISAN BREAD With extra-long slots (10.24" long x 5.7" deep), it perfectly fits Texas toast, thick sourdough, rye bread, and bagels—so you can enjoy evenly toasted, delicious breakfasts fast, even on busy mornings.
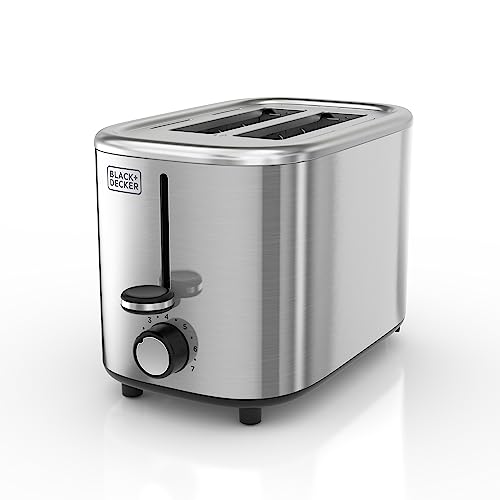
Extra-Wide Self-Centering Slots: Perfect for bagels, thick slices, or artisan bread. Automatic bread guides hold items securely in place for even, consistent toasting.
Essential Equipment Guide
Non-stick Skillet: Using a non-stick skillet ensures the egg cooks evenly without sticking, making cleanup easier. Alternatives like cast iron can be used but require more oil.
Spatula: A flexible spatula is crucial for gently flipping the egg without breaking the yolk. Look for one with a thin edge.
Toaster: A reliable toaster is essential for achieving the perfect level of crispiness in the bread. Adjust settings based on your preferred toast level.
Ingredients
For the Base
| Amount | Ingredient | Notes |
|---|---|---|
| 1 slice | bread | your choice, adds crunch |
| 1 large | egg | provides protein and flavor |
Seasonings
| Amount | Ingredient | Notes |
|---|---|---|
| 1 pinch | salt | enhances taste |
| 1 pinch | black pepper | adds a hint of spice |
Optional Toppings
| Amount | Ingredient | Notes |
|---|---|---|
| 1 tablespoon | butter | adds richness |
| 1 sprinkle | chopped chives | for garnish and freshness |
Preparation Methods
Cracking an Egg: Crack the egg with a gentle tap on a flat surface to avoid shell fragments. Hold the egg over the skillet and open it slowly to maintain yolk integrity.
Toasting Bread: Set your toaster to medium-high to achieve the perfect balance of crunch and softness. Avoid over-toasting to prevent a dry texture.
Yolk Cooking: Cook the egg on low heat for a runny yolk. Cover the skillet for a few seconds to steam the top without flipping, if desired.
Step 1: Prepare Ingredients
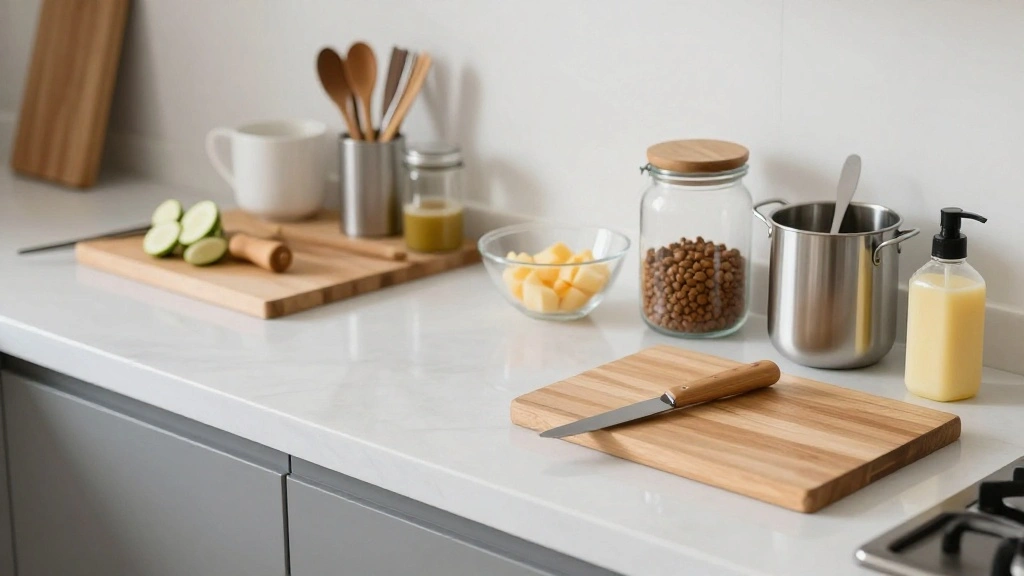
Gather all your ingredients and equipment before you start.
Make sure the bread is fresh and the egg is at room temperature.
Having everything ready will streamline the cooking process.
Check that your toaster and skillet are clean and functioning properly.
Step 2: Toast the Bread
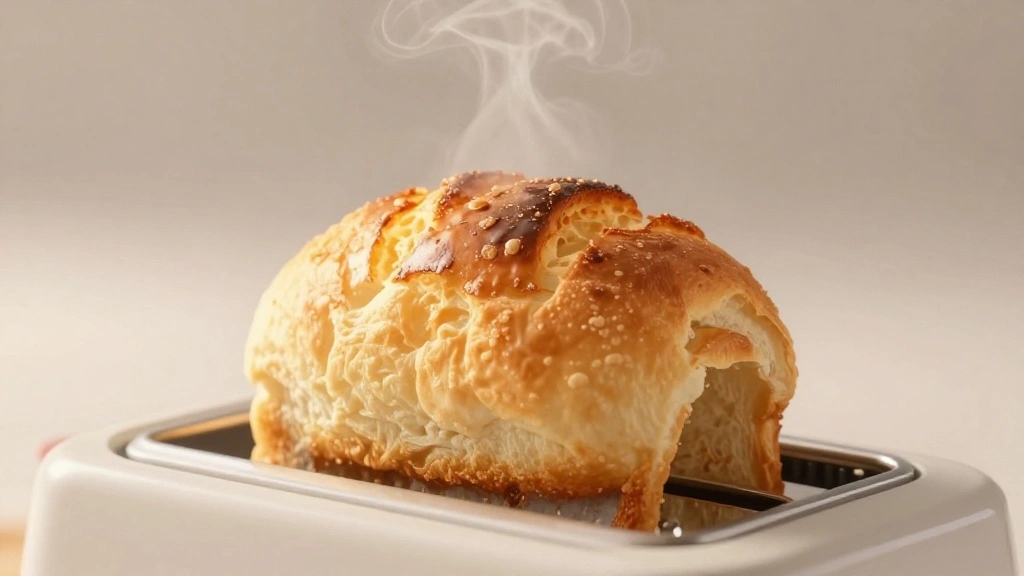
Place the slice of bread into the toaster and set it to medium-high.
Toast until golden brown and crisp to your liking.
Keep an eye on it to prevent burning.
Remove and place on a plate once done.
Step 3: Heat the Skillet
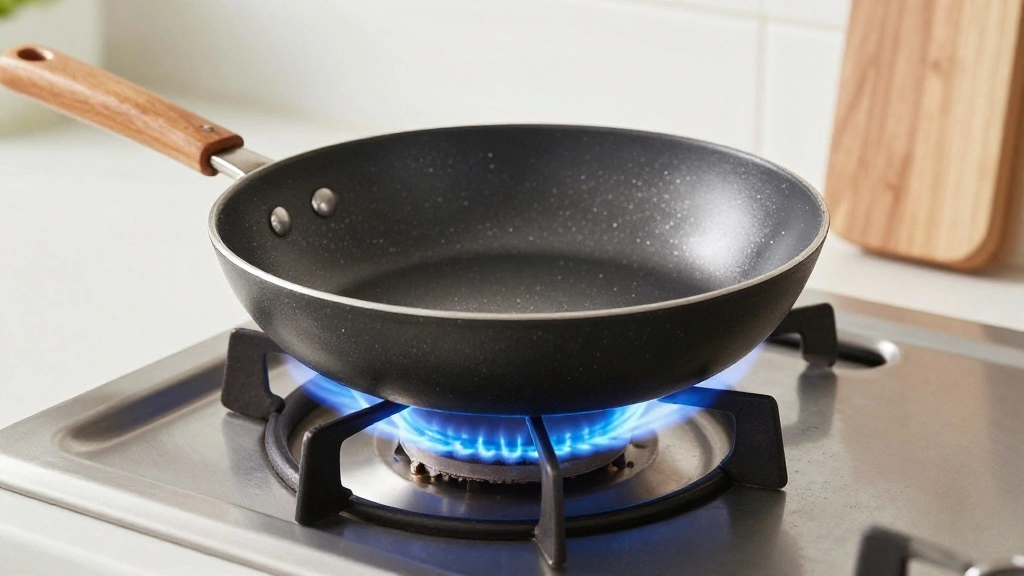
Preheat your non-stick skillet over medium-low heat.
Ensure the surface is evenly heated before adding the egg.
This will help the egg cook uniformly.
Adjust the heat if necessary to maintain a steady temperature.
Step 4: Crack the Egg
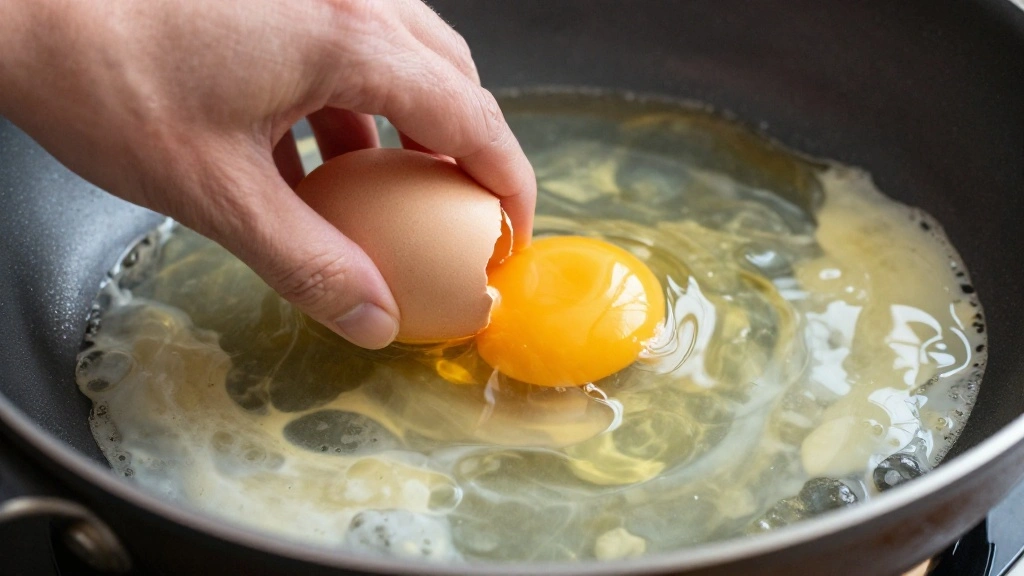
Gently crack the egg on a flat surface to avoid fragments.
Open the egg over the skillet, ensuring the yolk remains intact.
Cook the egg without moving it to achieve a perfectly round shape.
If needed, use a spatula to adjust the egg’s position in the skillet.
Step 5: Season the Egg
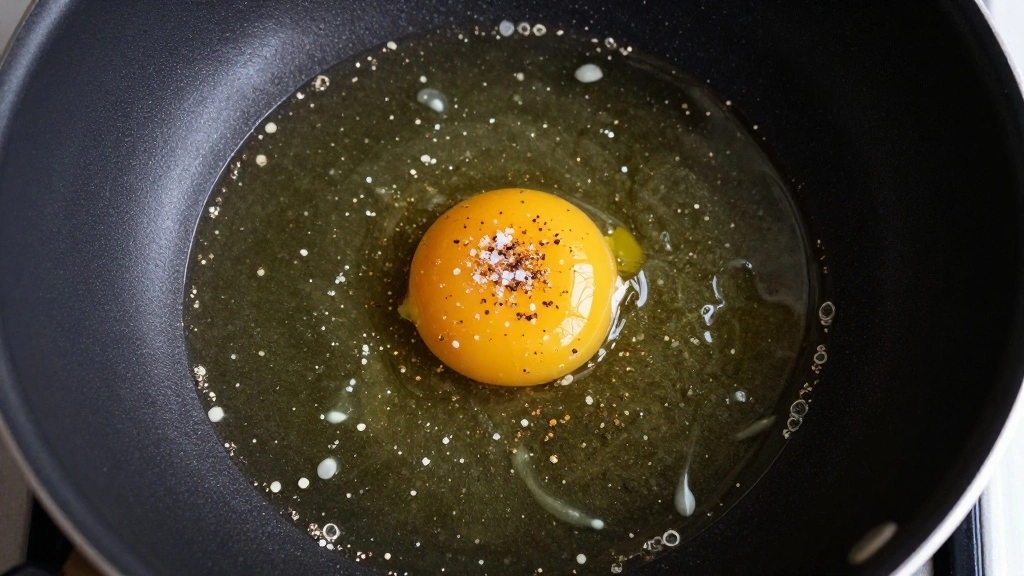
Sprinkle a pinch of salt and pepper over the egg in the skillet.
Seasoning early allows flavors to meld as the egg cooks.
Be careful not to over-season, as the egg’s flavor is delicate.
Distribute the seasoning evenly for consistent taste.
Step 6: Cook the Egg
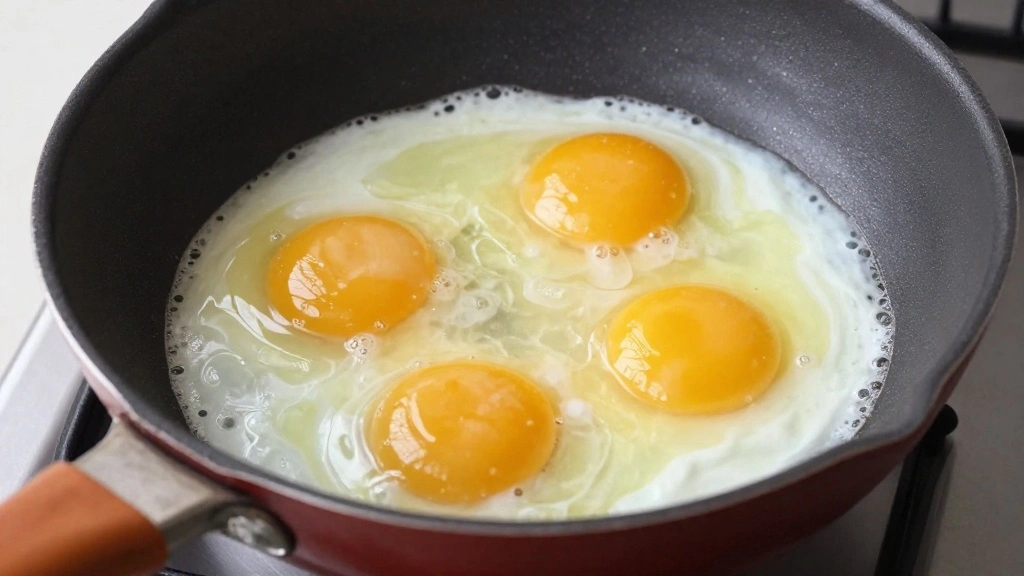
Let the egg cook on low heat until the whites are set.
For a runny yolk, cook for about 3-4 minutes.
Cover the skillet briefly to cook the top without flipping.
Adjust the cooking time based on your yolk preference.
Step 7: Assemble the Toast
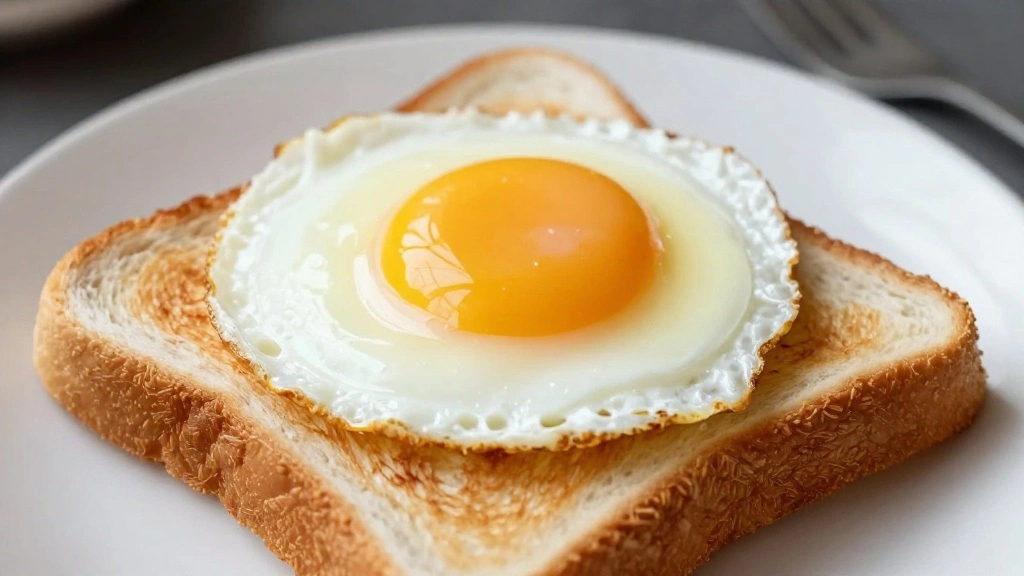
Place the toasted bread on a serving plate.
Slide the cooked egg onto the toast using a spatula.
Ensure the yolk is centered to maximize flavor distribution.
The combination of textures will be delightful.
Step 8: Add Toppings
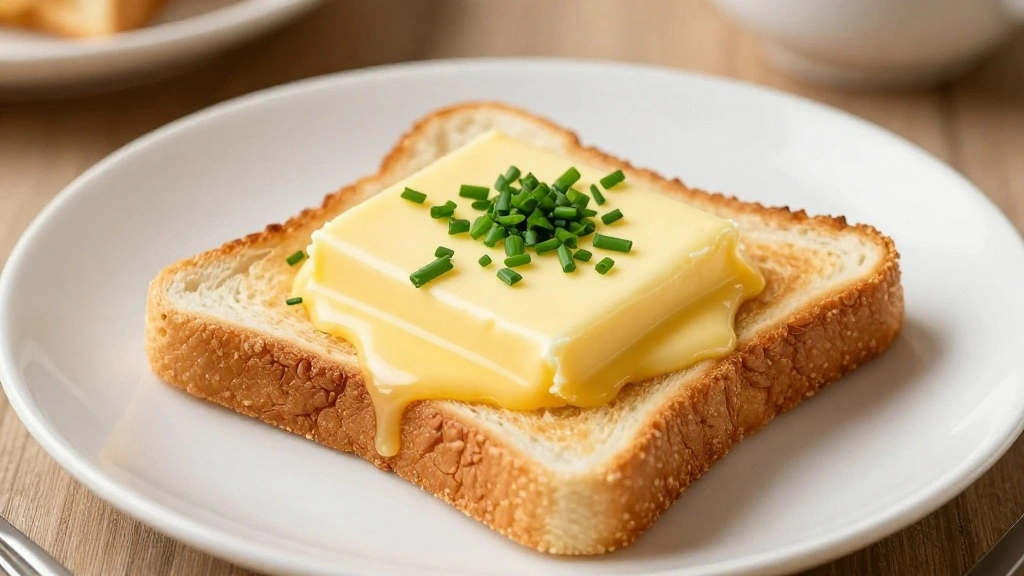
Optionally, spread a thin layer of butter on the toast before adding the egg.
Sprinkle chopped chives over the top for added freshness.
These toppings enhance flavor and visual appeal.
Serve immediately while hot for the best experience.
Critical Timing and Temperature Guide
Toasting Bread: Toast for 2-3 minutes at medium-high heat until golden brown. Watch closely to prevent burning.
Cooking Egg: Cook on medium-low heat for 3-4 minutes for a runny yolk. Cover briefly to set the top without flipping.
Final Assembly: Serve immediately after assembling to maintain optimal temperature and texture. Avoid letting the toast sit to prevent sogginess.
Pro Tips for This 10-Minute Egg
• Ingredient Selection: Choose high-quality eggs with rich yolks and fresh, hearty bread for the best results.
• Preparation Secret: Lightly butter the skillet before adding the egg for an extra layer of richness.
• Temperature Management: Allow the egg to reach room temperature before cooking to ensure even cooking.
• Texture Enhancement: Steam the egg for a few seconds by covering the skillet to achieve a silky white without flipping.
• Flavor Layering: Add a pinch of smoked paprika for a subtle, smoky undertone that enhances the egg’s flavor.
• Make-Ahead Strategies: Pre-toast the bread and reheat it briefly before serving to save time without compromising texture.
• Restaurant-Quality Finishing Touches: Garnish with a sprinkle of flaky sea salt and freshly cracked pepper for an elevated finish.
• Equipment Optimization: Use a lid that fits your skillet well to effectively steam the egg without losing heat.
Troubleshooting Common Issues
• Egg Whites Undercooked: Ensure the skillet is preheated and the egg is cooked long enough. Cover the skillet briefly to help set the whites.
• Soggy Toast: Avoid using high-moisture bread and serve immediately after assembly to maintain crispiness.
• Overcooked Yolk: Cook on low heat and monitor closely. Remove from heat as soon as the whites are set to avoid overcooking.
• Bland Flavor: Use high-quality butter and seasonings to enhance taste. Adjust seasoning levels to suit personal preferences.
• Egg Sticking to Skillet: Ensure the skillet is well-oiled or buttered before adding the egg. Use a non-stick skillet for best results.
Variations and Regional Differences
• Spanish Style: Incorporates olive oil and garlic-rubbed toast, adding a Mediterranean flair with toppings like roasted peppers.
• French Variation: Emphasizes using a baguette with a poached egg, topped with hollandaise sauce for a richer experience.
• Asian Twist: Features soy sauce and sesame oil, garnished with scallions for an umami-rich version.
• American Classic: Adds bacon or avocado slices for extra heartiness and flavor.
Food Science Behind the Recipe
• Coagulation of Proteins: Understanding how egg whites set at different temperatures helps achieve the perfect texture without overcooking.
• Maillard Reaction: This chemical reaction in toasting bread creates complex flavors and aromas, enhancing the overall taste experience.
• Emulsification: If adding butter, grasping how fats blend with proteins can improve the creamy richness of the dish.
Frequently Asked Questions
What’s the most common mistake people make when preparing egg toast? Overcooking the egg yolk is a frequent issue. Keep a close eye and remove from heat once the whites set.
Can I use any type of bread for this recipe? Yes, but thicker, denser breads like sourdough or whole grain work best for texture.
How can I make the toast more flavorful? Adding toppings like cheese, herbs, or spices can enhance flavor significantly.
Is it possible to cook the egg without a non-stick skillet? Yes, but ensure the skillet is well-oiled to prevent sticking.
Can I prepare this recipe in advance? It’s best enjoyed fresh, but you can pre-toast the bread and reheat briefly before serving.
What’s the best way to store leftovers? Store in an airtight container in the fridge for up to 2 days, but note that texture may change.
Can I make this recipe vegan? Substitute the egg with a plant-based alternative and use vegan-friendly bread and toppings.
Serving and Presentation Guide
• Traditional Presentation: Serve on a simple white plate with minimal garnish to let the dish’s natural beauty shine.
• Brunch Style: Pair with fresh fruit slices and a sprig of herbs for a colorful, inviting presentation.
• Gourmet Approach: Drizzle with a reduction sauce and add microgreens for a sophisticated touch.
• Casual Setting: Serve on a wooden board with a small ramekin of dipping sauce or extra toppings.
Conclusion
I hope this guide inspires you to embrace the simplicity and satisfaction of this 10-Minute Egg Toast.
With minimal effort and maximum flavor, it’s a breakfast you can rely on.
Give it a try and discover how this quick dish can elevate even the busiest mornings.