


You want pork tenderloin that doesn’t taste like shoe leather, but you’re probably guessing at cook times like the rest of us.
Twenty minutes sounds fast, yet most folks either pull it off raw or leave it until it’s gray and weeping.
The two-zone method fixes this, but half the grillers I know skip it and wonder why their meat’s charred outside, cold inside.
You’ll sear fast, then coast on indirect heat while the center climbs to 145°F.
That temperature surprises people; it looks pink, but that’s where the juice lives.
The real question isn’t just how long, it’s why your timing keeps sliding.
Grill Pork Tenderloin in 20 Minutes (Complete Overview)
You can nail a restaurant-quality pork tenderloin in about twenty minutes flat, and honestly, that’s faster than most weeknight dinners deserve.
Here’s your grilled pork tenderloin recipe that actually works. Fire up your gas grill to 450°F. You’ll sear this pork on the hot side for roughly eight minutes total, turning every two minutes so all sides get that gorgeous crust you crave. Then slide it to indirect heat, close the lid, and let it cruise for twelve to eighteen minutes.
Sear hot, turn often, then coast on indirect heat until perfectly done.
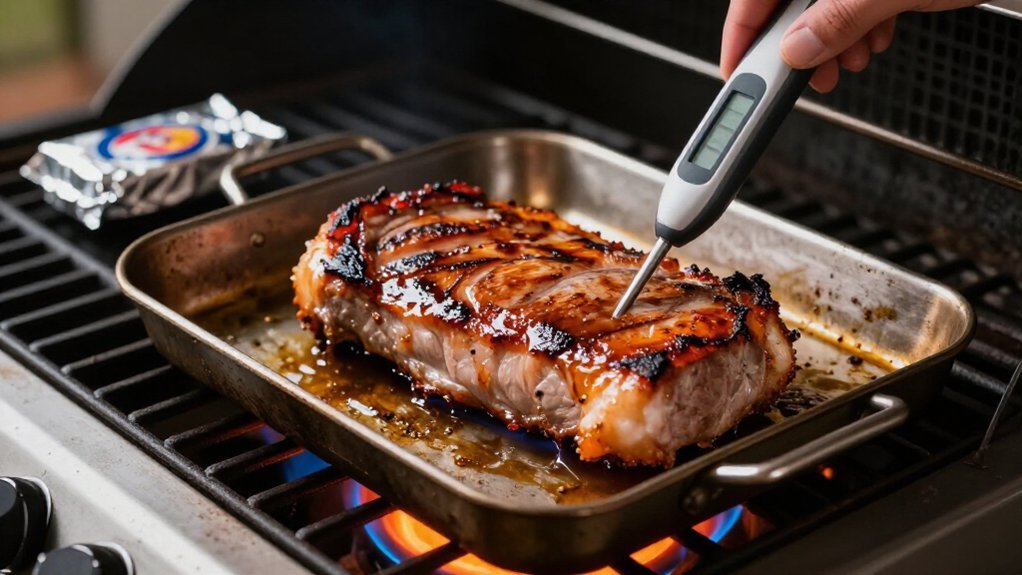
Don’t guess; check the thickest part until the internal temperature reaches 145°F, that’s your USDA sweet spot for juicy, slightly pink perfection.
Once it’s there, rest for 10 minutes. Seriously, don’t rush this. Those juices need time to settle back into the meat instead of flooding your cutting board.
Recommended Products

BBQ / Grill pit thermometer, safe and environmentally friendly.

【FAST & ACCURATE READING】Responds within 2-5 seconds with precision-calibrated high-temperature sensitivity. Ideal for outdoor grills and kitchen cooking.

BBQ charcoal pit temperature gauge with large degree scales and numbers , easy to read even from far away.
Set Up Two Heat Zones on Your Gas Grill
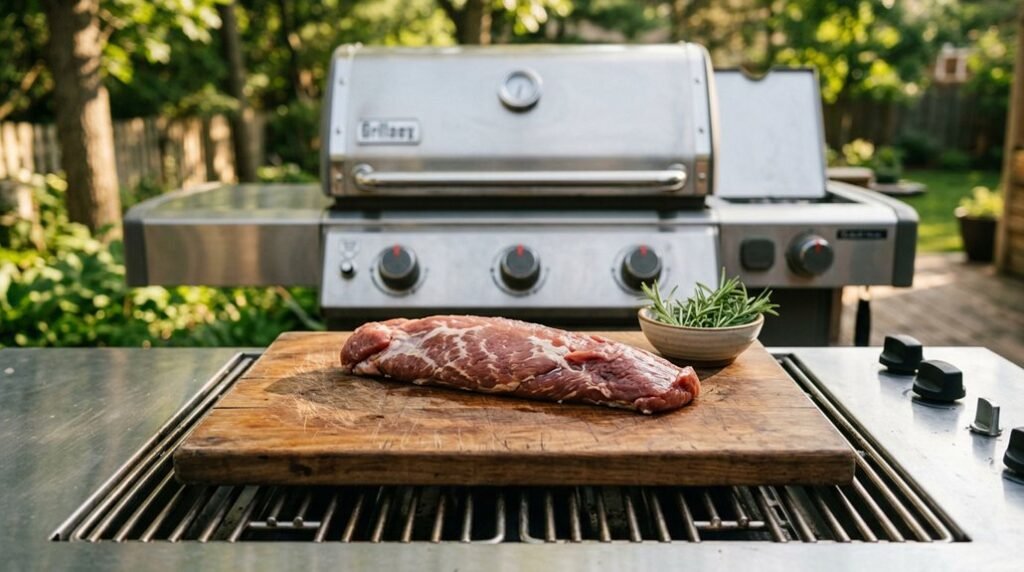
You’ll want to crank all burners to high until your grates hit that sweet 450–500°F zone, then dial down one side to low or off so you’ve got a blazing hot searing station and a gentler “oven” zone working together.
Don’t skip this step, because pork tenderloin is a finicky cut: it can go from perfect to shoe leather fast, and that cooler second zone is your insurance policy against burning the outside while the center stays raw. Keep that lid clamped down when you move the meat, and you’ll trap heat so the indirect side actually cooks, not just stalls, giving you juicy, evenly done pork worth the effort.
Recommended Products

Tenderloin, 15-ounces, one per package

One boneless pork tenderloin weighing between 1 and 1.75 pounds

Hot Zone Setup
Before you even think about dropping that pork on the grates, getting your heat zones right makes all the difference between a tender, juicy tenderloin and something you would not serve to your worst enemy. You’ll preheat your gas grill to 450–500°F, then create two-zone cooking by cranking half your burners to high and leaving the rest off or low. That hot side delivers direct heat for searing, while the other zone gives you indirect heat for gentle finishing.
Place your tenderloin on the direct heat first, rotating every couple minutes to build that gorgeous brown crust with the lid closed between turns. You’re not cooking through yet, just building flavor. Because tenderloins taper, grab your meat thermometer and check the thickest part later; thin ends always race ahead.
Once you hit 145°F, you’ll move it off and let the pork rest. Miss that rest, and all those juices run everywhere except your plate where they belong.
Cool Zone Setup
Searing gives you that beautiful crust, but try to finish the whole cook over screaming-hot grates and you’re asking for trouble. That’s why you’ll flip half your burners off or down low, creating a cool zone setup that saves your tenderloin from turning into leather. This two-zone setup gives you control: blast it with direct heat, then hide it in indirect heat to finish gently.
Sear all sides over direct heat, about 2 minutes per rotation, roughly 6–8 minutes total. Shift to indirect heat, close the lid, and let the cool zone work its magic. Pull it at 145°F at the thickest part after about 12–18 minutes, then commit to resting 5 minutes so those juices stay put.
Temperature Control Tips
Why guess when you can control? You deserve better than dry, overcooked pork. First, preheat your grill two heat zones: crank one side to high for searing, drop the other to low or off for gentle finishing. This setup isn’t fancy grill speak, it’s your insurance policy against disaster.
Start with meat at room temperature, it’ll cook more evenly that way. Sear all sides over direct heat while you keep the lid closed to lock in that crust. Then shift to indirect heat, lid down again, and let gentle warmth do the work.
Watch the clock, sure, but trust your instant-read thermometer more. When the thickest part hits 145°F, pull it immediately. Wait 5 to 10 minutes before slicing, or you’ll watch those precious juices puddle on your cutting board instead of staying in the meat where they belong.
Sear the Tenderloin 2 Minutes Per Side
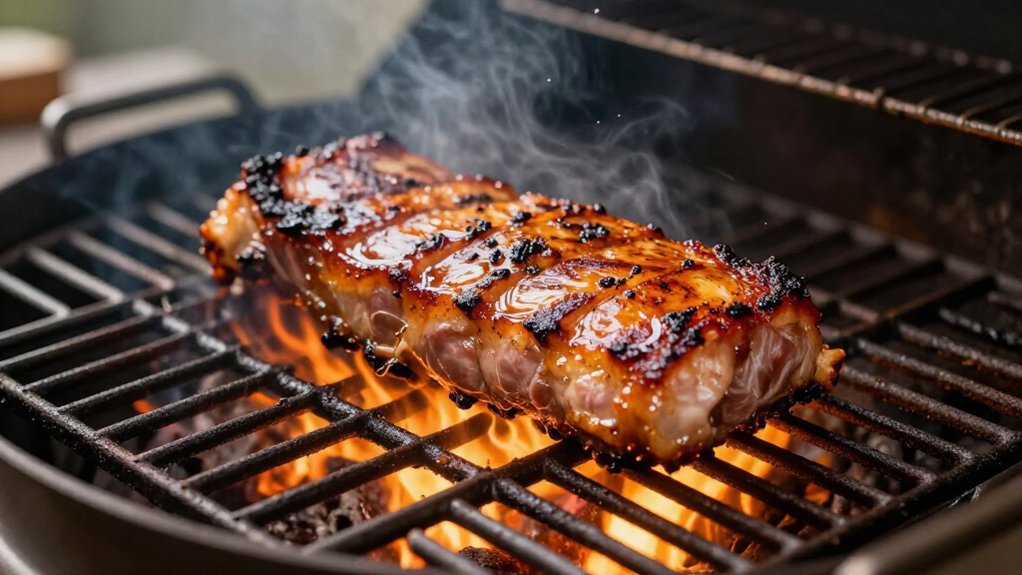
On the hottest part of your grill, lay that pork tenderloin down and let it ride for about two minutes before you even think about touching it. You’re after that gorgeous brown crust, and patience is one secret weapon here. Flip it, and you’ve got another two minutes per side, rotating until every surface gets love. That’s roughly eight minutes total if you’re thorough, which you should be.
Keep that lid closed; you’re trapping high heat for serious browning power. Resist the urge to peek; every open lid drops your sear quality. Trust the timer, not your eyes, for consistent results.
Grill pork hot and fast here. One side at a time builds flavor you can’t fake. That crust? It’s worth every minute.
Recommended Products

Finish on Indirect Heat: 8–12 Minutes
You’ve already built your two-zone fire, so now slide that seared tenderloin to the cooler side, kill the flames underneath, and let the lid turn your grill into a gentle oven. This indirect setup prevents the outside from scorching while the center climbs to perfection.
Plan on about 8 to 12 minutes after searing, but don’t blindly trust the clock. Instead, you’re watching for 145°F at the thickest part, because that tapered end can fool you by finishing early while the middle still needs time. Keep that thermometer handy, check early if you’re already getting warm readings, and remember that pulling it promptly at temp beats overshooting and eating shoe leather. Trust the tools, not guesswork.
Recommended Products
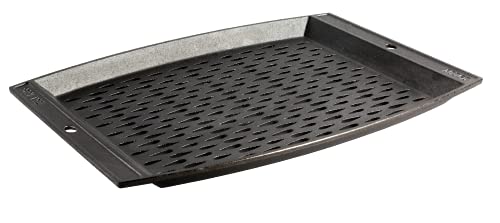
YOUR GO TO GRILL TOPPER: The Lodge Cast Iron Grill Topper is perfect for shrimp, veggies, fish, and more! The grid design protects food from falling through the grate and infuses your dish with that wonderful grill flavor. This lightweight grilling pan can handle the heat and the dual handle design makes it easy to maneuver as you cook.

【Fits Multiple 4 & 5 Burner Gas Grills】 – These replacement grill grates for Nexgrill fit 4 Burner models 720-0830H, 720-0783E, 720-0670C, 720-0830D, 720-0958A, 720-0783C, 720-0341, 720-0549, 720-0670A, 720-0697E, 720-0719R, 730-0958A; also fit 5 Burner models 720-0888, 720-0888N, 720-0830X, 720-0888S. Compatible with Charbroil 4 Burner 463241113, 463449914; Expert Grill 720-0789H/0789C; and Cuisinart CGG-7400. A perfect cast iron cooking grates for gas grill replacement.

【Fits Most Pellet, Gas & Charcoal Grills】Sized 18.25" x 11.5", this sear grate is designed to sit on top of existing grill grates in many grill types. Suitable for most Traeger grills, for Traeger ModiFIRE grills (Traeger Ironwood, Ironwood XL, Timberline, Timberline XL) and more. The grillgrate fits almost all charcoal/gas grills, electric grills, gas stoves, outdoor burner stove top, for Weber, Blackstone, Camp Chef, Charbroil, Nexgrill, Kenmore and more for camping, tailgating, and parties
Two-Zone Heat Setup
Once you’ve got that beautiful sear locked in, you’ll move the tenderloin to the indirect side, and this is where the real magic happens. Your two-zone heat setup isn’t just fancy grilling jargon; it’s the difference between juicy perfection and a charred disappointment.
You started with burners on high for that gorgeous crust, but now you’re letting gentler heat do the heavy lifting. Here’s why you’ll love this approach:
- You won’t scorch the sugars that developed during searing, so the exterior stays appetizingly brown
- The interior cooks evenly without drying out, which honestly matters more than you’d think
- You’re buying yourself insurance against overcooking, and that’s worth every minute with the grill
Slide the pork to the cooler side of the grill, close the lid, and let it ride. After about eight to twelve minutes, plunge your instant-read thermometer into the thickest middle section, looking for 145°F.
Don’t trust the tapered ends, they always finish first and will lie to you about doneness.
Timing After Searing
You’re not chasing grill marks now; the lid-closed setup works like an oven, slowly bringing the center up to temp. Flip once if you want, but trust your instant-read thermometer, not the clock. Pull it at 145°F in the thickest part, the tapered end cooks faster anyway.
Not there after 8 minutes? Add 1–2 minute bursts until you hit that magic number, then rest and slice.
Temperature Monitoring Tips
How do you know when that lean little tenderloin is actually done, not just guessing? You grab an instant-read thermometer and get scientific about it. Guessing wastes meat, and nobody wants that dry, disappointing chew.
Here’s how you nail it:
- Start checking at the 8-minute mark on indirect heat, since that tapered end cooks faster than you think
- Probe the thickest part, the center, not some skinny edge that’s basically done already
- If you haven’t hit 145°F, keep going in 2–3 minute increments; patience pays
Pull at exactly 145°F, no higher; the USDA got this right. The tenderloin cooks a touch more while resting those five minutes.
Slice too early, you’ll watch those precious juices run everywhere. Wait, and you’ve got perfection.
Hit 145°F: The Safe, Juicy Target for Tenderloin
Because hitting that magic 145°F makes the difference between a juicy dinner and a dry disappointment, you’ll want to treat this number like gospel. You thaw overnight your pork loin, fire up that grill, and make grilled pork that actually impresses.
One probe to the thickest part tells you everything; that tapered end lies to you, so ignore it. You’re aiming for meat that’s blush-pink in the center, not gray shoe leather. Move it off direct heat when the sear looks right, then let indirect heat carry you to 145°F.
Miss it and you’re chewing regret. Nail it, and you’ve got tender, flavorful pork that proves you know your grill.
Recommended Products

【Fast & Accurate】Our meat thermometer digital delivers accurate readings within ±1°F in just 1–2 seconds, with a wide temperature range of -58°F to 572°F (-50°C to 300°C). No more waiting over the heat - know your food's exact temperature instantly.

【Fast & Accurate】Our meat thermometer digital delivers accurate readings within ±1°F in just 1–2 seconds, with a wide temperature range of -58°F to 572°F (-50°C to 300°C). No more waiting over the heat - know your food's exact temperature instantly.

Fast & Accurate: Get precise readings in just 1 second with ±0.9°F accuracy. NSF Certified for trusted food safety, this digital food thermometer features a 4.3 inches food-grade stainless steel meat probe, perfect for grilling, frying, baking, making candy and more
Rest Your Tenderloin 5 Minutes Before Slicing
Once you pull that pork off the grill, don’t even think about slicing it yet, no matter how hungry everyone’s getting. You absolutely must rest it for 5 minutes; it’s the difference between juicy perfection and a sad, dry disappointment. Transfer the tenderloin to a cutting board, keep the lid closed/off, and let those precious juices flow back into the meat instead of spilling all over your board like wasted potential.
Rest your grilled pork for 5 minutes—it’s the difference between juicy perfection and a sad, dry disappointment.
That resting period also nudges the internal temperature up toward the safe 145°F sweet spot. This is especially important since tenderloin tapers unevenly; the ends cook faster than the thicker center.
Here’s why waiting actually wins:
- Juices settle back into the meat instead of escaping, saving every drop of flavor
- The internal temperature settles properly without overcooking
- You keep that hard-won crisp exterior without steaming it soggy
Tenderloin is one cut that rewards patience, so slice only after resting. Grab your sharpest knife, cut against the grain into half-inch pieces, and finally dig in; you’ve earned it.
Recommended Products

The 2 3/8" large face of the temperature gauge makes it easy to read and classify the temperature of your food. The Stem is 2 7/8"
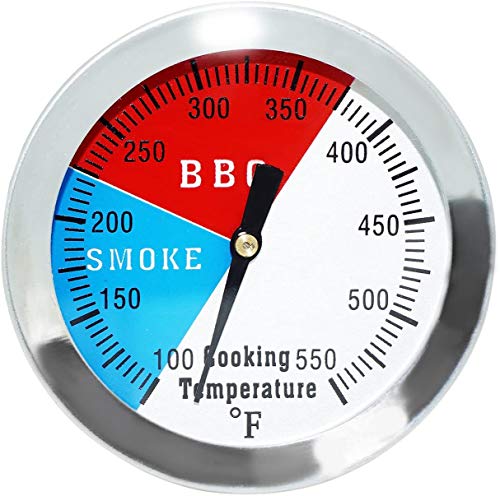
2" BBQ grill smoker pit thermometer stainless steel thermostat pit temp gauge
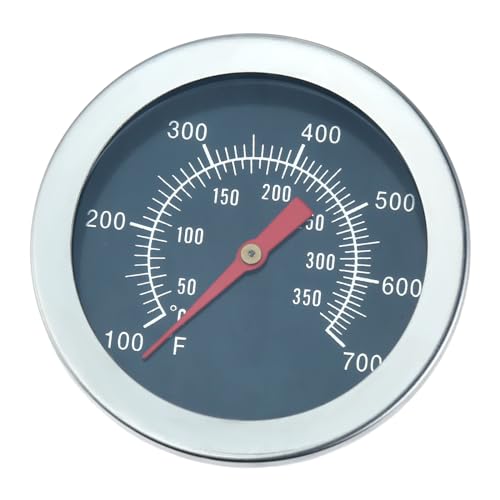
[𝐇𝐈𝐆𝐇 𝐐𝐔𝐀𝐋𝐈𝐓𝐘]: 2" Grill thermometer replacement for Charbroil 463251414, 463250212 is made of high-quality stainless steel material, featuring in ultra durability and safety, and well-tested by the manufacturer to meet the OEM standards and ensure to support a longer service life. The number in the dial is clear to read, and the needle in the dial helps you to measure the grill temperature.
Avoid Dry Pork: Fix These Common Timing Mistakes
The biggest mistake you’re making with pork tenderloin isn’t the marinade you picked or the brand of gas grill you own, it’s trusting time over temperature and cooking everything on screaming hot grates from start to finish. You need a better method for grilling, one that actually respects the meat.
First, make sure your grill runs a two-zone setup: sear over direct heat for roughly six minutes total, then shift those burners to low for indirect cooking. That’s your insurance against dry, disappointing pork.
Pull the meat at 145°F at the thickest part. Yes, you’ll see pink pork, and that’s perfectly fine, safe, and juicy. Rest it five to ten minutes before slicing, or you’ll watch all that moisture run onto your cutting board. You didn’t rub garlic powder overnight in the fridge just to wreck it at the finish line.
Close that lid during indirect cooking; peeking drops your “oven” temp and tempts you to overcook. Enable JavaScript on your thermometer’s app if you’ve got one, but honestly, any instant-read digital tool beats guessing. Time is a liar, temperature tells the truth.