
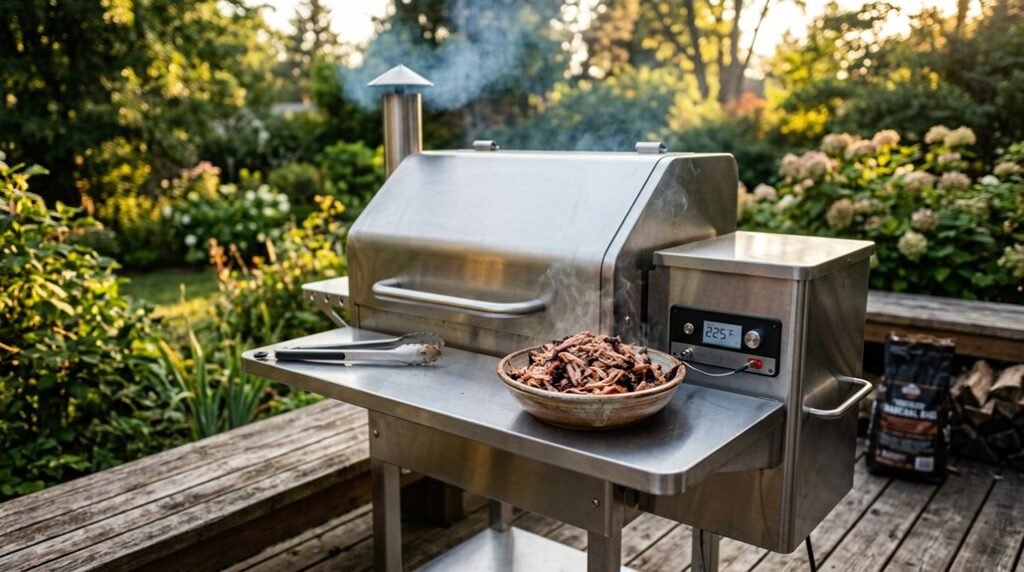


Pellet grill pulled pork is the slow-burn music of barbecue, where patience meets smoke and turns humble pork into something worth the wait. You’ll start with a 6 to 9 pound pork butt, trimming just the thick fat that won’t render while keeping enough cap for moisture and flavor.
The mustard binder might sound odd, but it works without adding taste, just helping that BBQ rub stick tight for overnight seasoning.
Set your grill to 250°F with a water pan for humidity, then smoke unwrapped until you hit 155°F and build a dark, crusty bark.
Here’s where it gets tricky: the stall hits around 160°F, and your meat just sits there, sweating and refusing to rise, which frustrates plenty of home cooks into cranking the heat or giving up entirely.
Choose and Prep Your Pulled Pork Cut: Butt vs. Shoulder, Trim, and Overnight Seasoning
Because you want melt-in-your-mouth pulled pork that actually lives up to the hype, you’ve got to start with the right cut, and here’s the thing: pork butt, Boston butt, and pork shoulder are all the same hunk of meat. Grab a 6 to 9 lb bone-in roast for your pork butt recipe, and don’t overthink the name game.
Here’s where you’ll want to pay attention. Trim only that thick, hard fat that won’t render during your long cook; leave enough fat cap intact so you’ve got basting power as collagen breaks down. Keep that butt fat side looking good, cap mostly untouched.
Pat the pork dry, ditch loose bits, then slather yellow mustard everywhere. It’s your glue, not your flavor. Coat heavily with BBQ rub for full bark, not sad patches.
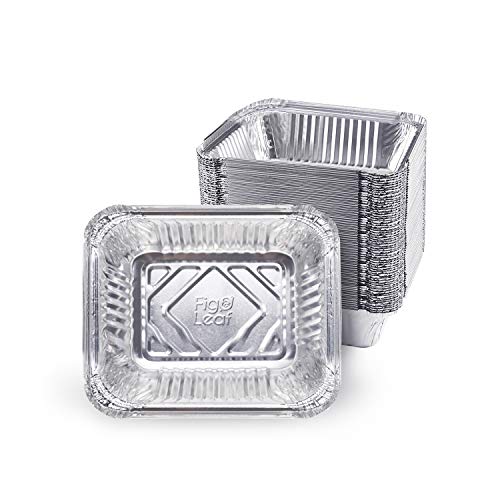
Want deeper flavor? Season overnight, refrigerate uncovered or loosely in aluminum foil so the surface dries, then touch up before smoking. This prep separates decent BBQ from the real deal.
Recommended Products

Sweet & savory rub that pairs perfectly with pork

Sweet Honey & Savory Balance: Big Poppa’s Sweet Money BBQ Rub seasoning fuses granulated honey, sea salt based, garlic powder, onion powder, and paprika into a perfectly balanced blend that delivers crowd-pleasing sweet and savory flavor with every bite

For any dish from big to small, this pork seasoning rub will be your ticket to fame. Hypnotize taste buds and tantalize the senses with the Notorious P.I.G. rub, and earn your right to be called a Pitmaster.
Configure Your Pellet Grill: 250°F Setup, Wood Selection, and Water Pan Placement
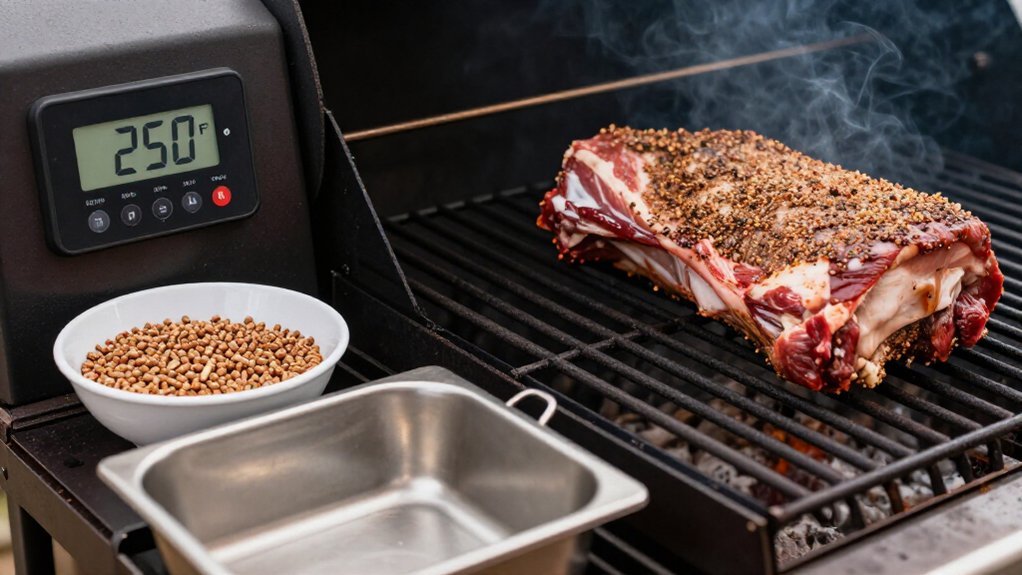
While your pork’s sitting pretty in the fridge, you’ll want to get your pellet grill dialed in right, and this is where a lot of folks mess up the whole cook before it even starts. Fire up your pellet smoker with the lid closed and let it run at 250°F setup for about 10 to 15 minutes until it’s holding steady; you’ll know it’s ready when thin blue smoke rolls out, not thick white garbage.
For wood selection, grab hickory or apple, both mild and pork-friendly, and stick with one throughout. No mixing flavors like an amateur. Set up an indirect setup by sliding a water pan placement on one side; this keeps moisture up and temps from swinging wild.
Lay that pork butt on the opposite side, smoker fat side facing where the heat wants to creep. Jab your meat thermometer dead center, thick part only, dodging the bone like it’s radioactive. Watch that internal temperature like your paycheck depends on it.
Recommended Products
Compatible with Napoleon Grills; Prestige I, Prestige II, Prestige V, Prestige PRO, Rogue, Mirage, and Ultra Chef

Durable and High-Temperature Resistant Build: Expertly crafted from premium 304 stainless steel, this pellet smoker tray is designed to resist rust and endure intense heat without compromising its structure. Its robust construction, reinforced with precision welding, ensures exceptional durability and reliability, even with frequent and prolonged use.

Length 21 ¾" x Width 14 ⅜" x Height 2"
Smoke Unwrapped to 155°F: Building Bark and Reading Your Meat
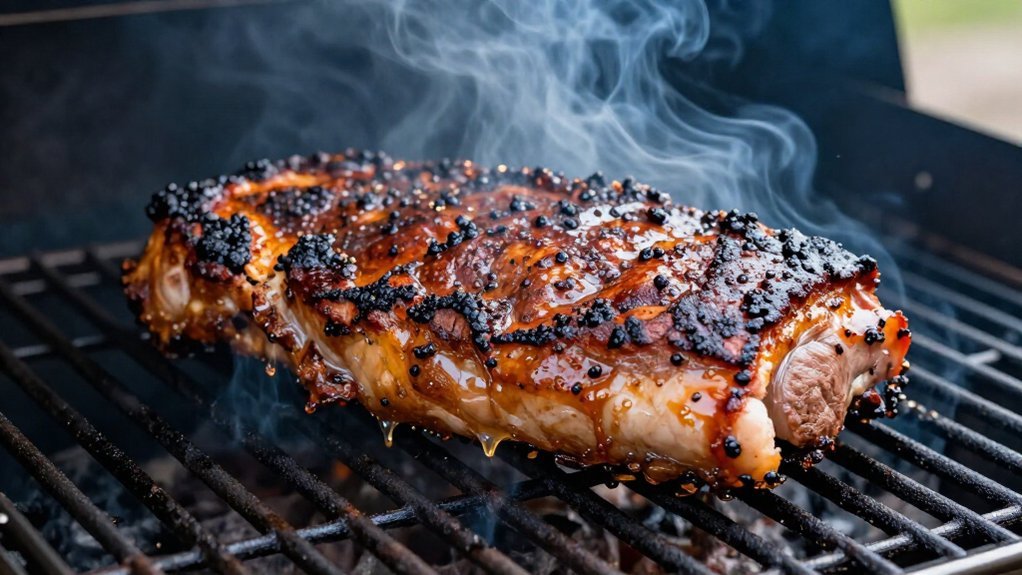
Once you got that pork butt sitting on the grate, unwrapped and breathing free, you’re officially in the bark-building zone, and this is where patience pays off or impatience ruins everything. Set your smoker between 250, 300°F and keep that lid down. You’re cooking low and slow, letting surface moisture escape so bark polymerizes into something worth fighting over.
Insert your probe thermometer dead-center, avoiding bone, to track progress. Watch for blue smoke shifting lighter; pale or tacky bark means keep going. Use hickory or apple wood for mild flavor that won’t bully the meat.
When internal temperature reaches 155°F, you’ve hit your moment. The bark looks mahogany and feels firm, not mushy. Don’t you dare wrap the pork butt yet, this smoked pulled pork recipe demands you respect the process.
Recommended Products

APPLE WOOD FIRED FLAVOR: With Traeger Apple Hardwood Pellets, naturally enhance baked goods, chicken, and pork with a subtly sweet, fruity flavor.

100% all-natural premium hardwood food grade pellets works with Camp Chef, Traeger, Green Mountain, and Many other grills

SIGNATURE BLEND WOOD FIRED FLAVOR: The flavors of hickory, maple, and cherry hardwoods combine for in our Traeger Signature Blend Hardwood Pellets for flavor that can take on just about anything you cook; From classic BBQ meats, to fish and veggies, this versatile blend gives you full-bodied flavor you'll go back to time and time again
Wrap in Foil and Cook to 200°F: Powering Through the Stall
If you’ve been watching that internal temp climb steadily, you’re in for a rude awakening somewhere around 155°F to 165°F, because that’s when the dreaded stall hits and your pork butt basically decides to take a nap. Don’t panic. Instead, grab heavy-duty aluminum foil and fight back.
Place the pork butt fat side up, keep that probe exposed, and pour about two cups of apple cider underneath. Now wrap it tightly in foil and place it back on the grill. You’re braising now, which beats waiting forever for evaporative cooling to quit.
Keep cooking until the internal temperature reaches 200°F; the probe should slide in like butter. That’s collagen victory. Then let it rest, still wrapped, before you even think about shredding.
Recommended Products


Sweet and tangy blend of brown sugar, garlic and chili pepper; authentic Texas-inspired flavor

Pork rub with the right amount of sweetness
Rest, Shred, Sauce, and Store: Finishing and Leftover Tips
Because you’ve already waited hours for that pork to hit 200°F, you’re probably itching to tear into it, but hold your horses. Let that wrapped butt rest in foil or butcher paper 45–60 minutes. Patience here separates dry meat from truly juicy, tender results you bragged about to your neighbor.
When ready to shred, you’ll feel that satisfying give. Remove the bone like it owes you money, discard globs of fat (nobody wants that squeaky texture), then claw through the meat. Pour those reserved drippings back in. That’s liquid gold.
If adding sauce, tread lightly. Mix in small amounts after shredding so your bark doesn’t drown.
For leftovers, here’s your roadmap:
- Cool completely, then refrigerate in airtight containers up to 4 days
- For longer storage, portion into freezer bags, press flat, freeze
- Reheat gently with splashes of reserved juices or apple cider
You’re set.
Recommended Products

Consistent Temperature Control: The Water Wall helps maintain the air temperature at 225°F, ideal for low-and-slow cooking, ensuring your grill stays at the perfect temperature for tender and flavor-full results.

【Upgraded Leak-proof Smoker Oil Bucket】 Unidanho grill grease bucket liner is shorter than the grease bucket but has no gap between them, both the metal pail and grease liner are covered with leakproof workmanship. More suitable for people who like to toss liner every BBQ but grease does not easily collect.

🥩 Perfect Fit & Size Match 🥩 Matchwaves liners are designed for Napoleon 62007 grease tray, including Prestige 500 RSIB, Prestige I, II, V, Prestige PRO, Rogue XT 525 SIB, Mirage and Ultra Chef series. Measuring 6 x 4.5 inches, they precisely match the original grease tray size for simple and reliable replacement every time.